Queue Groups allow you to organize queues. Use this function to group together related queues, such as those handled by the same BPO, market, or supervisor.
You can then view data specific to a Queue Group in real-time reporting. On the Call and Chat Dashboards as well as the Agent Monitoring page, you can filter by Queue Groups.
Queue Groups configuration details
Consist of a collection of top-level, sub-queues, and leaf-level/end-queues
Be created by any user that has the Report Configuration permission assigned
Once a queue group is created, all CCAI Platform users with access will see all queue groups
Queue groups can be edited after they are created both the name, queue assignments and assigned Productive Agents
Can only contain either call or chat queues, the two types cannot be combined.
Add a Queue Group
The following steps enable a queue group to be created:
In the CCAI Platform portal, go to Settings > Queue Group Settings.
Click Add Queue Group.
Enter a name in
Enter Queue Group NameSet the Queue Group to On.
Queue Groups that are off will not display in reporting.
Select a Channel: Call or Chat.
Add the queue you would like to add to your Queue Group by searching in the Add Queue.
`. Select Show Productive Agents. (Optional) See productive agents explanation.
If checked, the **number of Productive Agents** will display on the
Queue Reports dashboard.
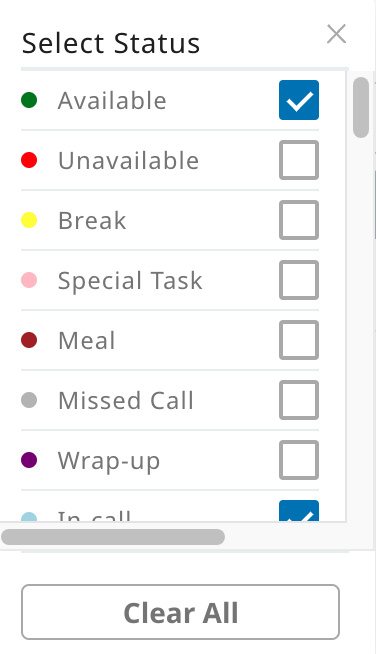
You can configure which statuses are considered productive by clicking on the gear icon.

Statuses configured to be productive will have extra visibility on the Queue Groups dashboard.
Click Save.
Productive Agents
Productive Agent statuses can be configured for each Queue Group and give added visibility to the selected Agent statuses. When a status is marked as Productive, a detailed breakdown showing these statuses will be available on the Queue Report dashboard.
Productive agents are represented in a column in the Queue Report dashboard. To see the breakdown of the agents in each productive status, hold the pointer over the value in the dashboard.
Edit a Queue Group
Click the pencil icon next to the Queue Group you want to edit in the Queue Group overview.
Viewing in Monitoring and Reporting
In Real-time reporting, you can view data specific to a Queue Group. You can filter by Queue Groups on the Call and Chat Dashboards, as well as the Agent Monitoring page.
Filter by Queue Group on Call and Chat Dashboard
In the CCAI Platform portal, go to Dashboards > Call or alternatively Dashboards > Chat.
Filter by available Queue Groups.
Click the gear icon to go to Queue Groups Settings to add or edit a queue group.
Filter by queue group on Agent Monitoring Page
In the CCAI Platform portal, go to Agents.
Expand the Filter Settings by clicking on the drop-down arrow next to the name.
Select + Add Filters.

Select Queue Groups.
Click Save.
Group global settings
Group settings let you further customize call and chat routing to queues. You can configure the behavior of group settings for both chat and calls.
To configure group settings, follow these steps:
In the CCAI Platform portal, click Settings > Operation Management.
In the General pane, go to Flexible Accounts/Records Assignment.
For Group Settings, click the Percent Allocation Group toggle to the on position.
For Percent Allocation Group, configure the pick up time limit in seconds.
For Cascade Group, configure the pick up time limite in seconds.
Click Save General.
