Testar o BigQuery usando o sandbox
Com o sandbox do BigQuery, você explora os recursos do BigQuery sem custos para confirmar se ele é adequado às suas necessidades. Com o sandbox do BigQuery, é possível experimentar o BigQuery sem fornecer um cartão de crédito ou criar uma conta de faturamento para seu projeto. Se você já criou uma conta de faturamento, ainda pode usar o BigQuery sem custos financeiros no nível de uso gratuito.
No sandbox do BigQuery, você aprende a usar o BigQuery com um conjunto limitado de recursos sem custos financeiros. Para avaliar o BigQuery, use o sandbox dele para ver e consultar um conjunto de dados público.
Google Cloud oferece conjuntos de dados públicos armazenados no BigQuery e disponibilizados para o público em geral pelo Programa de conjuntos de dados públicos do Google Cloud. Para mais informações sobre como trabalhar com conjuntos de dados públicos, consulte Conjuntos de dados públicos do BigQuery.
Para seguir as instruções detalhadas desta tarefa diretamente no console do Google Cloud , clique em Orientação:
Antes de começar
Ativar o sandbox do BigQuery
No console do Google Cloud , acesse a página BigQuery.
Também é possível abrir o BigQuery no Google Cloud console digitando o URL a seguir no seu navegador:
https://console.cloud.google.com/bigquery
O Google Cloud console é a interface gráfica que você usa para criar e gerenciar recursos do BigQuery e executar consultas SQL.
Faça a autenticação com sua Conta do Google ou crie uma nova.
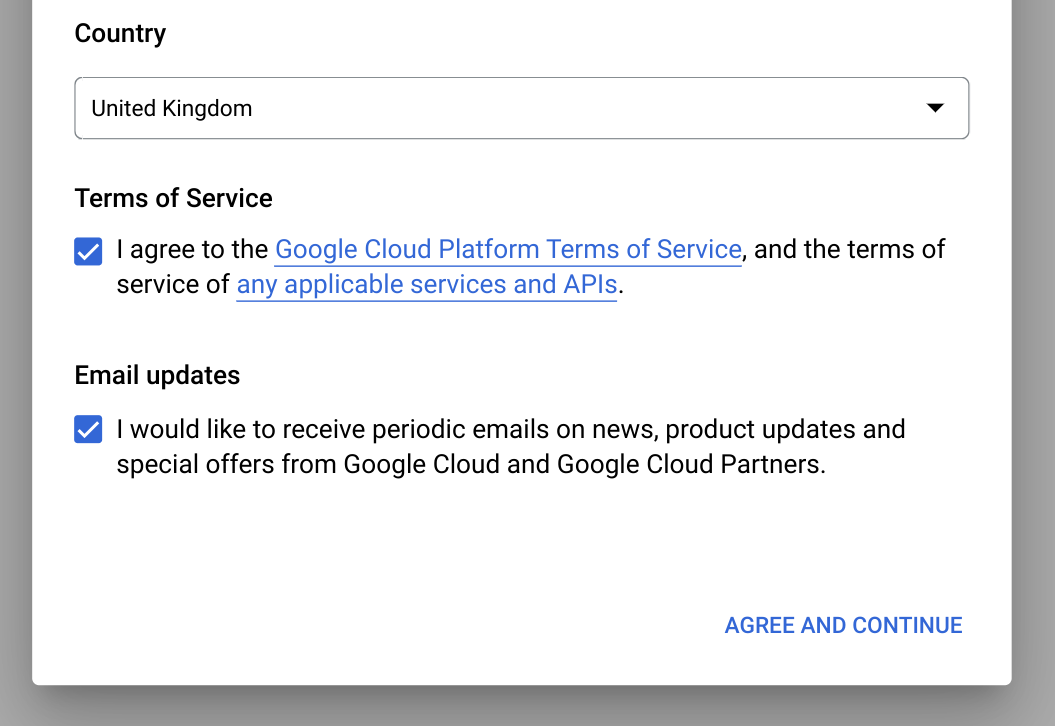
Na página de boas-vindas, faça o seguinte:
Em País, selecione seu país.
Marque a caixa de seleção se concordar com os Termos de Serviço.
Opcional: se for perguntado sobre atualizações por e-mail, marque a caixa de seleção para receber atualizações.
Clique em Agree and Continue.
Clique em Criar projeto.
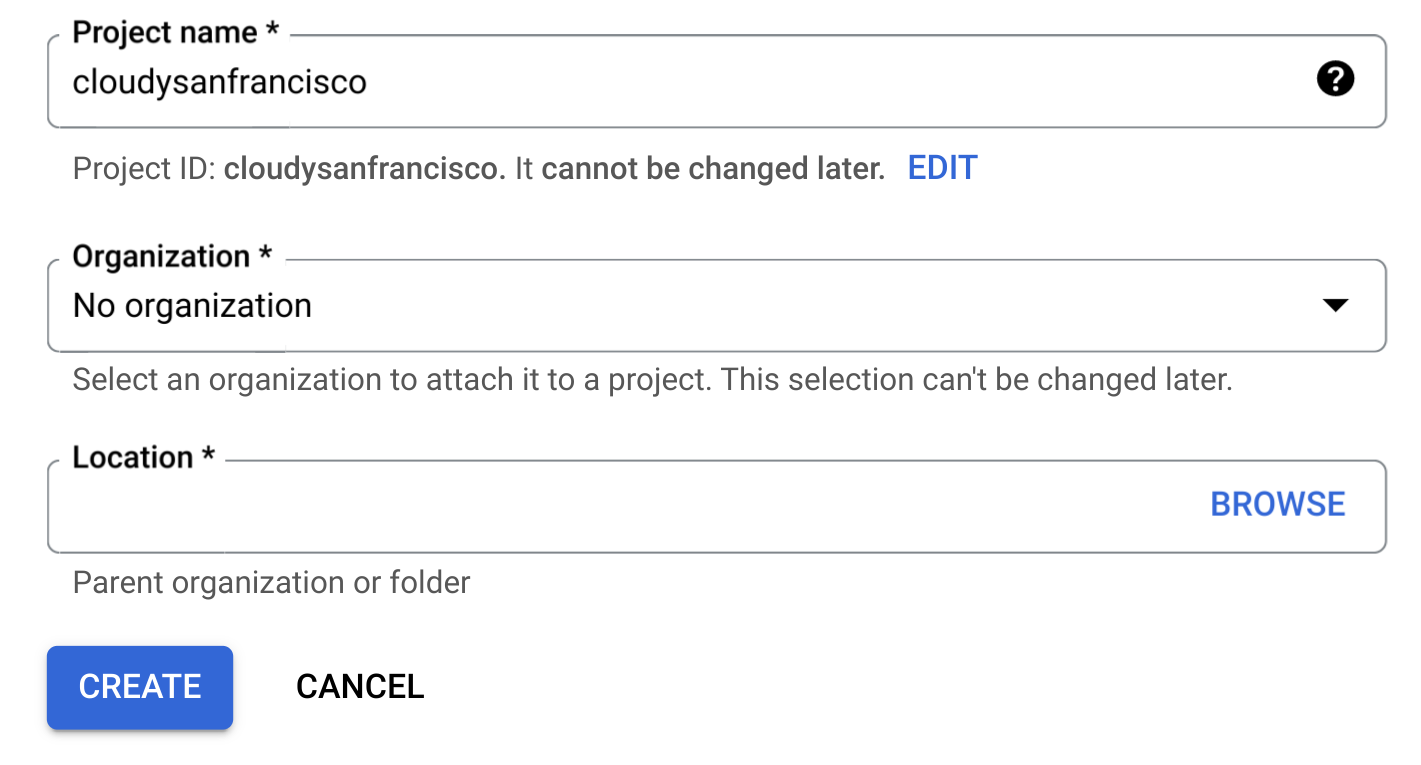
Na página Novo projeto, faça o seguinte:
Em Nome do projeto, insira um nome.
Em Organização, selecione uma organização ou selecione Sem organização, se você não fizer parte de uma. As contas gerenciadas, como as associadas a instituições acadêmicas, precisam selecionar uma organização.
Se você for solicitado a selecionar um Local, clique em Procurar e selecione um local para seu projeto.
Clique em Criar. Você será redirecionado para a página do BigQuery no console Google Cloud .
Você ativou o sandbox do BigQuery. Um aviso de sandbox do BigQuery será exibido na página do BigQuery:

Limitações
O sandbox do BigQuery está sujeito aos seguintes limites:
- Aplicam-se a ele todas as cotas e limites do BigQuery.
- São oferecidos os mesmos limites de uso gratuito disponíveis no nível gratuito do BigQuery, incluindo 10 GB de armazenamento ativo e 1 TB de dados de consulta processados por mês.
- Todos os conjuntos de dados do BigQuery têm um prazo de validade padrão da tabela e todas as tabelas e visualizações e partições expiram automaticamente após 60 dias.
O sandbox do BigQuery não é compatível com vários recursos do BigQuery, incluindo:
Conferir um conjunto de dados público
Os conjuntos de dados públicos do BigQuery estão disponíveis por padrão no
BigQuery Studio em um projeto chamado bigquery-public-data. Neste tutorial, você consulta o conjunto de dados de viagens do Citi Bike de Nova York. O Citi Bike é um grande programa de compartilhamento de bicicletas, com 10.000 bicicletas e 600 estações em Manhattan, Brooklyn, Queens e Jersey City. Esse conjunto de dados inclui as viagens do Citi Bike desde a inauguração em setembro de 2013.
No console do Google Cloud , acesse a página BigQuery.
No BigQuery Studio, no painel Explorador, clique em Adicionar dados.
Na caixa de diálogo Adicionar dados, no painel Filtrar por, clique em
 Conjuntos de dados públicos.
Na página Marketplace, no campo Pesquisar no Marketplace, digite
NYC
Citi Bike Trips
para restringir a pesquisa.Nos resultados da pesquisa, clique em NYC Citi Bike Trips.
Na página Detalhes do produto, clique em Ver conjunto de dados. Na guia Detalhes, você encontra informações sobre o conjunto de dados.
consulte um conjunto de dados público
Nas etapas a seguir, você vai consultar a tabela citibike_trips para determinar as
100 estações do Citi Bike mais usadas no conjunto de dados público de viagens do Citi Bike de Nova York.
A consulta recupera o nome e a localização da estação, além do número de viagens que começaram ali.
A consulta usa a função ST_GEOGPOINT para criar um ponto com base nos parâmetros de longitude e latitude de cada estação e retorna esse ponto em uma coluna GEOGRAPHY. A coluna GEOGRAPHY é usada para gerar um mapa de calor no visualizador de dados geográficos integrado.
No console do Google Cloud , abra a página do BigQuery.
Clique em
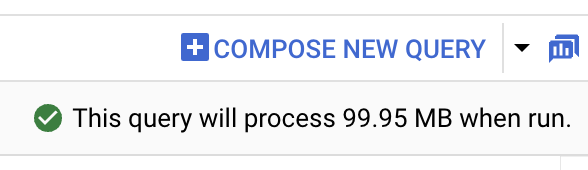
Consulta SQL .No
editor de consultas , insira a seguinte consulta:SELECT start_station_name, start_station_latitude, start_station_longitude, ST_GEOGPOINT(start_station_longitude, start_station_latitude) AS geo_location, COUNT(*) AS num_trips FROM `bigquery-public-data.new_york.citibike_trips` GROUP BY 1, 2, 3 ORDER BY num_trips DESC LIMIT 100;Se a consulta for válida, uma marca de seleção é exibida com a quantidade de dados que são processados pela consulta. Se a consulta for inválida, um ponto de exclamação é exibido com uma mensagem de erro.
Clique em
Executar . As estações mais procuradas estão listadas na seçãoResultados da consulta .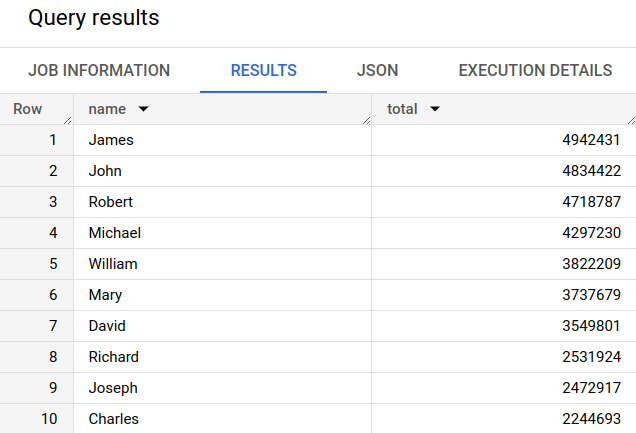
Opcional: para exibir a duração do job e a quantidade de dados que o job de consulta processou, clique na guia Informações do job na seção Resultados da consulta.
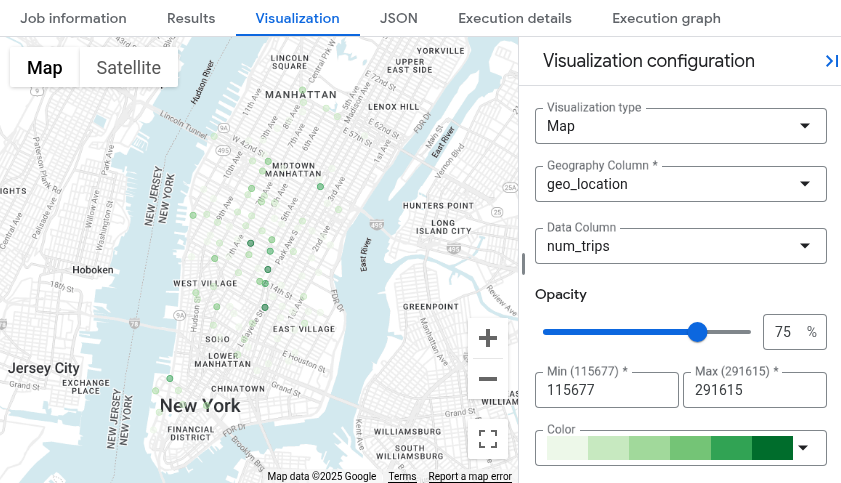
Mude para a guia
Visualização . Essa guia gera um mapa para visualizar rapidamente seus resultados.No painel Configuração de visualização:
- Verifique se o Tipo de visualização está definido como Mapa.
- Verifique se a Coluna de geografia está definida como
geo_location. - Em Coluna de dados, escolha
num_trips. - Use a opção Aumentar zoom para mostrar o mapa de Manhattan.
Fazer upgrade do sandbox do BigQuery
O sandbox do BigQuery permite explorar recursos limitados do BigQuery sem custos financeiros. Quando estiver pronto para aumentar seus recursos de armazenamento e consulta, faça upgrade do sandbox do BigQuery.
Para fazer upgrade, siga estas etapas:
Ative o faturamento do projeto.
Explore as edições do BigQuery e determine o modelo de preços ideal para você.
Depois de fazer upgrade do sandbox do BigQuery, atualize os prazos de validade padrão dos recursos do BigQuery, como tabelas, visualizações e partições.
Limpar
Para evitar cobranças na conta do Google Cloud pelos recursos usados nesta página, siga as etapas abaixo.
Excluir o projeto
Se você usou o sandbox do BigQuery para consultar o conjunto de dados público, o faturamento não está ativado para seu projeto, e não é necessário excluir o projeto.
O jeito mais fácil de evitar cobranças é excluindo o projeto que você criou para o tutorial.
Para excluir o projeto:
- In the Google Cloud console, go to the Manage resources page.
- In the project list, select the project that you want to delete, and then click Delete.
- In the dialog, type the project ID, and then click Shut down to delete the project.
A seguir
- Para mais informações sobre como usar o BigQuery sem custos financeiros, consulte Nível de uso gratuito.
- Saiba como criar um conjunto de dados, carregar dados e consultar tabelas no BigQuery.