Create and manage feeds using the feed management UI
This document provides information about how to create, manage, and troubleshoot feeds using the feed management UI. Managing the feeds includes modifying, enabling, and deleting the feeds.
Before you begin
Each data feed has its own set of prerequisites that must be completed prior to setting up the feed in Google Security Operations. For information about prerequisites specific to a feed type, see Configuration by source type. Search for the data feed type you need to set up and follow the instructions provided.
Supported compression formats
Supported compression formats for feed ingestion include: .gz, .tar.gz, .tar, .targz, and solr.gz. The following table outlines the different file sizes that Google SecOps feeds transformation supports:
| Operation | Input Type | Recommended Size | Expected Duration | Max size |
| Data Modeling | CSV | < 5 GB | < 7 min | 10 GB |
| Data Modeling | CSV | < 5 GB | ~30 min | 10 GB |
| Data Modeling | CSV | TBD | TBD | 2 GB |
| Data Modeling | XML / JSON | < 1 GB | < 10 min | 2 GB |
| Data Modeling | XLS / XLSX | < 50 MB | ~1 min | 50 MB |
| Merge Files | Any | < 1 GB | Varies on # files | 100 GB |
| Decompress Files | Non-ZIP | < 5 GB | Varies on # files | 10 GB (uncompressed) |
| Decompress Files | ZIP | - | Varies on # files | 4 GB (uncompressed) |
Ways to set up feeds
There are two ways for Google SecOps customers to set up this feed in the platform. Use the method that works best for your environment:
- SIEM Settings > Feeds
- Content Hub > Content Packs
View configured feeds
The Feeds page shows all the feeds you've configured.
- Go to SIEM Settings > Feeds. The main page displays all your configured feeds.
- Hold the pointer over each row to display the more_vert More menu.
- In the menu, you can view feed details, edit, disable, or delete the feed.
Configure multiple feeds for a product family (Google SecOps customers only)
You can configure multiple feeds per product family, based on log type. Log types that Google has identified as a baseline are marked as required. The platform provides setup instructions, required procedures, and descriptions of all configuration parameters. Some parameters are predefined to simplify the configuration setup. For example, you can create multiple feeds under both required and optional log types for CrowdStrike Falcon. For more information, see Configure multiple feeds.
Add a feed
To add a feed to your Google SecOps account, complete the following steps:
Use the following procedure to add a feed through the SIEM Settings* {and_then} Feeds page.
In the Google SecOps menu, select Settings, and then click Feeds. The data feeds listed on the Feeds page include all the feeds that Google has configured for your account in addition to the feeds that you have configured.
Click Add New Feed.
On the next page, click Configure a single feed. This step is not relevant for customers using the Google SecOps SIEM standalone platform.
Add a feed name.
In the Source type list, select the source type for importing data into Google SecOps. You can select from the following feed source types:
- Amazon Data Firehose
- Amazon S3
- Amazon S3 (Preview)
- Amazon SQS
- Amazon SQS (Preview)
- Azure Blob Storage
- Azure Blob Storage (Preview)
- Google Cloud Pub/Sub
- Cloud Storage
- Cloud Storage (Preview)
- Cloud Storage Event Driven (Preview)
- HTTP(S) Files (non-API)
- Third party API
- Webhook
In the Log type list, select the log type that corresponds to the logs you want to ingest. The available logs vary depending on the source type you selected earlier.
If you select Cloud Storage as the source type, use the Get service account option to get a unique service account. See Google Cloud Storage feed setup example.
Click Next.
Specify the parameters needed from the Input Parameters tab. The options presented here vary depending on the source and log type selected on the Set Properties tab. Hold the pointer over the question icon for each field to get additional information on what you need to provide.
Optional: You can specify a namespace in the Set Properties tab. For more information about namespaces, see Work with asset namespaces.
Click Next.
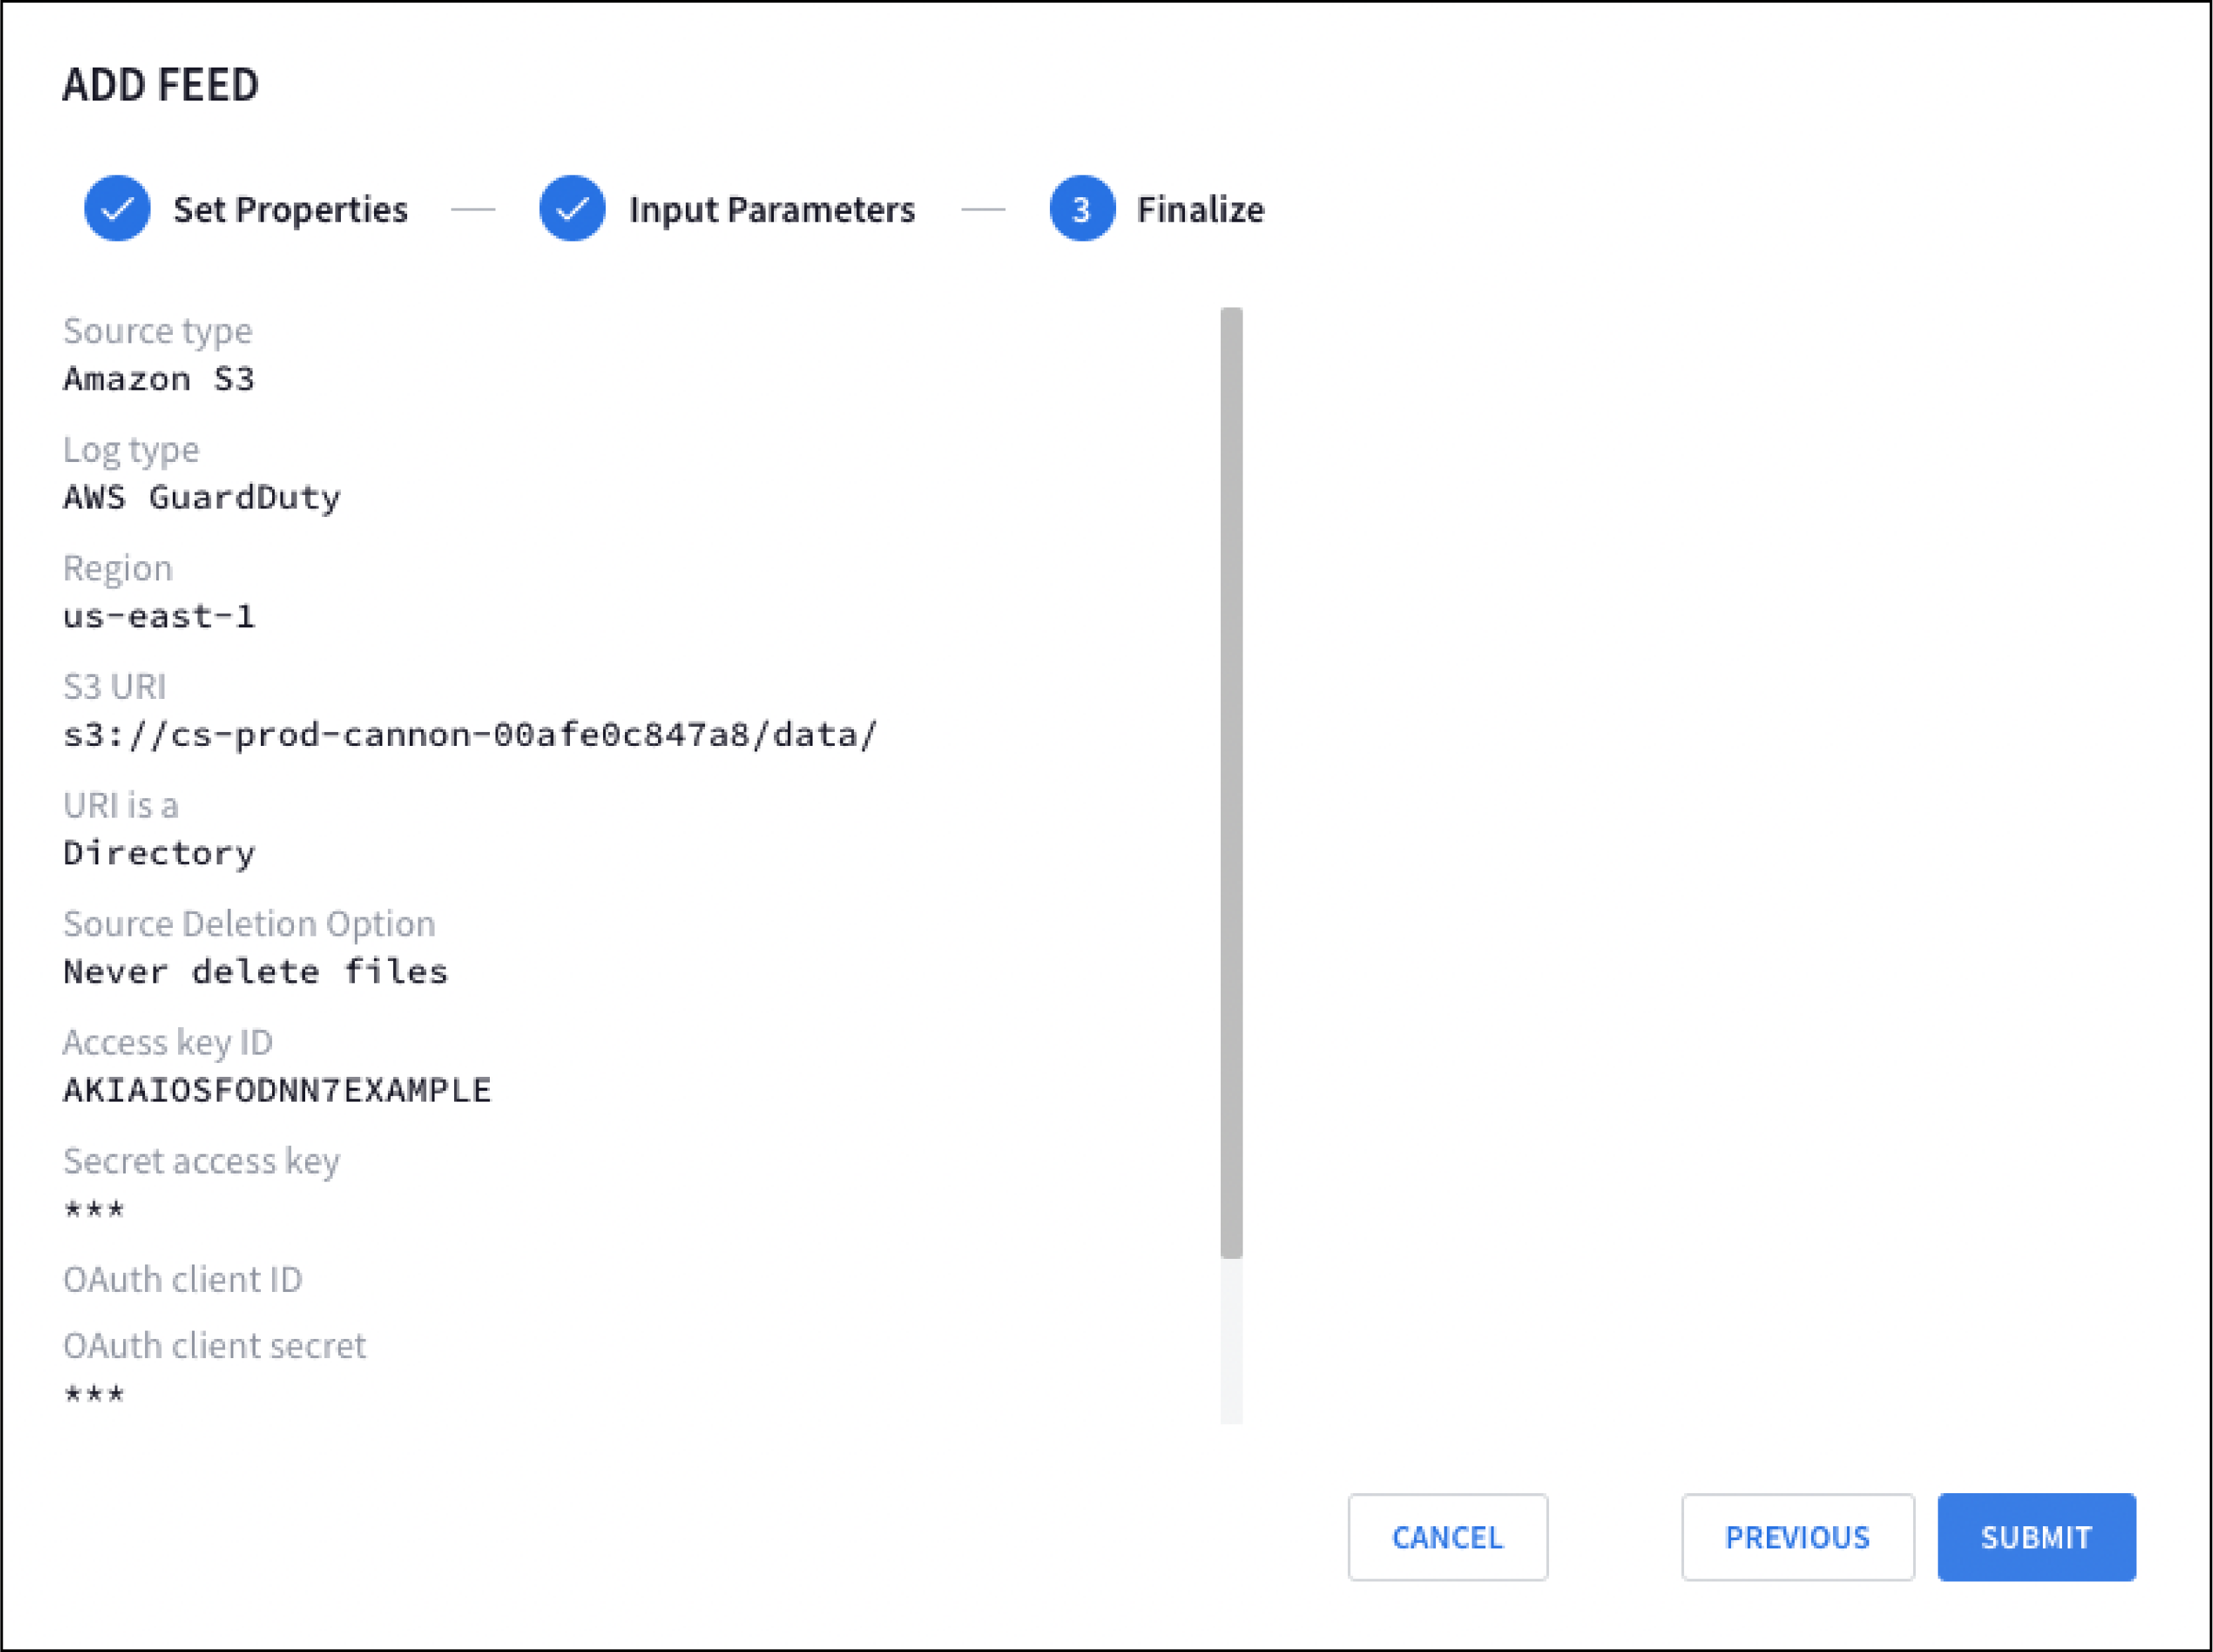
Review your new feed configuration on the Finalize tab.
Click Submit. Google SecOps completes a validation check of the new feed. If the feed passes the check, a name is generated for the feed, it's submitted to Google SecOps, and Google SecOps begins to attempt to fetch data.
Google Cloud Storage feed setup example
- From the Google SecOps menu, select Settings, and then click Feeds.
- Click Add New Feed.
- On the next page, click Configure a single feed. This step doesn't apply if you are using the Google SecOps SIEM standalone platform.
- Select Cloud Storage for Source Type.
- Select the Log type. For example, to create a feed for Google Kubernetes Engine audit logs, select Google Kubernetes Engine audit logs as the Log Type.
- Click Get service account. Google SecOps provides a unique service account that Google SecOps uses to ingest data.
- Optional: Configure the service account. For more information, see Grant access to the Google SecOps service account.
- Click Next.
Based on the Cloud Storage configuration that you created, specify values for the following fields:
Storage bucket URI
Source deletion option
To learn more about how to set up Cloud Storage buckets, see Create Buckets.
Click Next and then click Submit. Caution: You must enable allowlisting and add the IP ranges for all log types that ingest data from third-party APIs.
Enable STS access for Amazon S3 and Azure Storage
The STS is used by the following Google Cloud Storage feeds to transfer data from Amazon S3 and Azure Storage blobstores to Google SecOps:
- Amazon S3 (Preview)
- Amazon SQS (Preview)
- Azure Blob Storage (Preview)
STS sends data transfer requests to the Amazon S3 and Azure storage services from a set of defined STS IP address ranges. These STS IP address ranges are published in the following JSON file: https://www.gstatic.com/storage-transfer-service/ipranges.json
To use these STS feed source types, you may need to enable access to your Amazon S3 and Azure Storage blobstores, for queries originating from an IP address defined in the STS IP address ranges.
You may need to adjust IP access restrictions to enable STS to access your Amazon S3 and Azure storage services:
Pull the latest IP ranges from the JSON file.
We recommend reading data from this JSON file at least weekly to keep your security configuration up to date. When a new range is added to the file, the system waits at least 7 days before using that range for requests from STS.
For a sample Python script that fetches IP ranges from a JSON file, see IP addresses for default domains.
Compare the current IP range
creationTimeto the IP rangecreationTimeread from the previous JSON file. If these differ, update the IP access restrictions in Amazon S3 and Azure Storage blobstores.For Amazon S3
To update the IP access restrictions in your Amazon S3 blobstore:
If your AWS project uses IP restrictions for access to storage, you must add the IP ranges used by STS workers to your list of allowed IPs.
To add these ranges as allowed IPs, use the
Conditionfield in abucket policy, as described in the AWS S3 documentation: Managing access based on specific IP addresses.For Azure Storage
To update the IP access restrictions in your Azure Storage blobstore:
If you restrict access to your Azure resources using an Azure Storage firewall, you must add the IP ranges used by STS workers to your list of allowed IPs.
To add these ranges as allowed IPs, follow these instructions: Configure Azure Storage firewalls and virtual networks.
IP allowlisting
This section describes allowlisting requirements for third-party feeds and Storage Transfer Service (STS).
Allowlist third-party API feeds
Enable allowlisting and add the Google IP ranges for all log types that ingest data from third-party APIs.
Delete source files
The source deletion option lets you delete feed source objects (files and folders) from storage, after a successful transfer. This option is only available for selected feed source types, including Cloud Storage. These feed source types include the SOURCE DELETION OPTION field in their Add new and Edit feed workflows.
Source deletion options
For supported feed source types, including Cloud Storage, the SOURCE DELETION OPTION field offers these options:
- Never delete files
- Delete transferred files and empty directories
- Delete transferred files
Microsoft Azure Blob Storage (AZURE_BLOBSTORE) doesn't support deletion of source files. For the SOURCE DELETION OPTION field, only select the Never delete files option.
For the following feed sources (
"feedSourceType"):GOOGLE_CLOUD_STORAGE_V2,GOOGLE_CLOUD_STORAGE_EVENT_DRIVEN,AMAZON_S3_V2,AMAZON_SQS_V2, andAZURE_BLOBSTORE_V2, the SOURCE DELETION OPTION field offers two options:- NEVER: Never deletes any files after transfers.
- ON_SUCCESS: Deletes all files and empty directories after transfer.
Set up a Pub/Sub push feed
To set up a Pub/Sub push feed, do the following:
- Create a Pub/Sub push feed.
- Specify the endpoint URL in a Pub/Sub subscription.
Create a Pub/Sub push feed
- In the Google SecOps menu, select Settings, and then click Feeds.
- Click Add new.
- In the Feed name field, enter a name for the feed.
- In the Source type list, select Google Cloud Pub/Sub Push.
- Select the Log type. For example, to create a feed for Open Cybersecurity Schema Framework, select Open Cybersecurity Schema Framework (OCSF) as the Log type.
- Click Next.
- Optional: Specify values for the following input parameters:
- Split delimiter: the delimiter that is used to separate log lines, such as
\n. - Asset namespace: the asset namespace.
- Ingestion labels: the label to be applied to the events from this feed.
- Split delimiter: the delimiter that is used to separate log lines, such as
- Click Next.
- Review your new feed configuration in the Finalize screen, and then click Submit.
- From the Details tab, copy the feed endpoint URL from the Endpoint Information field. You need this endpoint URL to create a push subscription in Pub/Sub.
- Optional: Click the Feed Enabled toggle to disable the feed. The feed is enabled by default.
- Click Done.
Specify the endpoint URL
After you create a Pub/Sub push feed, specify the endpoint URL as follows: In Pub/Sub, create a push subscription, specify the HTTPS endpoint. Select Enable authentication and a service account.
- Create a push subscription in Pub/Sub. For more information about how to create a push subscription, see Create push subscriptions.
- Specify the endpoint URL, which is available in the Google Cloud Pub/Sub push feed.
- Select Enable authentication, and select a service account.
Set up an Amazon Data Firehose feed
To set up an Amazon Data Firehose feed, do the following:
- Create an Amazon Data Firehose feed and copy the endpoint URL and secret key.
- Create an API key to authenticate to Google SecOps. You can also reuse your existing API key to authenticate to Google SecOps.
- Specify the endpoint URL in Amazon Data Firehose.
Create an Amazon Data Firehose feed
- In the Google SecOps menu, select Settings, and then click Feeds.
- Click Add new.
- In the Feed name field, enter a name for the feed.
- In the Source type list, select Amazon Data Firehose.
- Select the Log type. For example, to create a feed for Open Cybersecurity Schema Framework, select Open Cybersecurity Schema Framework (OCSF) as the Log type.
- Click Next.
- Optional: Specify values for the following input parameters:
- Split delimiter: the delimiter that is used to separate log lines, such as
\n. - Asset namespace: the asset namespace.
- Ingestion labels: the label to be applied to the events from this feed.
- Split delimiter: the delimiter that is used to separate log lines, such as
- Click Next.
- Review your new feed configuration in the Finalize screen, and then click Submit.
- Click Generate Secret Key to generate a secret key to authenticate this feed.
- Copy and store the secret key as you cannot view this secret again. You can generate a new secret key again, but regeneration of the secret key makes the previous secret key obsolete.
- On the Details tab, copy the feed endpoint URL from the Endpoint Information field. You need this endpoint URL when you specify the destination settings for your delivery stream in Amazon Data Firehose.
- Optional: Click the Feed Enabled toggle to disable the feed. The feed is enabled by default.
- Click Done.
Create an API key for the Amazon Data Firehose feed
To create an API key for the Amazon Data Firehose feed, do the following: 1. Go to the Google Cloud console Credentials page. 1. Click Create credentials, and then select API key. 1. Restrict the API key access to the Chronicle API.
Specify the endpoint URL
In Amazon Data Firehose, specify the HTTPS endpoint and access key, as follows:
Append the API key to the feed endpoint URL and specify this URL as the HTTP endpoint URL in the following format:
ENDPOINT_URL?key=API_KEYReplace the following:
ENDPOINT_URL: the feed endpoint URL.API_KEY: the API key to authenticate to Google SecOps.
For the access key, specify the secret key that you obtained when you created the Amazon Data Firehose feed.
Set up an HTTPS webhook feed
To set up an HTTPS webhook feed, do the following:
- Create an HTTPS webhook feed and copy the endpoint URL and secret key.
- Create an API key that is specified with the endpoint URL. You can also reuse your existing API key to authenticate to Google SecOps.
- Specify the endpoint URL in your application.
Prerequisites
- Ensure that a Google Cloud project for Google SecOps is configured and the Chronicle API is enabled for the project.
Send multiple events in a single webhook request
The following code sample shows how to format a single request body with multiple, newline-separated JSON objects after the curl --location item:
--header 'Content-Type: application/json' \
--header 'X-goog-api-key: API_KEY' \
--header 'X-Webhook-Access-Key: SECRET' \
--data '{"principal": {"asset_id": "asset 123"}, "metadata": {"event_type": "GENERIC_EVENT", "product_name": "Product Acme"}}
{"principal": {"asset_id": "asset 123"}, "metadata": {"event_type": "GENERIC_EVENT", "product_name": "Product Acme"}}'
Create an HTTPS webhook feed
- In the Google SecOps menu, select Settings, and then click Feeds.
- Click Add new.
- In the Feed name field, enter a name for the feed.
- In the Source type list, select Webhook.
- Select the Log type. For example, to create a feed for Open Cybersecurity Schema Framework, select Open Cybersecurity Schema Framework (OCSF) as the Log type.
- Click Next.
- Optional: Specify values for the following input parameters:
- Split delimiter: the delimiter that is used to separate log lines, such as
\n. - Asset namespace: the asset namespace.
- Ingestion labels: the label to be applied to the events from this feed.
- Split delimiter: the delimiter that is used to separate log lines, such as
- Click Next.
- Review your new feed configuration in the Finalize screen, and then click Submit.
- Click Generate Secret Key to generate a secret key to authenticate this feed.
- Copy and store the secret key as you cannot view this secret again. You can generate a new secret key again, but regeneration of the secret key makes the previous secret key obsolete.
- From the Details tab, copy the feed endpoint URL from the Endpoint Information field. You need to specify this endpoint URL in your client application.
- Optional: Click the Feed Enabled toggle to disable the feed. The feed is enabled by default.
- Click Done.
Create an API key for the webhook feed
- Go to the Google Cloud console Credentials page.
- Click Create credentials, and then select API key.
- Restrict the API key access to the Chronicle API.
Specify the endpoint URL
- In your client application, specify the HTTPS endpoint, which is available in the webhook feed.
Enable authentication by specifying the API key and secret key as part of the custom header in the following format:
X-goog-api-key = API_KEYX-Webhook-Access-Key = SECRETWe recommend that you specify the API key as a header instead of specifying it in the URL. If your webhook client doesn't support custom headers, you can specify the API key and secret key by using query parameters in the following format:
ENDPOINT_URL?key=API_KEY&secret=SECRETReplace the following:
ENDPOINT_URL: the feed endpoint URL.API_KEY: the API key to authenticate to Google SecOps.SECRET: the secret key that you generated to authenticate the feed.
Grant access to the Google SecOps service account
- In the Google Cloud console, go to the Cloud Storage Buckets page.
Grant access to the service account to the relevant Cloud Storage objects.
To grant read permission to a specific file, complete the following steps:
- Select the file and click Edit access.
- Click Add principal.
- In the New principals field, enter the name of the Google SecOps service account.
- Assign a role that contains the read permission to the Google SecOps service account. For example, Storage Object Viewer
(
roles/storage.objectViewer). This can only be done if you've not enabled uniform bucket-level access. - Click Save.
To grant read permission to multiple files, grant access at the bucket level as follows:
For
"feedSourceType": "GOOGLE_CLOUD_STORAGE":- Add the Google SecOps service account as a principal to your
storage bucket and grant it the IAM Storage Object
Viewer (
roles/storage.objectViewer) role. - If you configure the feed to delete source files, you must add the
Google SecOps service account as a principal on your bucket and
grant it the IAM Storage Object Admin
(
roles/storage.objectAdmin) role.
- Add the Google SecOps service account as a principal to your
storage bucket and grant it the IAM Storage Object
Viewer (
For
"feedSourceType": "GOOGLE_CLOUD_STORAGE_V2":Grant either of these roles:
- Storage Object Viewer (
roles/storage.objectViewer) if the transfer is to another Cloud Storage bucket. - Storage Object Creator (
roles/storage.objectCreator) if the transfer is to a file system.
- Storage Object Viewer (
Grant either of these roles:
- Storage Legacy Bucket Writer (
roles/storage.legacyBucketWriter) if object delete permission is required. - Storage Legacy Bucket Reader (
roles/storage.legacyBucketReader) if object delete permission is not required.
- Storage Legacy Bucket Writer (
For
"feedSourceType": "GOOGLE_CLOUD_STORAGE_EVENT_DRIVEN":Grant either of these roles:
- Storage Object Viewer (
roles/storage.objectViewer) if the transfer is to another Cloud Storage bucket. - Storage Object Creator (
roles/storage.objectCreator) if the transfer is to a file system.
- Storage Object Viewer (
Grant either of these roles:
- Storage Legacy Bucket Writer (
roles/storage.legacyBucketWriter) if object delete permission is required. - Storage Legacy Bucket Reader (
roles/storage.legacyBucketReader) if object delete permission is not required.
- Storage Legacy Bucket Writer (
Configure VPC Service Controls
If VPC Service Controls is enabled, an ingress rule is required to provide access to the Cloud Storage bucket.
The following Cloud Storage methods must be allowed in the ingress rule:
google.storage.objects.list. Required for a single file feed.google.storage.objects.get. Required for feeds that require directory or subdirectory access.google.storage.objects.delete. Required for feeds that require deletion of the source file.
Sample ingress rule
- ingressFrom:
  identities:
    - serviceAccount:8911409095528497-0-account@partnercontent.gserviceaccount.com
  sources:
  - accessLevel: "*"
  ingressTo:
  operations:
  - serviceName: storage.googleapis.com
    methodSelectors:
    - method: google.storage.objects.list
    - method: google.storage.objects.get
    - method: google.storage.objects.delete
  resources:
  - projects/PROJECT_ID
Feed status
You can monitor the status of the feed on the initial Feeds page, where feeds can have the following statuses:
- Active: Feed is configured and ready to ingest data into your Google SecOps account.
- InProgress: Google SecOps attempts to pull data from the configured third party.
- Completed: Data successfully retrieved by this feed.
- Archived: Disabled feed.
Failed: Feed is failing to successfully fetch data. This is likely due to a configuration issue. Click the question to display the configuration error. Once you've corrected the error and resubmitted the feed, return to the Feeds page to determine whether or not the feed is now working.
Edit feeds
On the Feeds page, you can edit an existing feed, as follows:
Hold the pointer over an existing feed and click more_vert in the right column.
Click Edit Feed. You can now modify the input parameters for the feed and resubmit it to Google SecOps, which will attempt to use the updated feed.
Enable and disable feeds
In the Status column, enabled feeds are labeled as Active, InProgress, Completed, or Failed. Disabled fields are labeled as Archived. For a description, see the feed status.
From the Feeds page, you can enable or disable any of the existing feeds:
Hold the pointer over an existing feed and click more_vert in the right column.
Optional: Click the Feed Enabled toggle to disable the feed.
Optional: Click the Disable Feed toggle to disable the feed. The feed is now labeled as Archived.
Delete feeds
On the Feeds page, you can also delete an existing feed:
Hold the pointer over an existing feed and click more_vert in the right column.
Click Delete Feed. The DELETE FEED window opens. To permanently delete the feed, click Yes, delete it.
Control the rate of ingestion
When the data ingestion rate for a tenant reaches a certain threshold, Google Security Operations restricts the rate of ingestion for new data feeds to prevent a source with a high ingestion rate from affecting the ingestion rate of another data source. In this case, there is a delay but no data is lost. The ingestion volume and tenant's usage history determine the threshold.
You can request a rate limit increase by contacting Cloud Customer Care.
Troubleshooting
On the Feeds page, you can view details such as source type, log type, feed ID, and status of the existing feeds, as follows:
Hold the pointer over an existing feed and click more_vert in the right column.
Click View Feed. A dialog appears showing the feed details. For a failed feed, you can find error details under Details > Status.
For a failed feed, the details include the cause of the error and steps to fix it. The following table describes the error messages that you might encounter when working with data feeds:
| Error Code | Cause | Troubleshooting |
ACCESS_DENIED |
The authentication account provided in the feed configuration lacks required permissions. | Verify the authentication account provided in the feed configuration has required permissions. Refer to the feeds documentation for the necessary permissions. For information about permissions, see [Configuration by source type](/chronicle/docs/reference/feed-management-api#source-types). |
ACCESS_TOO_FREQUENT |
The feed failed because there were too many attempts to reach the source. | Contact Google SecOps support. |
CONNECTION_DROPPED |
A connection to the source was established, but the connection closed before the feed was complete. | This error is transient and application will retry the request. If the issue persists, contact Google SecOps support. |
CONNECTION_FAILED |
The application can't connect to the source IP address and port. | Check the following:
If the problem continues, contact Google SecOps support. |
DNS_ERROR |
The source hostname can't be resolved. | The server hostname may be spelled incorrectly. Check the URL and verify the spelling. |
FILE_FAILED |
A connection to the source was established, but there was a problem with the file or resource. | Check the following:
If the problem continues, contact Google SecOps support. |
FILE_NOT_FOUND |
A connection to the source was established, but the file or resource can't be found. | Check the following:
If the problem continues, contact Google SecOps support. |
GATEWAY_ERROR |
API returned a gateway error to the call made by Google SecOps. | Verify the source details of the feed. The application will retry the request. |
INTERNAL_ERROR |
Unable to ingest data due to an internal error. | If the problem continues, contact Google SecOps support. |
INVALID_ARGUMENT |
A connection to the source was established, but the feed failed because of invalid arguments. | Check the feed configuration. Refer to the feeds documentation to learn more about setting up feeds. If the problem continues, contact Google SecOps support. |
INVALID_FEED_CONFIG |
The feed configuration contains invalid values. | Review the feed configuration for incorrect settings. Refer to the feeds documentation for correct syntax. |
INVALID_REMOTE_RESPONSE |
A connection to the source was established, but the response was incorrect. | Check the feed configuration. Learn more about setting up feeds. If the problem continues, contact Google SecOps support. |
LOGIN_FAILED |
A connection to the source was established, but credentials were incorrect or missing. | Re-enter the credentials for the source to confirm they're correct. |
NO_RESPONSE |
A connection to the source was established, but the source didn't respond. | Make sure the source can support requests from Google SecOps. If the problem continues, contact Google SecOps support. |
PERMISSION_DENIED |
A connection to the source was established, but there was a problem with authorization. | Verify required accesses and permissions are added. |
REMOTE_SERVER_ERROR |
A connection to the source was established, but the source didn't respond with data. | Make sure the source is available and is responding with data. If the problem continues, contact Google SecOps support. |
REMOTE_SERVER_REPORTED_BAD_REQUEST |
A connection to the source was established, but the source rejected the request. | Check the feed configuration. Refer to the feeds documentation for more details. If the problem continues, contact Google SecOps support. |
SOCKET_READ_TIMEOUT |
A connection to the source was established, but the connection timed out before the data transfer was complete. | This error is transient and application will retry the request. If the issue persists, contact Google SecOps support. |
TOO_MANY_ERRORS |
The feed timed out because because it encountered multiple errors from the source. | Contact Google SecOps support. |
TRANSIENT_INTERNAL_ERROR |
Feed encountered temporary internal error. | This error is transient and the application will retry the request. If the issue persists, contact Google SecOps support. |
UNSAFE_CONNECTION |
The application failed to make a connection because the IP address was restricted. | This error is transient and Google SecOps will retry the request. If the issue persists, contact Google SecOps support. |
HTTP_400 |
The feed failed because of an invalid request. | Check the feed configuration. Learn more about setting up feeds. If the problem continues, contact Google SecOps support. |
HTTP_403 |
A connection to the source was established, but there was a problem with authorization. | Verify required accesses and permissions are added. |
HTTP_404 |
A connection to the source was established, but the file or resource can't be found. | Check the following:
If the problem continues, contact Google SecOps support. |
HTTP_429 |
The feed timed out because there were too many attempts to reach the source. | Contact Google SecOps support. |
HTTP_500 |
A connection to the source was established, but the source didn't respond with data. | Make sure the source is available and is responding with data. If the problem continues, contact Google SecOps support. |
HTTP_502 |
Feed encountered a gateway error. | This error is transient and the application will retry the request. If the issue persists, contact Google SecOps support. |
HTTP_504 |
Google SecOps can't connect to the source IP address and port. | This error is transient and the application will retry the request.
Check the following:
If the problem continues, contact Google SecOps support. |
Need more help? Get answers from Community members and Google SecOps professionals.