Create a custom dashboard
You can create a custom dashboard to provide specific insights into the data. You add tiles to the dashboard that display visualization charts, text, or buttons.
The following are options to create a custom dashboard:
After creating a custom dashboard, you maintain it under the Personal Dashboards section or the Shared Dashboards section of the left navigation. Personal Dashboards are visible to you only. Shared Dashboards are visible to all members of the team who can access dashboards in Google Security Operations.
When working with custom dashboards, you will often need to access the Dashboard actions and Tile actions menus.
To perform actions on a custom dashboard, open the Dashboard actions menu. The following image shows the menu location.
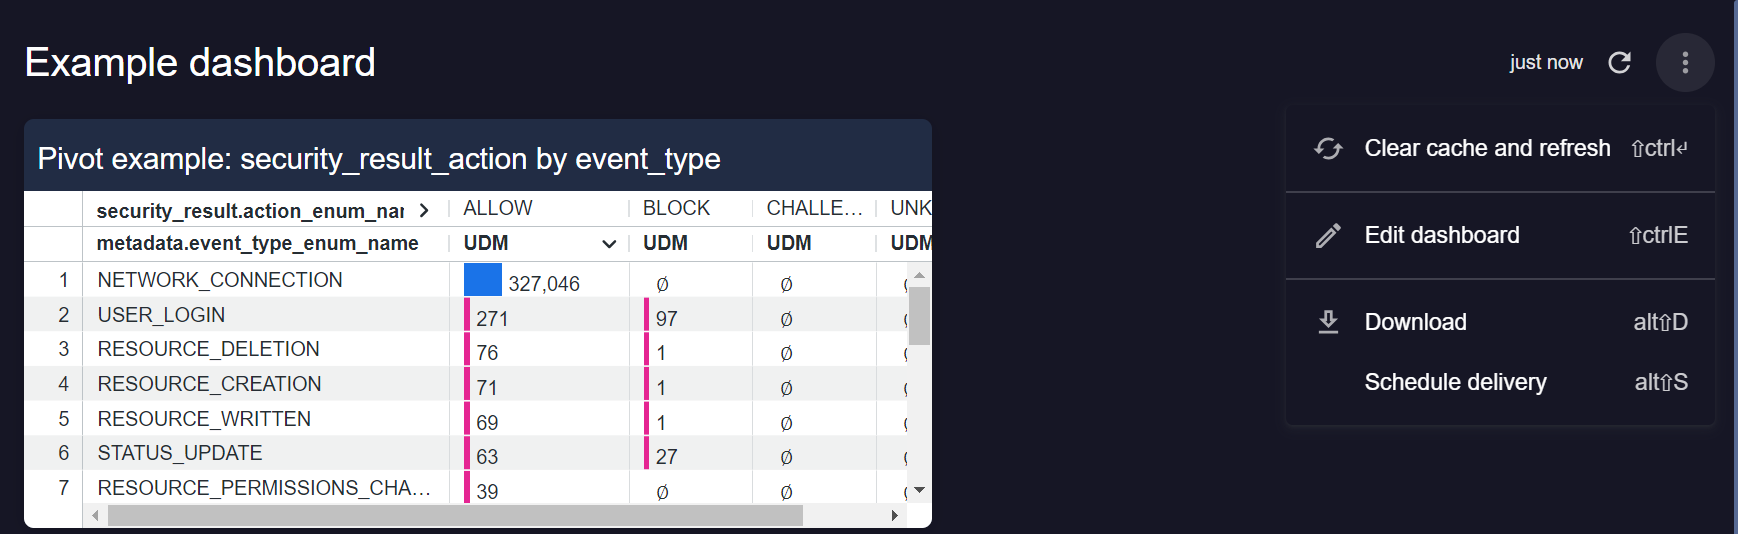
Open dashboard actions menu
To perform actions on a tile, open the Tile actions menu. The following image shows the menu location.
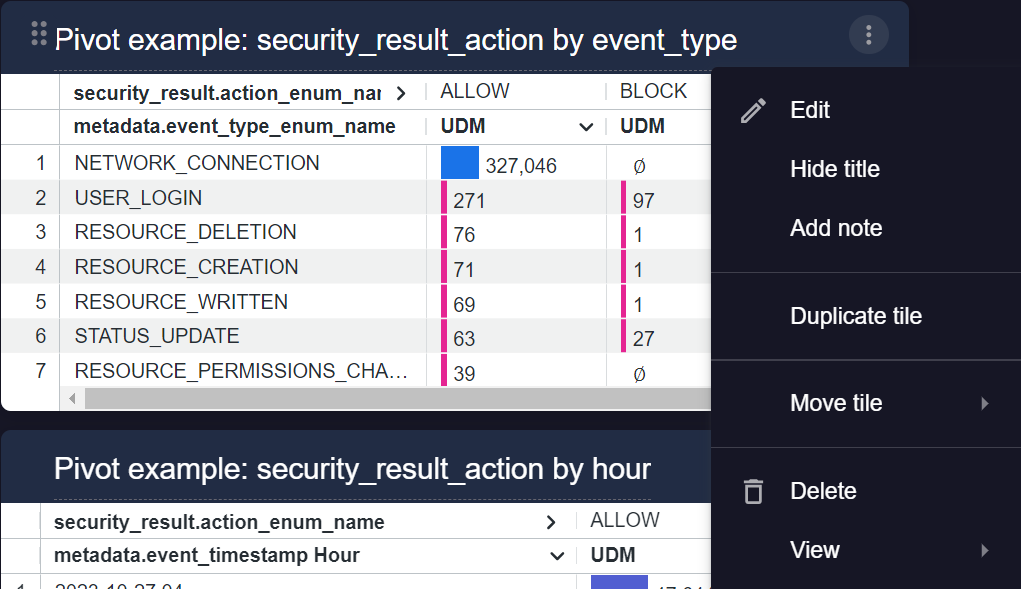
Open tile actions menu
Create a new dashboard
Use the following steps to create a new dashboard:
- Under the Personal Dashboards or Shared Dashboards section in the left navigation, click Add > Create new. A new blank dashboard appears.
- Click Edit dashboard and enter a name for the new dashboard.
- Add a tile to a dashboard.
- When you're done, click Save.
Copy an existing dashboard
Copying an existing dashboard can save time if the original dashboard uses a data model and has visualizations that you want to use. You can copy an existing dashboard from the Default Dashboards, Personal Dashboards, or Shared Dashboards section in the left navigation.
Do the following to copy an existing dashboard:
- Choose a dashboard you want to copy, from the Default Dashboards, Personal Dashboards, or Shared Dashboards section in the left navigation.
Click Menu next to the dashboard name, and then select Copy to Personal or Copy to Shared.
This copies the dashboard to the Personal Dashboards or Shared Dashboards section in the left navigation.
Edit a dashboard
- Go to Personal Dashboards or Shared Dashboards and select a dashboard.
- Click Dashboard actions > Edit dashboard.
Add a tile to a dashboard
You can add a tile using one of the following ways:
- Create a new blank tile.
- Duplicate an existing tile that exists on the dashboard.
You can select any of the following types of tile:
- Visualization
- Text
- Markdown
- Button
Create a new tile
To add a new tile to a dashboard, do the following:
- Open an existing dashboard to edit or create a new dashboard.
- In the dashboard edit dialog, click Add and select the type of tile: Visualization, Text, Markdown, or Button.
- Depending on the tile type you select, you'll see different configuration
options. If you select IOC Matches, you can add the
Event Timestamp Filterfilter-only field.
Duplicate an existing tile
Follow these steps to duplicate a tile in the current dashboard. You can then edit the copy to use different fields, visualization, and filters.
- Open an existing dashboard to edit.
- Click Tile actions in the tile that you want to duplicate, and then click Duplicate tile. A new tile is created with the same Explore and custom fields as the original tile. You cannot change the Explore data model bound to the tile.
- Edit the tile to support a specific use case.
- Click Save.
Edit a tile
- Open an existing dashboard to edit.
- Identify the tile you want to edit, and then click Tile actions > Edit.
- Modify the tile to support a specific use case.
- Click Save.
What's next:
Need more help? Get answers from Community members and Google SecOps professionals.