Dari menu drop-down Environment, pilih lingkungan tempat Anda ingin membuat proxy API baru. Bagian ini mengasumsikan bahwa nama lingkungan adalah "test". Anda telah membuat setidaknya satu lingkungan di Langkah 5: Menambahkan lingkungan.
UI hybrid menampilkan daftar proxy API untuk lingkungan tersebut. Jika Anda belum membuat proxy, daftar akan kosong.
Klik +Proxy di kanan atas.
Wizard Proxy API dimulai
Pilih Reverse proxy (paling umum), lalu klik Berikutnya.
Tampilan Detail proxy akan ditampilkan.
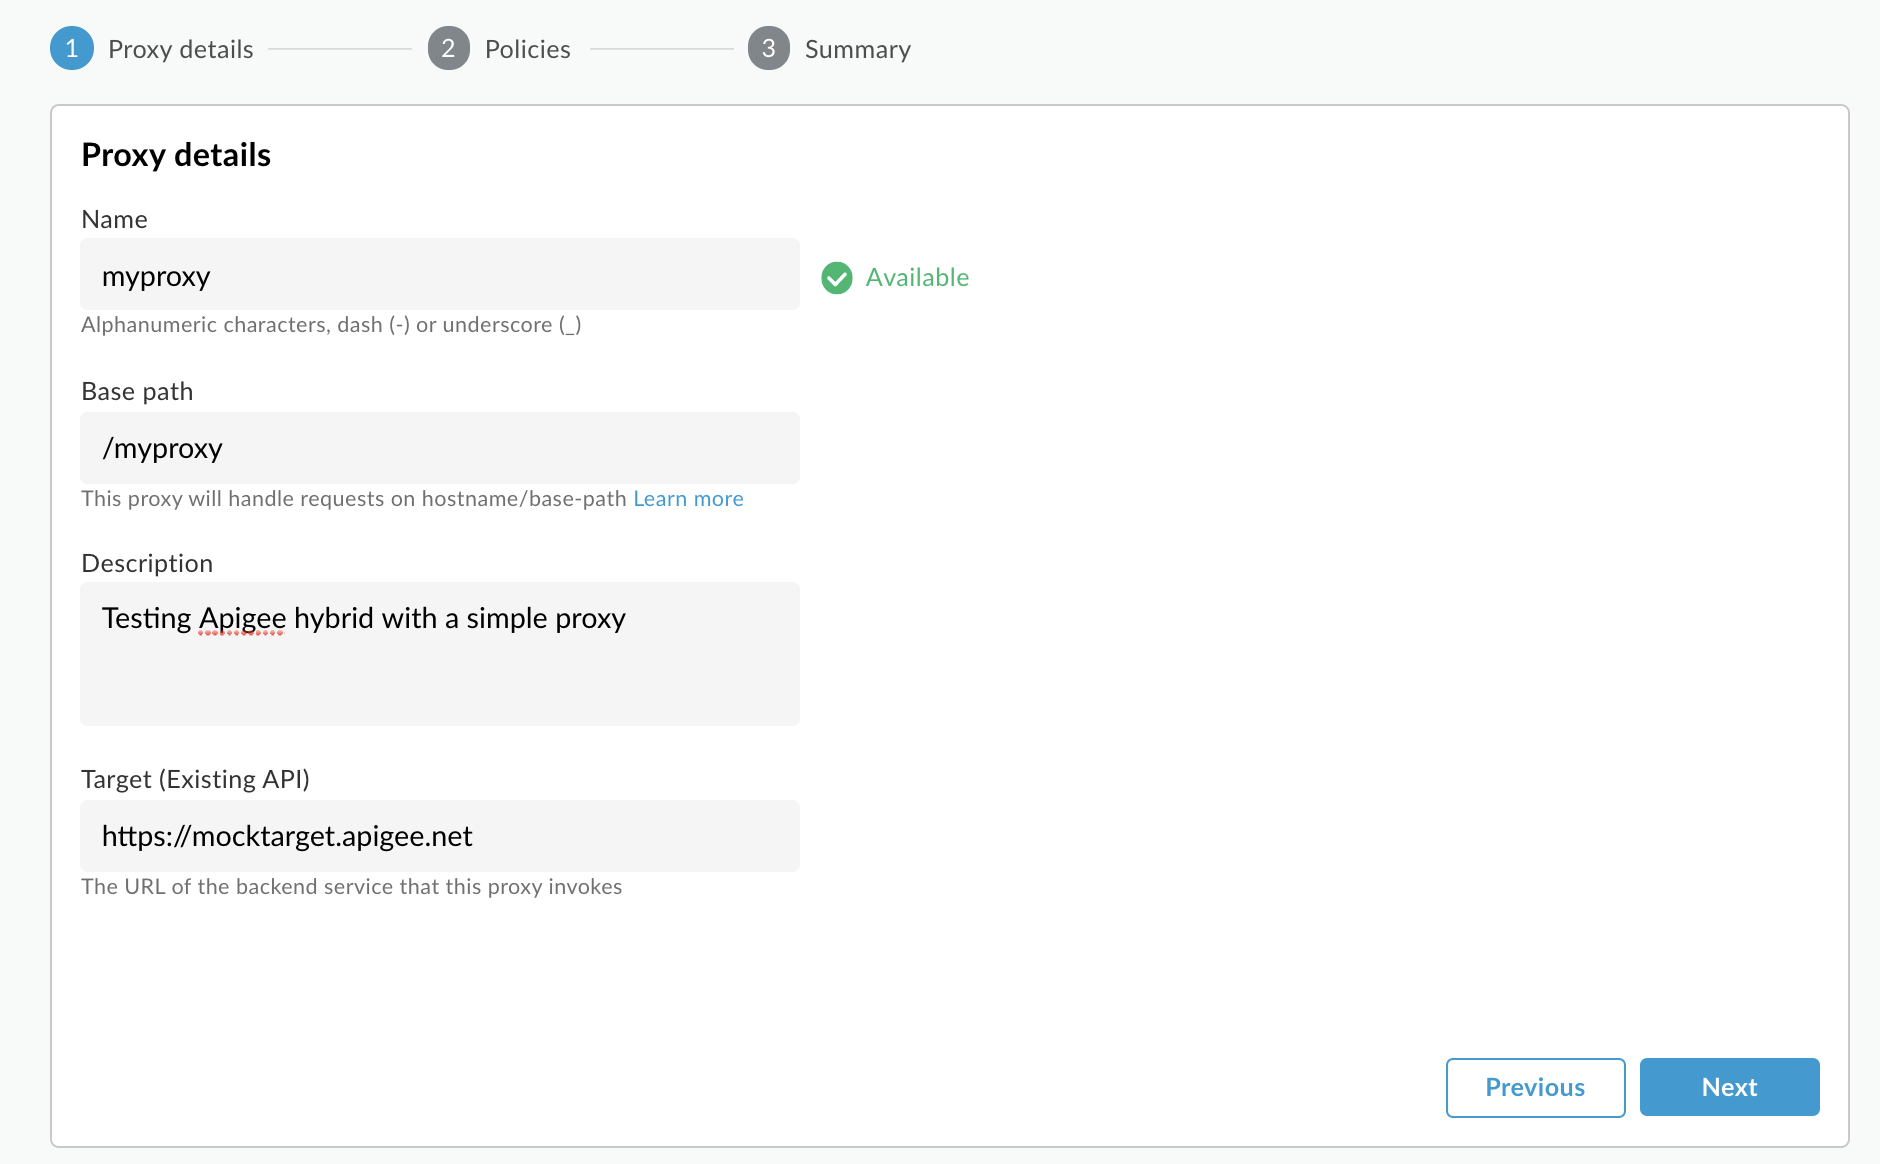
Konfigurasikan proxy dengan setelan berikut:
Nama Proxy: Masukkan "myproxy". Langkah-langkah yang tersisa di bagian ini mengasumsikan bahwa ini adalah ID proxy Anda.
Proxy Base Path: Otomatis disetel ke "/myproxy". Jalur Dasar Proxy adalah bagian dari URL yang digunakan untuk membuat permintaan ke API Anda. Edge menggunakan URL untuk
mencocokkan dan merutekan permintaan masuk ke proxy API yang sesuai.
(Opsional) Deskripsi: Masukkan deskripsi untuk proxy API baru Anda, seperti "Menguji Apigee hybrid dengan proxy sederhana".
Target (API yang Ada): Masukkan "https://mocktarget.apigee.net". Ini menentukan URL target yang dipanggil Apigee pada permintaan ke proxy API. Layanan mocktarget dihosting di Apigee dan menampilkan data sederhana. Anda tidak memerlukan kunci API atau token akses.
Detail proxy API Anda akan terlihat seperti berikut:
Klik Berikutnya.
Di layar Kebijakan, pilih Teruskan (tidak ada) sebagai
opsi keamanan.
Klik Berikutnya.
Di layar Ringkasan, klik Buat.
Hybrid membuat proxy (terkadang disebut sebagai paket proxy):
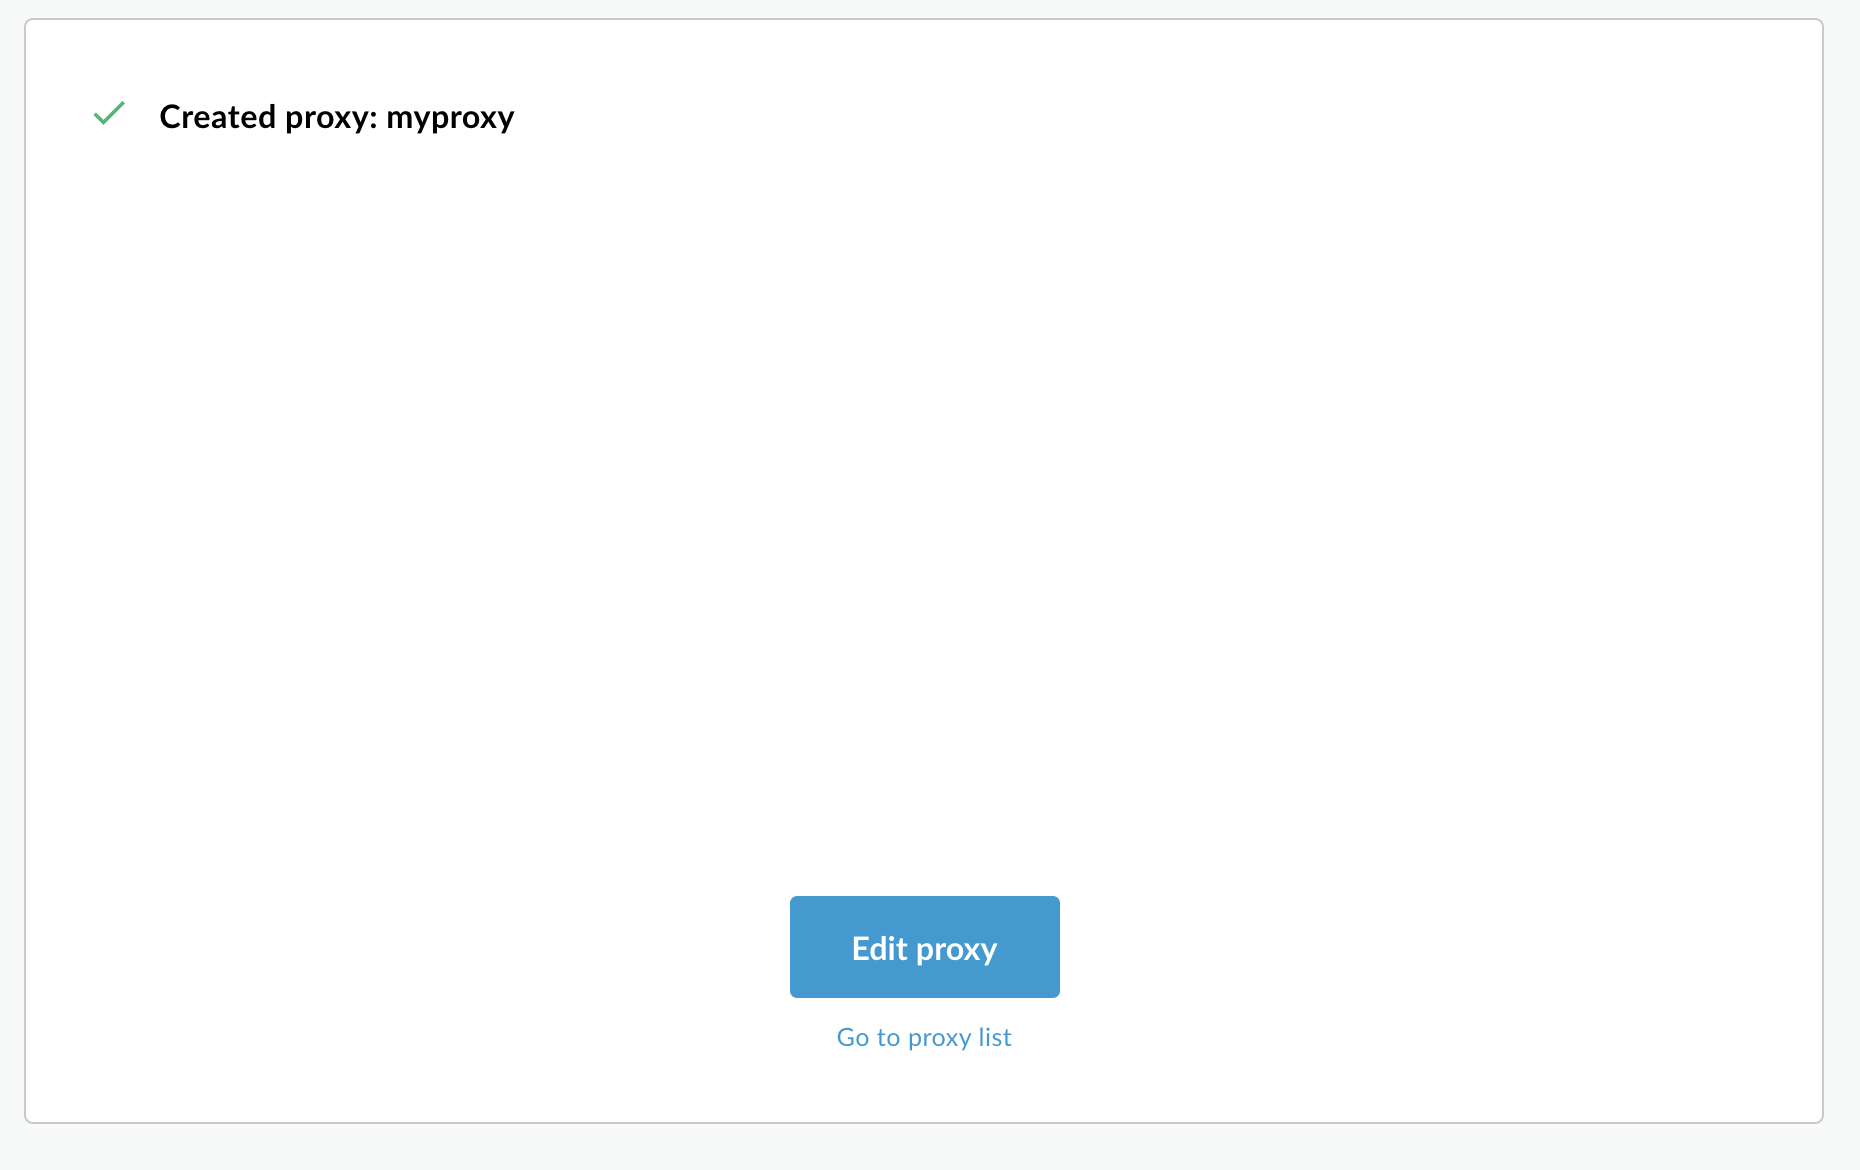
Klik Keluar.
Hybrid menampilkan tampilan Proxy, yang menampilkan daftar proxy API. Proxy baru akan berada di bagian atas daftar, dengan indikator status abu-abu, yang berarti proxy tersebut belum di-deploy.
2. Men-deploy proxy ke cluster menggunakan UI hybrid
Setelah membuat proxy baru, Anda harus men-deploynya agar dapat mencobanya. Bagian ini menjelaskan cara men-deploy proxy baru menggunakan UI campuran.
Untuk men-deploy proxy API di UI campuran:
Di UI campuran, pilih Develop > API Proxies.
Pastikan lingkungan "pengujian" dipilih.
UI akan menampilkan proxy baru Anda dalam daftar proxy:
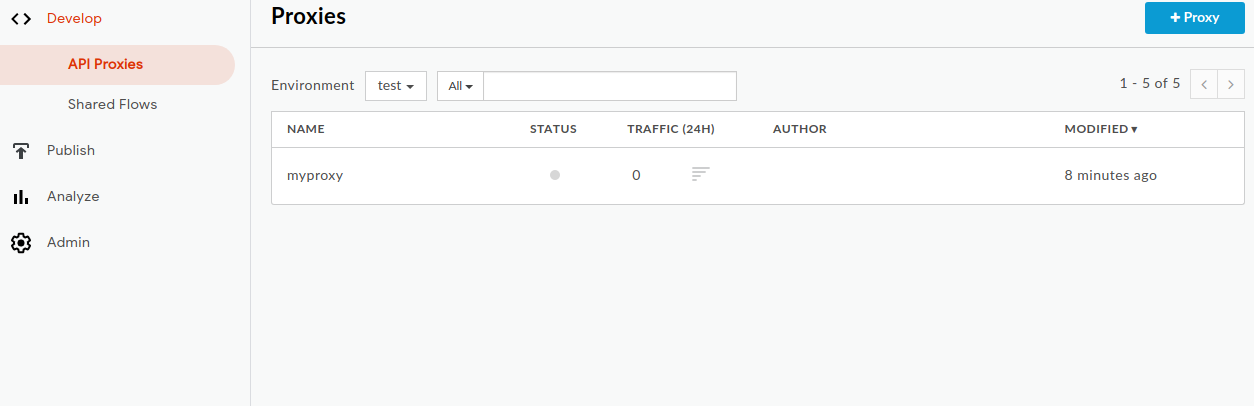
Klik proxy "myproxy".
UI menampilkan tab Ringkasan Proxy API untuk proxy tersebut.
Perhatikan bahwa di bagian Deployments, kolom Revision menampilkan
"Not deployed".
Di kolom Revision, luaskan pemilih drop-down untuk memilih revisi yang akan di-deploy.
Daftar drop-down hanya menampilkan "1" dan "Undeploy".
Pilih "1"—revisi yang ingin Anda deploy—dari menu drop-down.
UI akan meminta Anda untuk mengonfirmasi deployment:
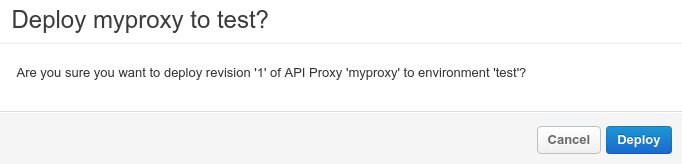
Klik Deploy.
UI akan memulai proses deployment revisi 1 proxy baru Anda ke cluster.
Perhatikan bahwa deployment bukan proses yang instan. Model deployment "eventually consistent"
Hybrid berarti deployment baru akan diluncurkan ke cluster dalam jangka waktu
singkat dan tidak langsung.
Meskipun ada beberapa cara untuk memeriksa
status deployment proxy di UI, dua langkah berikutnya menjelaskan cara memanggil proxy API
yang baru saja Anda deploy dan cara
memeriksa status deployment dengan panggilan ke Apigee API.
Jika Anda menggunakan karakter karakter pengganti '*' untuk properti envs.hostAlias
seperti yang diinstruksikan di Mengonfigurasi cluster,
ikuti langkah-langkah berikut sebelum melanjutkan:
Dapatkan IP eksternal untuk layanan istio-ingressgateway. Contoh:
kubectl get services -n istio-system
Dalam output, Anda akan melihat sesuatu seperti ini, dengan
34.68.41.240 adalah alamat IP ingress eksternal:
NAME TYPE CLUSTER-IP EXTERNAL-IP PORT(S)
istio-ingressgateway LoadBalancer 10.43.255.19 34.68.41.240 80:31381/TCP,443:31391
Salin nilai EXTERNAL-IP untuk digunakan di langkah berikutnya. Dalam contoh
ini, Anda akan menyalin 34.68.41.240.
Panggil proxy menggunakan cURL atau klien REST pilihan Anda:
curl -v -k https://34.68.41.240/myproxy
Jika panggilan berhasil, Anda akan melihat output berikut:
[[["Mudah dipahami","easyToUnderstand","thumb-up"],["Memecahkan masalah saya","solvedMyProblem","thumb-up"],["Lainnya","otherUp","thumb-up"]],[["Sulit dipahami","hardToUnderstand","thumb-down"],["Informasi atau kode contoh salah","incorrectInformationOrSampleCode","thumb-down"],["Informasi/contoh yang saya butuhkan tidak ada","missingTheInformationSamplesINeed","thumb-down"],["Masalah terjemahan","translationIssue","thumb-down"],["Lainnya","otherDown","thumb-down"]],["Terakhir diperbarui pada 2025-09-04 UTC."],[[["\u003cp\u003eThis documentation pertains to version 1.1 of Apigee hybrid, which is no longer supported and should be upgraded.\u003c/p\u003e\n"],["\u003cp\u003eYou can create a new API proxy in the Apigee UI using the API Proxy Wizard by selecting "Reverse proxy" and configuring the proxy details.\u003c/p\u003e\n"],["\u003cp\u003eAfter creating a new proxy, it needs to be deployed to the cluster via the hybrid UI to be accessible.\u003c/p\u003e\n"],["\u003cp\u003eDeploying a proxy involves selecting the revision in the hybrid UI and confirming the deployment, noting that the deployment process is not immediate.\u003c/p\u003e\n"],["\u003cp\u003eYou can call the newly deployed API proxy using cURL or a REST client, after ensuring the \u003ccode\u003eistio-ingressgateway\u003c/code\u003e service's external IP is available if using a wildcard host alias.\u003c/p\u003e\n"]]],[],null,["# Create and deploy a new API proxy\n\n| You are currently viewing version 1.1 of the Apigee hybrid documentation. **This version is end of life.** You should upgrade to a newer version. For more information, see [Supported versions](/apigee/docs/hybrid/supported-platforms#supported-versions).\n\nNow that you've configured and the hybrid UI, and installed and configured the\nruntime, you're ready to see how it all works together.\n\nThis section walks you through the following:\n\n1. **[Create a new API proxy](#create-proxy)** in the Apigee UI using the API Proxy Wizard\n2. **[Deploy your new proxy](#deploy)** to your cluster with the UI\n\n1. Create a new API proxy using the hybrid UI\n---------------------------------------------\n\nThis section describes how to create a new API proxy in the UI by using the API Proxy Wizard.\n\n**To create a simple API proxy using the API Proxy Wizard:**\n\n1. Open [Apigee UI](https://apigee.google.com) in a browser.\n2. Select **Develop \\\u003e API Proxies** in the main view.\n3. From the **Environment** drop-down list, select the environment in which you want to create a new API proxy. This section assumes the name of the environment is \"test\". You created at least one environment in [Step 5: Add an environment](/apigee/docs/hybrid/v1.1/precog-add-environment).\n\n The hybrid UI displays a list of API proxies for that environment. If you haven't created any\n proxies yet, the list is empty.\n4. Click **+Proxy** in the upper right.\n\n The API Proxy Wizard starts\n5. Select **Reverse proxy** (most common), and click **Next** .\n\n The **Proxy details** view is displayed.\n6. Configure your proxy with the following settings:\n - **Proxy Name:** Enter \"myproxy\". The remaining steps in this section assume that this is your proxy's ID.\n - **Proxy Base Path:** Automatically set to \"/myproxy\". The **Proxy Base\n Path** is part of the URL used to make requests to your API. Edge uses the URL to match and route incoming requests to the proper API proxy.\n - (Optional)**Description:** Enter a description for your new API proxy, such as \"Testing Apigee hybrid with a simple proxy\".\n - **Target (Existing API):** Enter \"https://mocktarget.apigee.net\". This defines the target URL that Apigee invokes on a request to the API proxy. The mocktarget service is hosted at Apigee and returns simple data. It requires no API key or access token.\n\n Your API proxy's details should look like the following:\n\n7. Click **Next**.\n8. On the **Policies** screen, select **Pass through (none)** as the security option.\n9. Click **Next**.\n10. On the **Summary** screen, click **Create** .\n\n Hybrid generates the proxy (sometimes referred to as *the proxy bundle*):\n\n | **NOTE:** In this case, the hybrid UI does *not* deploy the proxy to your cluster. You will do this in [the next step](#deploy).\n11. Click **Exit** .\n\n Hybrid displays the **Proxies** view, which displays a list of API proxies. The\n new proxy should be at the top of the list, with a gray status indicator, meaning that it has\n not yet been deployed.\n\n2. Deploy your proxy to the cluster using the hybrid UI\n-------------------------------------------------------\n\nAfter creating a new proxy, you must deploy it so that you can try it out. This section\ndescribes how to deploy your new proxy using the hybrid UI.\n\n**To deploy an API proxy in the hybrid UI:**\n\n1. In the hybrid UI, select **Develop \\\u003e API Proxies** .\n\n Be sure the \"test\" environment is selected.\n\n The UI displays your new proxy in the proxies list:\n\n2. Click on the \"myproxy\" proxy.\n\n The UI displays the **API Proxies Overview** tab for that proxy.\n\n Notice that under **Deployments** , the **Revision** column shows\n \"Not deployed\".\n3. In the **Revision** column, expand the drop-down selector to choose the revision to deploy.\n\n The drop down list displays only \"1\" and \"Undeploy\".\n4. Select \"1\"---the revision that you want to deploy---from the drop down list.\n\n The UI prompts you to confirm the deployment:\n\n5. Click **Deploy** .\n\n The UI begins the process of deploying revision 1 of your new proxy to the cluster.\n\n Note that deployment is not an instantaneous process. Hybrid's \"eventually consistent\"\n deployment model means that a new deployment will be rolled out to the cluster over a short\n period of time and not immediately.\n\nWhile there are [several ways](/apigee/docs/api-platform/deploy/ui-deploy-overview#viewing-deployment-status) to check the\ndeployment status of a proxy in the UI, the next two steps explain how to call the API proxy\nyou just deployed and how\nto check the deployment status with a call to the [Apigee APIs](/apigee/docs/reference/apis/apigee/rest).\n\n3. Call the API proxy\n---------------------\n\nWhen the [UI indicates\nyour proxy is deployed](/apigee/docs/hybrid/v1.1/ui-deploy-overview#view-deployment-status), you can try calling it:\n\n1. If you used the wildcard character '\\*' for the `envs.hostAlias` property as instructed in [Configure the cluster](/apigee/docs/hybrid/v1.1/install-copy-overrides), follow these steps before continuing:\n 1. Get the external IP for the `istio-ingressgateway` service. For example: \n\n ```\n kubectl get services -n istio-system\n ```\n\n In the output, you will see something like this, where\n `34.68.41.240` is the external ingress IP address: \n\n ```\n NAME TYPE CLUSTER-IP EXTERNAL-IP PORT(S)\n istio-ingressgateway LoadBalancer 10.43.255.19 34.68.41.240 80:31381/TCP,443:31391\n ```\n 2. Copy the value of the `EXTERNAL-IP` to use in the next step. In this example, you would copy `34.68.41.240`.\n2. Call the proxy using cURL or the REST client of your choice: \n\n ```\n curl -v -k https://34.68.41.240/myproxy\n ```\n\n If the call succeeds, you will see the following output: \n\n ```\n Hello, Guest!\n ```\n\n\n*[Google Cloud]: Google Cloud"]]