This page applies to Apigee and Apigee hybrid.
View
Apigee Edge documentation.
![]()
This page provides instructions on how to design and edit APIs in Apigee in Cloud Code.
Before you begin
Before using the functionality in this guide, ensure you have completed the setup steps for Setting up Apigee API Management in Cloud Code for VS Code, including making sure your user account has the required roles listed in Required roles to use Apigee API hub with Apigee local development.
Design APIs
You can add and edit Apigee API proxies and API hub APIs directly in Cloud Code.
- Create an Apigee API proxy by following the steps in Create an API proxy.
- Create an API hub API by clicking the plus icon in the row for your API hub host. This opens a spec editing window and Swagger panel for the new API spec and allows you to publish the API to your API hub.
Edit APIs
You can edit APIs you've saved locally or from your API hub catalog. Changes you make in Cloud Code can be published to API hub or saved as an Apigee API proxy bundle.
Regardless of the method you use to edit an API, you can manually update the spec, or use Gemini Code Assist Chat (if enabled) to iterate on the spec. Note that when using Gemini Code Assist Chat to iterate on the spec, Gemini Code Assist suggestions do not include enterprise context from your API hub.
Edit an API spec from API hub
To edit an API spec that is stored in your API hub catalog, follow the instructions in this section. In order to integrate with API hub, your Apigee project must be provisioned with API hub. See Before you begin.
- Make sure that the project you've selected in Cloud Code is the project with the API hub catalog containing the API you want to edit.
- In the left nav, expand the API Hub tree in the Apigee section.
- Select the API and version to edit from the list. You'll see the YAML file and the Swagger panel view for the API.
Edit an API spec that is stored locally
To edit an API spec that is stored locally, open the file in Cloud Code.
If you've created an Apigee proxy bundle from the spec, you can open the proxy bundle file in Cloud Code by clicking the API proxy name under apiproxies in your Apigee workspace.
Save APIs as API proxy bundles
You can save your API as an Apigee API proxy bundle so that you can work on it within your Apigee local development environment. For information on working with API proxies in Cloud Code, see Develop API proxies.
- Click Create API proxy bundle in the Swagger panel.
- In the prompt field, name your API proxy and continue.
- Your API proxy appears in the Apigee left menu in your local workspace, under apiproxies.
Publish APIs to API hub
If you are using API hub, you can make your APIs available to other developers by registering them with API hub:
- In the Swagger panel for a new or edited API spec, click Publish to API hub.
- In the form, provide metadata for the API to improve its discoverability
and organization of APIs within your API hub catalog. Most fields are autopopulated from the
API spec, but you can change the values. See
Register an API for
information on registering with API hub and the information you need to provide.
- API Display Name (Required): A name of the API, visible to other developers.
- API Description (Optional): A description of the API for internal/developer reference.
- API Owner Name (Optional): The name of the API owner.
- API Owner Email (Optional): The owner's email address.
- API Version (Required): The API version.
- Lifecycle Stage (Optional): Select a stage from the list.
- Click Publish to publish the API to API hub.
- After a short delay, your changes should be visible in the API Hub tree in the Apigee section of Cloud Code.
Test APIs using a mock server
You can test your API using either a local mock server or a Google Cloud-based remote mock server. The local mock server is installed and available by default while you must set up and manage Google Cloud mock servers.
Use the local mock server
The local mock server accepts requests to this API and emulates responses. It is usable only during the current session by the current user. However, unlike the remote mock server, it requires no setup or management and incurs no costs.
Also, local mock servers:
- Do not work when using Cloud Shell Editor or Cloud Workstations.
- Might not work correctly when using VS Code Remote Explorer.
To use the local mock server:
- Select the local mock server in the Servers dropdown (if not already selected):

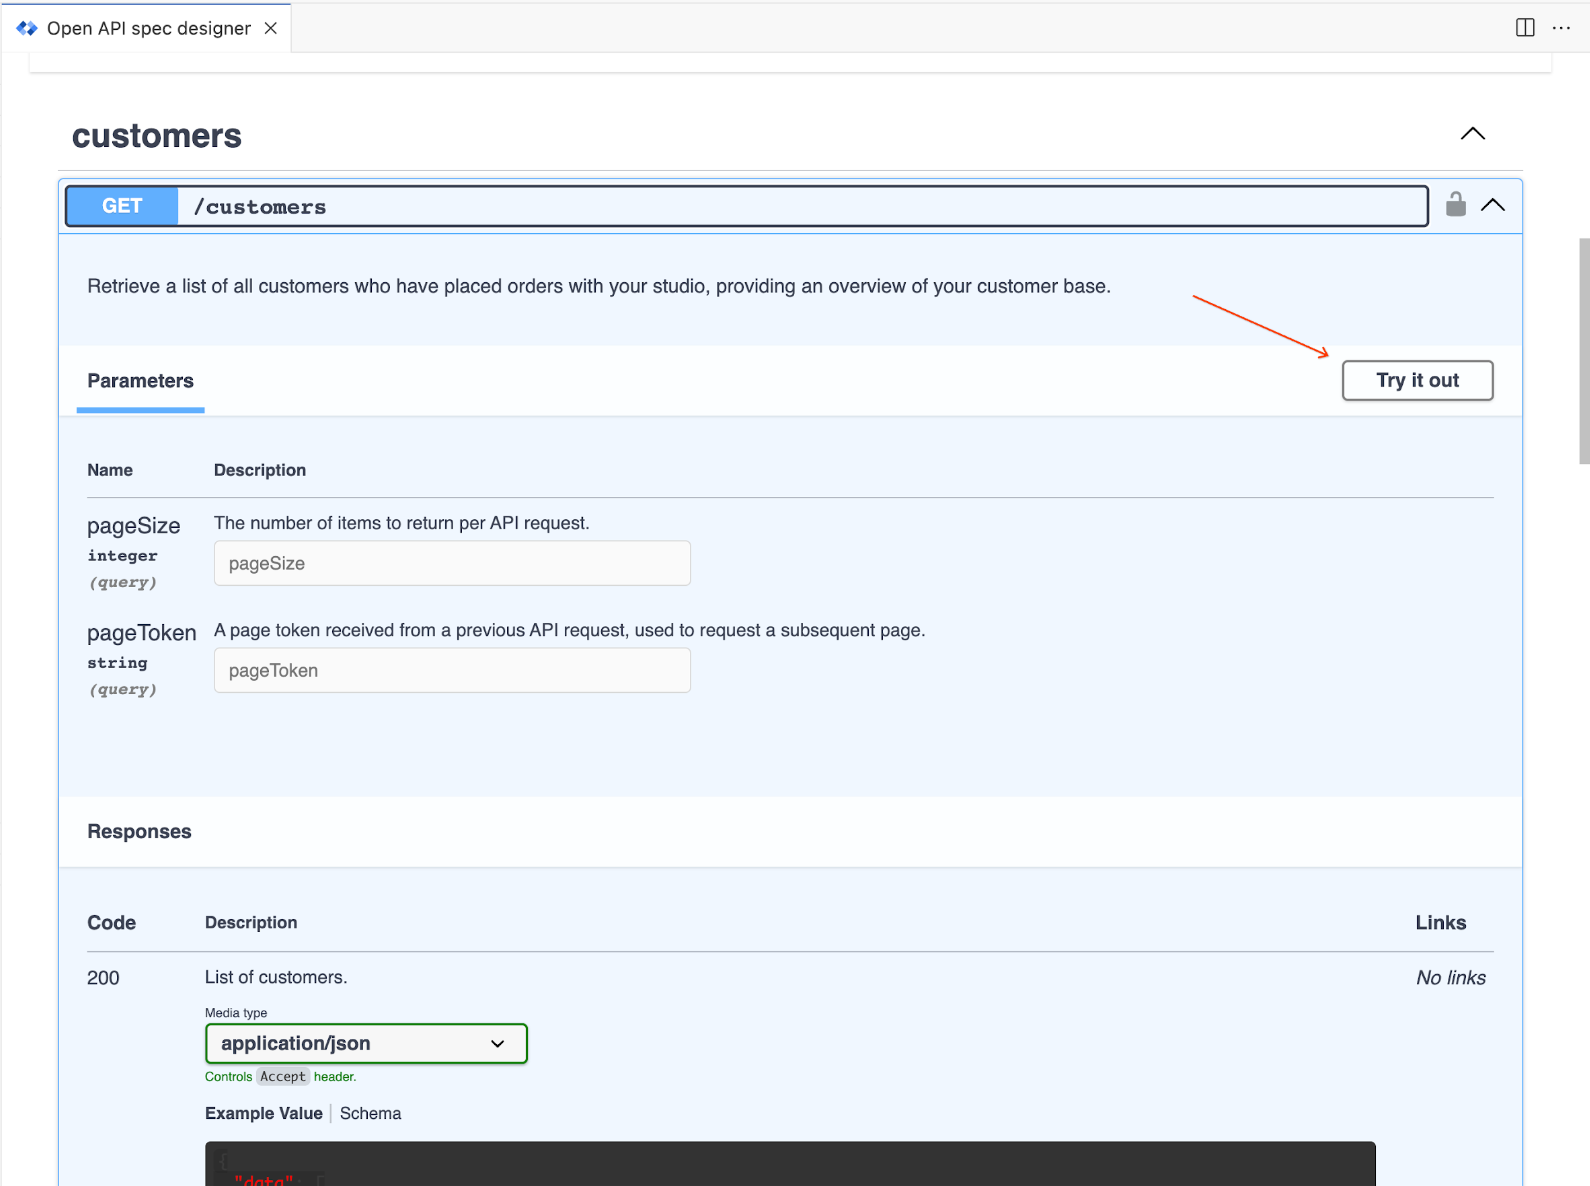
- Open a path in the Swagger panel and click Try it out.

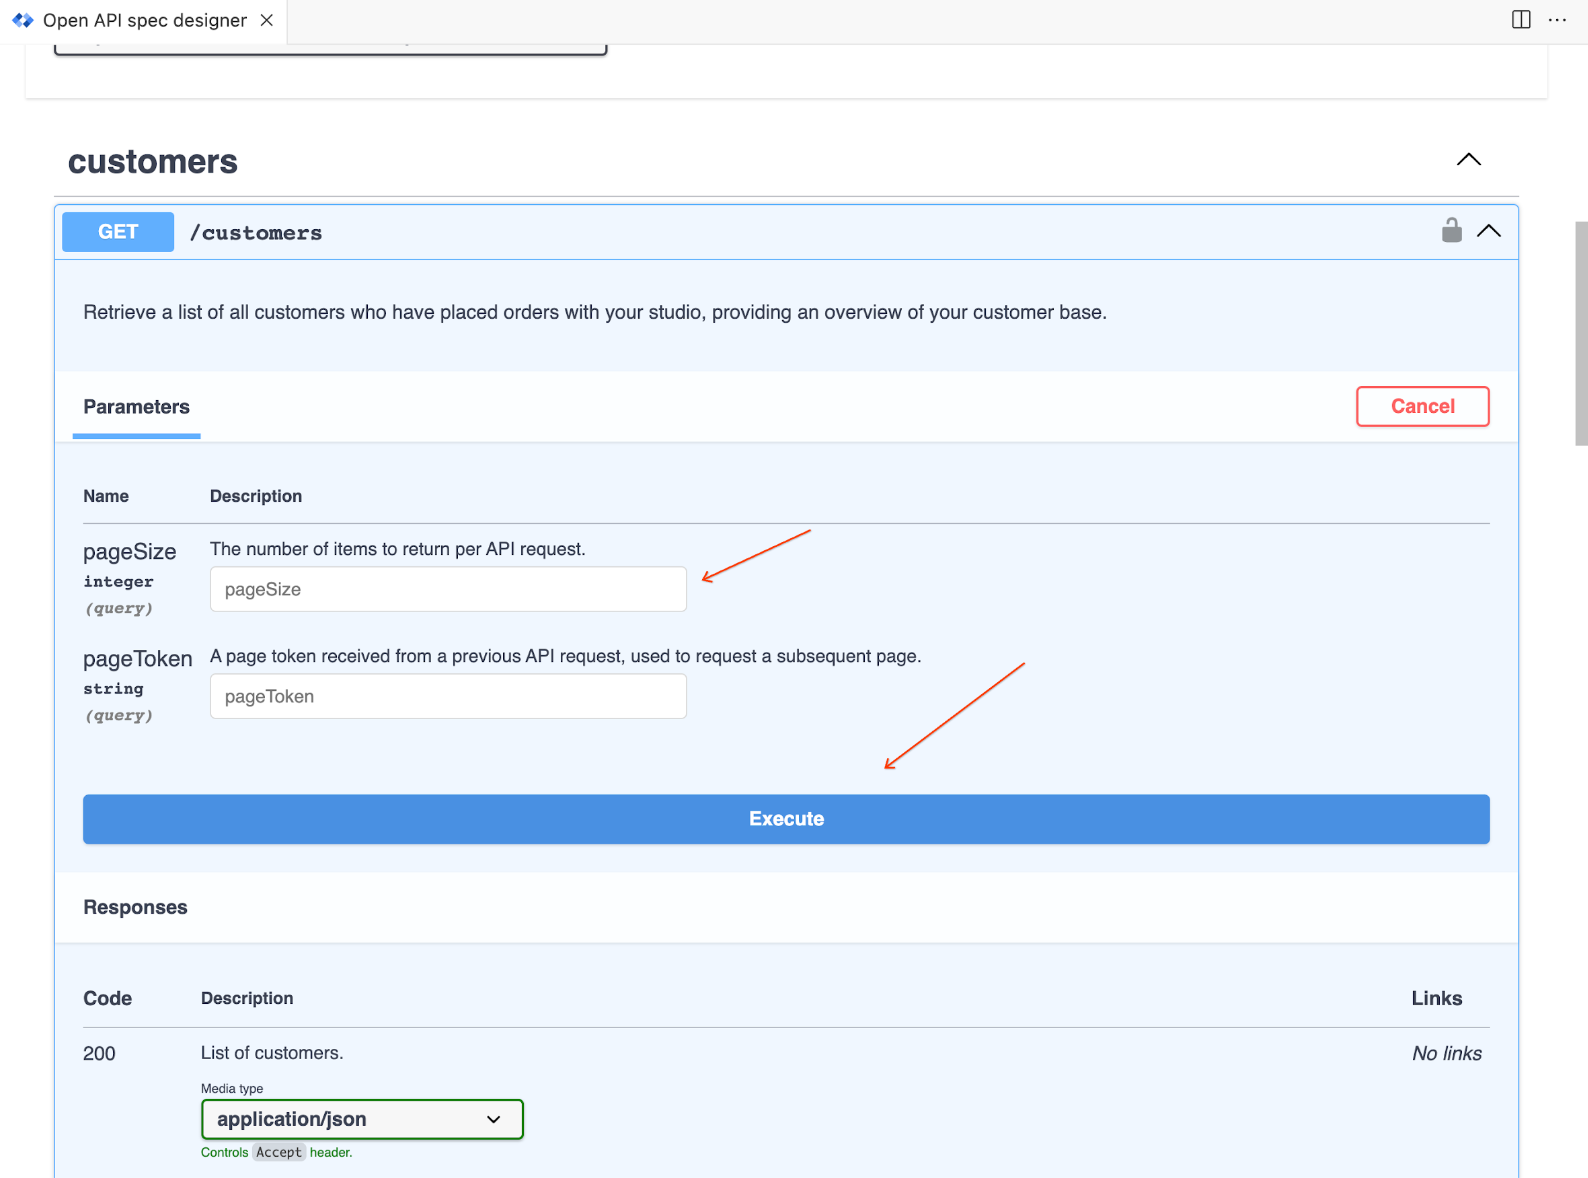
- Fill out any request parameters and click Execute.

Use a remote mock server
A remote mock server provides the ability to create a persistent mock server instance that, unlike the local mock server, can be shared with and used by others within your organization to test the new API. Remote mock servers can only be used with APIs that are registered in API hub.
Remote mock servers do not automatically update for any changes you make to the API after deploying the mock server, so wait to add the mock server until you have fully created the API.
Deploying a Google Cloud remote mock server creates a new Cloud Run service. It builds a container image for the mock server using Cloud Build and uploads the container image to Cloud Artifact Registry in your Google project. See What is Cloud Run?, Managing Services, and the Artifact Registry documentation.
You can either use the default service account or provide a more restricted service account to deploy the Cloud Run application to. See Manage Cloud APIs and Cloud Client Libraries in Cloud Code for VS Code for information.
To deploy a remote mock server:
- Select Deploy mock server from the Swagger panel.
- If your API is not already registered in API hub, register it when prompted.
- Specify details for the remote mock server: Server Name, Secure Server, Service Account (leave empty to use the default service account), and whether to add the server URL to the API spec. Click Create to create the remote mock server.
- Remote mock server generation requires several minutes. You can watch the progress in the Cloud Code OUTPUT panel and through the notification pop up in the bottom right corner of their VS Code.
- Once the remote mock server creation process is complete, you'll see the remote server URL in the Swagger panel server list and the OUTPUT panel.
- To use the mock server, open a path and click Try it out.

Fill out any request parameters and click Execute.

You can also submit requests usingcurlfrom a prompt. Use the server address and port from the Servers dropdown.
To share access to the mock server with other users:
- Give other users the invoker role for the deployed service. See Authenticate developers.
- When making the request to the mock server, users follow the instructions in Test your private service.
To manage deployed remote mock servers:
- Go to Apigee API hub.
- Find the API to see all the deployments for the API, which includes any remote mock servers.
- Use the Resource URL to go the deployment and manage it by stopping, deleting, and performing other actions on the mock server.
