This page applies to Apigee and Apigee hybrid.
This page describes how to create plugin instances in API hub. A plugin instance represents a configured and active connection between API hub and a specific API data source via the associated plugin. For more information about plugin instances, see Plugin instance.
How plugin instances are created
Plugin instances are created automatically or manually depending on the plugin type and the action that you perform.
- For all Built-in Google Cloud plugins, API hub automatically creates a plugin instance during the process of attaching a runtime project to API hub. For more information, see Attach a runtime project.
- For all other plugins, you can create a plugin instance manually from the Settings page in API hub. For more information, see Create a plugin instance.
Before you begin
- Ensure that you have the following IAM permissions:
apihub.plugininstances.createapihub.plugininstances.deleteapihub.plugininstances.getapihub.plugininstances.list
For information on granting roles to principals, see Granting, changing, and revoking access.
- For Apigee Edge Public Cloud plugins, read about Apigee Edge API hub connector integration.
- For Apigee Edge Private Cloud (OPDK) plugins, read about API hub connector integration.
Create a plugin instance
To create a plugin instance, perform the following steps:
- In the Google Cloud console, go to the API hub page.
- Click Settings from the left navigation menu to open the Settings page.
- Click the Plugins tab to view the available plugins in your project.
- Hold the pointer over the desired plugin, and then click Create instance.
- Configure the following fields in the Create a plugin instance pane. The configuration options depend on the plugin type.
- Display name: Enter a name for the plugin instance.
- Curation: Select the curation settings for the plugin instance. By default, the curation level is set to Default.
- Organization: Choose the Apigee Edge organization that hosts the plugin data. This field is only available for Apigee Edge public cloud and Apigee Edge private cloud (OPDK) plugins.
- Source project ID: Enter the unique identifier of the source project from which the plugin will import the data. This field is only available for custom plugins.
- Service account: Enter the associated service account of the source project. This field is only available for Apigee Edge private cloud (OPDK) plugins.
- Click Create to initiate the creation of the plugin instance.
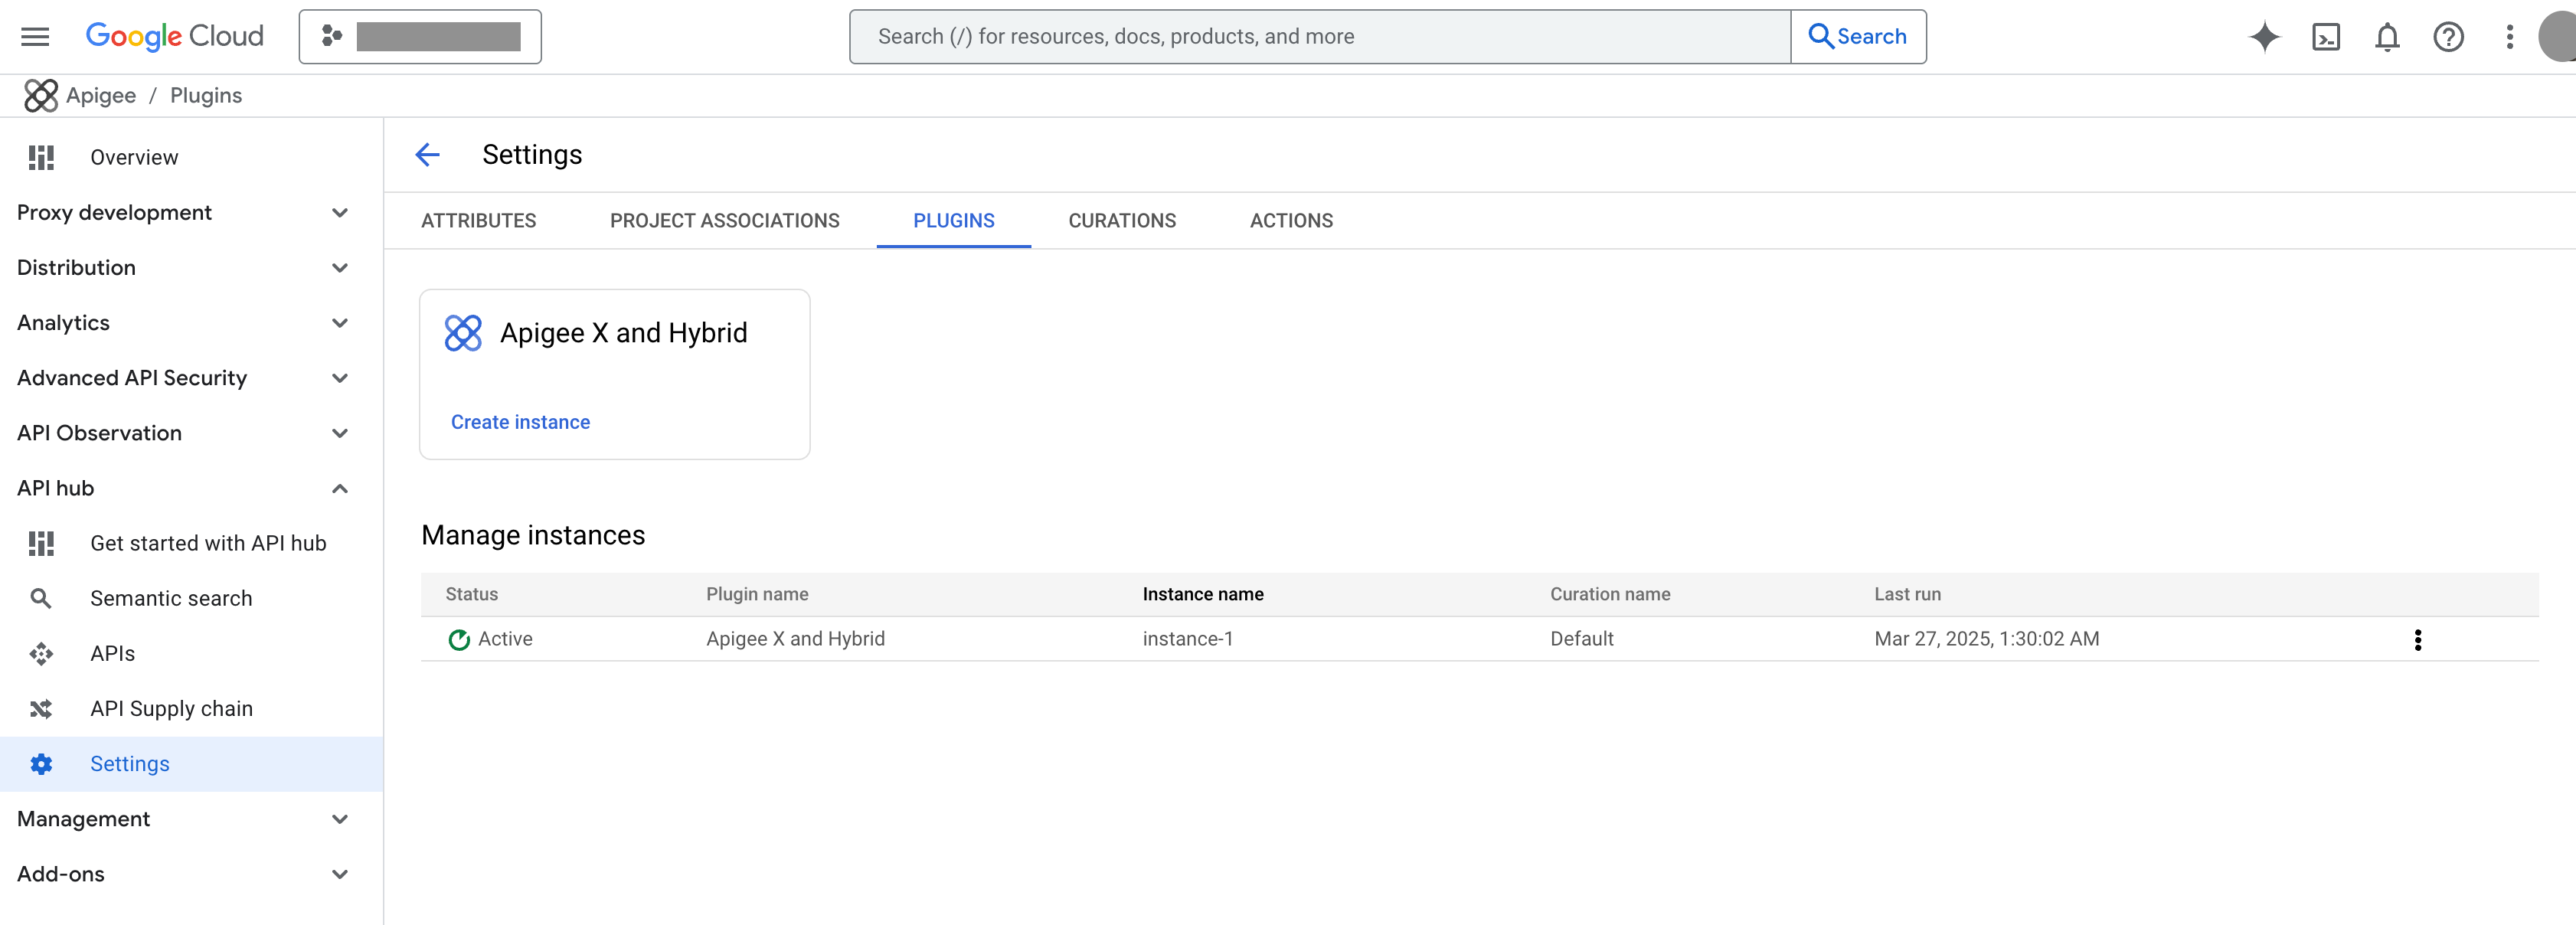
You can view the status of the plugin instance in the Plugins tab under Manage instances. On successful creation, the status of the plugin instance is displayed as Active as shown in the following image:
What's next
- Learn more about managing plugin instances.
- Learn more about plugins.
- Learn more about curations.