访问 JupyterLab 中的 Cloud Storage 存储桶和文件
本页面介绍如何将 Cloud Storage 存储桶装载到 Vertex AI Workbench 代管式笔记本实例的 JupyterLab 界面,以便您可以浏览存储在 Cloud Storage 中的文件。您还可以打开和修改与 JupyterLab 兼容的文件,例如文本文件和笔记本 (IPYNB) 文件。
概览
Vertex AI Workbench 代管式笔记本实例包含 Cloud Storage 集成,可让您装载 Cloud Storage 存储桶。这意味着您可以在 JupyterLab 界面中浏览存储桶的内容并使用兼容的文件。
您可以访问您的实例在代管式笔记本实例所属的项目中有权访问的任何 Cloud Storage 存储桶和文件。
准备工作
本指南要求您有权访问代管式笔记本实例所属项目中的至少一个 Cloud Storage 存储桶。
- 如果您需要创建 Cloud Storage 存储桶,请参阅创建存储桶。
打开 JupyterLab
在 Google Cloud 控制台中,打开托管式笔记本页面。
前往“代管式笔记本”
在代管式笔记本实例的名称旁边,点击打开 JupyterLab。
您的代管式笔记本实例会打开 JupyterLab。
装载 Cloud Storage 存储桶和文件
如需装载并访问 Cloud Storage 存储桶,请执行以下操作:
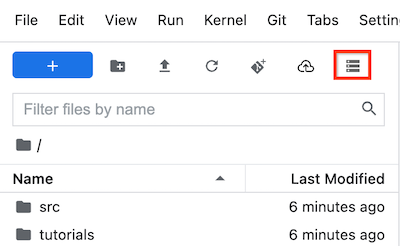
在 JupyterLab 中,确保选中 folder 文件浏览器标签页。
在左侧边栏中,点击  装载共享存储空间按钮。如果您没有看到该按钮,请拖动边栏的右侧以展开边栏,直到看到该按钮为止。
在存储桶名称字段中,输入要装载的 Cloud Storage 存储桶名称。
点击装载 (Mount)。
您的 Cloud Storage 存储桶在左侧边栏的文件浏览器标签页中显示为文件夹。双击该文件夹可将其打开并浏览其内容。
后续步骤
如未另行说明,那么本页面中的内容已根据知识共享署名 4.0 许可获得了许可,并且代码示例已根据 Apache 2.0 许可获得了许可。有关详情,请参阅 Google 开发者网站政策。Java 是 Oracle 和/或其关联公司的注册商标。
最后更新时间 (UTC):2025-10-19。
[[["易于理解","easyToUnderstand","thumb-up"],["解决了我的问题","solvedMyProblem","thumb-up"],["其他","otherUp","thumb-up"]],[["很难理解","hardToUnderstand","thumb-down"],["信息或示例代码不正确","incorrectInformationOrSampleCode","thumb-down"],["没有我需要的信息/示例","missingTheInformationSamplesINeed","thumb-down"],["翻译问题","translationIssue","thumb-down"],["其他","otherDown","thumb-down"]],["最后更新时间 (UTC):2025-10-19。"],[],[]]