Access Cloud Storage buckets and files in JupyterLab
This page shows you how to mount a Cloud Storage bucket to the JupyterLab interface of your Vertex AI Workbench managed notebooks instance so that you can browse files that are stored in Cloud Storage. You can also open and edit files that are compatible with JupyterLab, such as text files and notebook (IPYNB) files.
Overview
Vertex AI Workbench managed notebooks instances include a Cloud Storage integration that lets you mount a Cloud Storage bucket. This means you can browse the contents of the bucket and work with compatible files from within the JupyterLab interface.
You can access any of the Cloud Storage buckets and files that your instance has access to within the same project as your managed notebooks instance.
Before you begin
This guide requires you to have access to at least one Cloud Storage bucket in the same project as your managed notebooks instance.
- If you need to create a Cloud Storage bucket, see Create buckets.
Open JupyterLab
In the Google Cloud console, go to the Managed notebooks page.
Next to your managed notebooks instance's name, click Open JupyterLab.
Your managed notebooks instance opens JupyterLab.
Mount the Cloud Storage buckets and files
To mount and then access a Cloud Storage bucket, do the following:
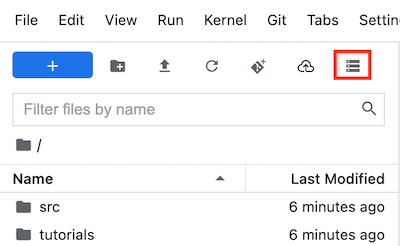
In JupyterLab, make sure the File Browser tab is selected.
In the left sidebar, click the Mount shared storage button. If you don't see the button, drag the right side of the sidebar to expand the sidebar until you see the button.
In the Bucket name field, enter the Cloud Storage bucket name that you want to mount.
Click Mount.
Your Cloud Storage bucket appears as a folder in the File browser tab of the left sidebar. Double-click the folder to open it and browse the contents.
What's next
Learn more about Cloud Storage.
Learn how to query data in BigQuery from within JupyterLab.