本页面介绍了如何仅使用文本提示进行无蒙版修改。借助无蒙版修改,您可以在不使用蒙版的情况下修改图片。这种修改方法非常适合与整个图片相关的修改,或者修改位置对于您的应用场景并不重要。
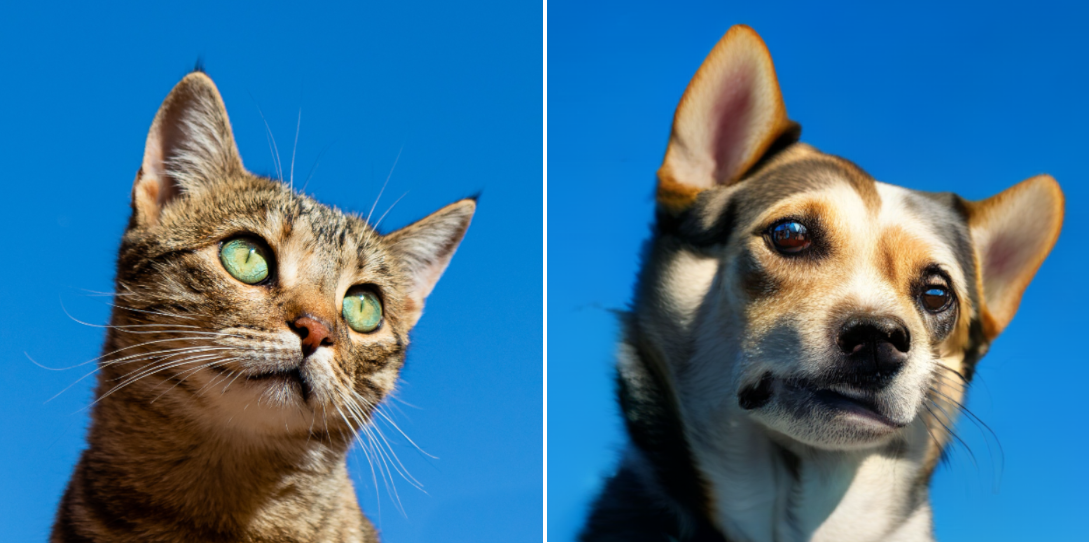
无蒙版(整个图片)修改示例
您只能使用文本提示修改基础图片(生成或上传)。 您无需指定要修改的区域,更新会应用于整个图片(也称为无蒙版修改)。
如需进行无蒙版修改,请使用描述您要查看的提示,而不是更改内容的指令。例如,假设一张现有的猫的图片,您要更改为狗。无蒙版修改提示“a dog”可能比“change the cat to a dog”更有效。同样,设想一下,您使用“a cat at the beach”提示生成的图片。如需更改此图片,请使用修改提示“a dog at the beach"。
查看 Imagen for Editing and Customization 模型卡片
准备工作
- Sign in to your Google Cloud account. If you're new to Google Cloud, create an account to evaluate how our products perform in real-world scenarios. New customers also get $300 in free credits to run, test, and deploy workloads.
-
In the Google Cloud console, on the project selector page, select or create a Google Cloud project.
Roles required to select or create a project
- Select a project: Selecting a project doesn't require a specific IAM role—you can select any project that you've been granted a role on.
-
Create a project: To create a project, you need the Project Creator
(
roles/resourcemanager.projectCreator), which contains theresourcemanager.projects.createpermission. Learn how to grant roles.
-
Verify that billing is enabled for your Google Cloud project.
-
Enable the Vertex AI API.
Roles required to enable APIs
To enable APIs, you need the Service Usage Admin IAM role (
roles/serviceusage.serviceUsageAdmin), which contains theserviceusage.services.enablepermission. Learn how to grant roles. -
为您的环境设置身份验证。
Select the tab for how you plan to use the samples on this page:
Console
When you use the Google Cloud console to access Google Cloud services and APIs, you don't need to set up authentication.
Python
如需在本地开发环境中使用本页面上的 Python 示例,请安装并初始化 gcloud CLI,然后使用您的用户凭证设置应用默认凭证。
安装 Google Cloud CLI。
如果您使用的是外部身份提供方 (IdP),则必须先使用联合身份登录 gcloud CLI。
If you're using a local shell, then create local authentication credentials for your user account:
gcloud auth application-default login
You don't need to do this if you're using Cloud Shell.
If an authentication error is returned, and you are using an external identity provider (IdP), confirm that you have signed in to the gcloud CLI with your federated identity.
Google Cloud
REST
如需在本地开发环境中使用本页面上的 REST API 示例,请使用您提供给 gcloud CLI 的凭证。
安装 Google Cloud CLI。
如果您使用的是外部身份提供方 (IdP),则必须先使用联合身份登录 gcloud CLI。
如需了解详情,请参阅 Google Cloud 身份验证文档中的使用 REST 时进行身份验证。
使用无蒙版修改
使用以下示例修改没有蒙版区域的整张图片。
控制台
-
在 Google Cloud 控制台中,前往 Vertex AI > Media Studio 页面。
前往 Media Studio - 在下层任务面板中,点击修改图片。
转到 修改图片屏幕。
修改生成的图片
- 使用文本提示生成图片
- 点击生成的图片。
- 点击修改图片。
修改上传的图片
- 点击上传图片。
- 选择要修改的本地文件。
输入修改图片的新提示。
- 可选。修改所有参数。
点击生成。

通过提示符使用 Imagen on Vertex AI 修改的图片的修改图片视图:抹茶蛋糕。原始图片显示在右上角。原始图片来源:David Holifield on Unsplash(显示在 Google Cloud 控制台中)。
Python
如需了解如何安装或更新 Vertex AI SDK for Python,请参阅安装 Vertex AI SDK for Python。 如需了解详情,请参阅 Python API 参考文档。
在此示例中,您将使用
load_from_file方法引用本地文件作为要修改的基础Image。指定基础图片后,您可以对ImageGenerationModel使用edit_image方法,并在本地保存修改后的图片。然后,您可以选择使用笔记本中的show()方法显示修改后的图片。REST
在使用任何请求数据之前,请先进行以下替换:
- PROJECT_ID:您的 Google Cloud 项目 ID。
- LOCATION:您的项目的区域。 例如
us-central1、europe-west2或asia-northeast3。如需查看可用区域的列表,请参阅 Vertex AI 上的生成式 AI 位置。 - TEXT_PROMPT:用于指导模型生成什么图片的文本提示。生成和修改都需要此字段。
- B64_BASE_IMAGE:要修改或放大的基础图片。图片必须指定为 base64 编码的字节字符串。大小上限:10 MB。
- EDIT_IMAGE_COUNT:已修改图片的数量。 默认值:4。
HTTP 方法和网址:
POST https://LOCATION-aiplatform.googleapis.com/v1/projects/PROJECT_ID/locations/LOCATION/publishers/google/models/imagegeneration@002:predict
请求 JSON 正文:
{
  "instances": [
    {
      "prompt": "TEXT_PROMPT",
      "image": {
        "bytesBase64Encoded": "B64_BASE_IMAGE"
      }
    }
  ],
  "parameters": {
    "sampleCount": EDIT_IMAGE_COUNT
  }
}
如需发送请求,请选择以下方式之一:
以下示例响应适用于包含curl
将请求正文保存在名为
request.json的文件中,然后执行以下命令:curl -X POST \
-H "Authorization: Bearer $(gcloud auth print-access-token)" \
-H "Content-Type: application/json; charset=utf-8" \
-d @request.json \
"https://LOCATION-aiplatform.googleapis.com/v1/projects/PROJECT_ID/locations/LOCATION/publishers/google/models/imagegeneration@002:predict"PowerShell
将请求正文保存在名为
request.json的文件中,然后执行以下命令:$cred = gcloud auth print-access-token
$headers = @{ "Authorization" = "Bearer $cred" }
Invoke-WebRequest `
-Method POST `
-Headers $headers `
-ContentType: "application/json; charset=utf-8" `
-InFile request.json `
-Uri "https://LOCATION-aiplatform.googleapis.com/v1/projects/PROJECT_ID/locations/LOCATION/publishers/google/models/imagegeneration@002:predict" | Select-Object -Expand Content"sampleCount": 2的请求。响应返回两个预测对象,其中生成的图片字节采用 base64 编码。{ "predictions": [ { "bytesBase64Encoded": "BASE64_IMG_BYTES", "mimeType": "image/png" }, { "mimeType": "image/png", "bytesBase64Encoded": "BASE64_IMG_BYTES" } ] }后续步骤
阅读有关 Imagen 和其他 Vertex AI 上的生成式 AI 产品的文章:
- Imagen 3 on Vertex AI 开发者入门指南
- 与创作者一起为创作者打造的全新生成式媒体模型和工具
- Gemini 中的新功能:自定义 Gem 以及通过 Imagen 3 改进的图片生成
- Google DeepMind:Imagen 3 - 我们质量最高的文本转图片模型
如未另行说明,那么本页面中的内容已根据知识共享署名 4.0 许可获得了许可,并且代码示例已根据 Apache 2.0 许可获得了许可。有关详情,请参阅 Google 开发者网站政策。Java 是 Oracle 和/或其关联公司的注册商标。
最后更新时间 (UTC):2025-09-30。
-