このデプロイでは、Cloud Service Mesh と Cloud Load Balancing を組み合わせて、サービス メッシュ内のアプリケーションをインターネット クライアントに公開する方法を示します。
アプリケーションは、クライアントの場所に応じてさまざまな方法でクライアントに公開できます。このデプロイでは、ロードバランサをサービス メッシュと統合するために Cloud Load Balancing と Cloud Service Mesh を組み合わせることにより、アプリケーションをクライアントに公開する方法について説明します。このデプロイは、Cloud Service Mesh を実行する上級者を対象としていますが、取り扱う内容は Istio on Google Kubernetes Engine に対しても有効です。
アーキテクチャ
次の図は、Mesh Ingress ゲートウェイを使用してサービス メッシュとロードバランサを統合することを可能にする方法を示しています。


上の図のトポロジでは、GKE Gateway を介してプログラムされる Cloud Ingress レイヤが、サービス メッシュの外部からのトラフィックの供給源となり、そのトラフィックを Mesh Ingress レイヤに転送します。その後、この Mesh Ingress レイヤはメッシュでホストされるアプリケーション バックエンドにトラフィックを転送します。

前述のトポロジには次の考慮事項があります。
- クラウド Ingress: このリファレンス アーキテクチャでは、GKE Gateway を通じてGoogle Cloud ロードバランサを構成して、公開されたヘルスチェック ポートで Mesh Ingress プロキシの健全性を確認します。
- Mesh ingress: メッシュ アプリケーションでは、バックエンドでヘルスチェックを直接実行し、ロード バランシングとトラフィック管理をローカルで実行できます。

前の図は、クライアントから Google Cloud ロードバランサ、ロードバランサから Mesh Ingress プロキシ、Ingress プロキシからサイドカー プロキシへの HTTPS 暗号化を示しています。
目標
- Google Cloudに Google Kubernetes Engine(GKE)クラスタをデプロイします。
- Istio ベースの Cloud Service Mesh を GKE クラスタにデプロイします。
- パブリック HTTPS トラフィックを終端し、そのトラフィックをサービス メッシュでホストされるアプリケーションに転送するように GKE Gateway を構成します。
- インターネット上のクライアントに公開する GKE クラスタに Online Boutique アプリケーションをデプロイします。
費用の最適化
このドキュメントでは、課金対象である次の Google Cloudコンポーネントを使用します。
- Google Kubernetes Engine
- Compute Engine
- Cloud Load Balancing
- Certificate Manager
- Cloud Service Mesh
- Google Cloud Armor
- Cloud Endpoints
料金計算ツールを使うと、予想使用量に基づいて費用の見積もりを生成できます。
このドキュメントに記載されているタスクの完了後、作成したリソースを削除すると、それ以上の請求は発生しません。詳細については、クリーンアップをご覧ください。
始める前に
-
In the Google Cloud console, on the project selector page, select or create a Google Cloud project.
Roles required to select or create a project
- Select a project: Selecting a project doesn't require a specific IAM role—you can select any project that you've been granted a role on.
-
Create a project: To create a project, you need the Project Creator
(
roles/resourcemanager.projectCreator), which contains theresourcemanager.projects.createpermission. Learn how to grant roles.
-
Verify that billing is enabled for your Google Cloud project.
-
In the Google Cloud console, activate Cloud Shell.
このデプロイでは、Cloud Shell からすべてのターミナル コマンドを実行します。
Google Cloud CLI の最新バージョンにアップグレードします。
gcloud components updateデフォルトの Google Cloud プロジェクトを設定します。
export PROJECT=PROJECT export PROJECT_NUMBER=$(gcloud projects describe ${PROJECT} --format="value(projectNumber)") gcloud config set project ${PROJECT}PROJECTは、このデプロイで使用するプロジェクト ID に置き換えます。作業ディレクトリを作成します。
mkdir -p ${HOME}/edge-to-mesh
cd ${HOME}/edge-to-mesh
export WORKDIR=`pwd`
このデプロイを完了したら、作業ディレクトリを削除できます。
Cloud Shell で、新しい
kubeconfigファイルを作成します。この手順により、既存の(デフォルト)kubeconfigファイルと競合しなくなります。touch edge2mesh_kubeconfig export KUBECONFIG=${WORKDIR}/edge2mesh_kubeconfigGKE クラスタの環境変数を以下のように定義します。
export CLUSTER_NAME=edge-to-mesh
export CLUSTER_LOCATION=us-central1
Google Kubernetes Engine API を以下のように有効にします。
gcloud services enable container.googleapis.comGKE Autopilot クラスタを以下のように作成します。
gcloud container --project ${PROJECT} clusters create-auto \
${CLUSTER_NAME} --region ${CLUSTER_LOCATION} --release-channel rapid
クラスタが実行されていることを以下のように確認します。
gcloud container clusters list出力は次のようになります。
NAME          LOCATION    MASTER_VERSION    MASTER_IP      MACHINE_TYPE   NODE_VERSION      NUM_NODES  STATUS
edge-to-mesh  us-central1  1.27.3-gke.1700   34.122.84.52  e2-medium  1.27.3-gke.1700   3          RUNNING
Cloud Shell で、必要な API を以下のように有効にします。
gcloud services enable mesh.googleapis.comフリートで Cloud Service Mesh を有効にします。
gcloud container fleet mesh enableクラスタをフリートに登録します。
gcloud container fleet memberships register ${CLUSTER_NAME} \ --gke-cluster ${CLUSTER_LOCATION}/${CLUSTER_NAME}mesh_idラベルをedge-to-meshクラスタに以下のように適用します。gcloud container clusters update ${CLUSTER_NAME} --project ${PROJECT} --region ${CLUSTER_LOCATION} --update-labels mesh_id=proj-${PROJECT_NUMBER}自動コントロール プレーン管理とマネージド データプレーンを以下のように有効にします。
gcloud container fleet mesh update \
  --management automatic \
  --memberships ${CLUSTER_NAME}
数分後、コントロール プレーンのステータスが
ACTIVEになっていることを確認します。gcloud container fleet mesh describe出力は次のようになります。
... membershipSpecs: projects/892585880385/locations/us-central1/memberships/edge-to-mesh: mesh: management: MANAGEMENT_AUTOMATIC membershipStates: projects/892585880385/locations/us-central1/memberships/edge-to-mesh: servicemesh: controlPlaneManagement: details: - code: REVISION_READY details: 'Ready: asm-managed-rapid' implementation: TRAFFIC_DIRECTOR state: ACTIVE dataPlaneManagement: details: - code: OK details: Service is running. state: ACTIVE state: code: OK description: 'Revision(s) ready for use: asm-managed-rapid.' updateTime: '2023-08-04T02:54:39.495937877Z' name: projects/e2m-doc-01/locations/global/features/servicemesh resourceState: state: ACTIVE ...Cloud Shell で、専用の
ingress-gateway名前空間を作成します。kubectl create namespace ingress-gatewayingress-gateway名前空間に名前空間ラベルを追加します。kubectl label namespace ingress-gateway istio-injection=enabled出力は次のようになります。
namespace/ingress-gateway labeled
ingress-gatewayNamespace にistio-injection=enabledというラベルを付けると、アプリケーションのデプロイ時に Envoy サイドカー プロキシを自動挿入するよう Cloud Service Mesh が指示されます。Ingress ゲートウェイで使用される自己署名証明書を作成して、 Google Cloud ロードバランサ(後で GKE Gateway Controller で構成)と Ingress ゲートウェイ間の TLS 接続を終端させ、自己署名証明書を Kubernetes シークレットとして保存します。
openssl req -new -newkey rsa:4096 -days 365 -nodes -x509 \
 -subj "/CN=frontend.endpoints.${PROJECT}.cloud.goog/O=Edge2Mesh Inc" \
 -keyout frontend.endpoints.${PROJECT}.cloud.goog.key \
 -out frontend.endpoints.${PROJECT}.cloud.goog.crt

kubectl -n ingress-gateway create secret tls edge2mesh-credential \
 --key=frontend.endpoints.${PROJECT}.cloud.goog.key \
 --cert=frontend.endpoints.${PROJECT}.cloud.goog.crt
Ingress ゲートウェイ証明書の要件の詳細については、セキュア バックエンド プロトコルに関する検討事項ガイドをご覧ください。
次のコマンドを実行して、Ingress ゲートウェイ リソース YAML を作成します。
mkdir -p ${WORKDIR}/ingress-gateway/base
cat <<EOF > ${WORKDIR}/ingress-gateway/base/kustomization.yaml
resources:
  - github.com/GoogleCloudPlatform/anthos-service-mesh-samples/docs/ingress-gateway-asm-manifests/base
EOF

mkdir ${WORKDIR}/ingress-gateway/variant
cat <<EOF > ${WORKDIR}/ingress-gateway/variant/role.yaml
apiVersion: rbac.authorization.k8s.io/v1
kind: Role
metadata:
  name: asm-ingressgateway
rules:
- apiGroups: [""]
  resources: ["secrets"]
  verbs: ["get", "watch", "list"]
EOF

cat <<EOF > ${WORKDIR}/ingress-gateway/variant/rolebinding.yaml
apiVersion: rbac.authorization.k8s.io/v1
kind: RoleBinding
metadata:
  name: asm-ingressgateway
roleRef:
  apiGroup: rbac.authorization.k8s.io
  kind: Role
  name: asm-ingressgateway
subjects:
  - kind: ServiceAccount
    name: asm-ingressgateway
EOF

cat <<EOF > ${WORKDIR}/ingress-gateway/variant/service-proto-type.yaml
apiVersion: v1
kind: Service
metadata:
  name: asm-ingressgateway
spec:
  ports:
  - name: status-port
    port: 15021
    protocol: TCP
    targetPort: 15021
  - name: http
    port: 80
    targetPort: 8080
  - name: https
    port: 443
    targetPort: 8443
    appProtocol: HTTP2
  type: ClusterIP
EOF

cat <<EOF > ${WORKDIR}/ingress-gateway/variant/gateway.yaml
apiVersion: networking.istio.io/v1beta1
kind: Gateway
metadata:
  name: asm-ingressgateway
spec:
  servers:
  - port:
      number: 443
      name: https
      protocol: HTTPS
    hosts:
    - "*" # IMPORTANT: Must use wildcard here when using SSL, as SNI isn't passed from GFE
    tls:
      mode: SIMPLE
      credentialName: edge2mesh-credential
EOF

cat <<EOF > ${WORKDIR}/ingress-gateway/variant/kustomization.yaml
namespace: ingress-gateway
resources:
- ../base
- role.yaml
- rolebinding.yaml
patches:
- path: service-proto-type.yaml
  target:
    kind: Service
- path: gateway.yaml
  target:
    kind: Gateway
EOF
Ingress ゲートウェイ CRD を以下のように適用します。
kubectl apply -k ${WORKDIR}/ingress-gateway/variantすべてのデプロイが稼働していることを以下のように確認します。
kubectl wait --for=condition=available --timeout=600s deployment --all -n ingress-gateway出力は次のようになります。
deployment.apps/asm-ingressgateway condition met
Cloud Shell で、
HealthCheckPolicy.yamlファイルを以下のように作成します。cat <<EOF >${WORKDIR}/ingress-gateway-healthcheck.yaml apiVersion: networking.gke.io/v1 kind: HealthCheckPolicy metadata: name: ingress-gateway-healthcheck namespace: ingress-gateway spec: default: checkIntervalSec: 20 timeoutSec: 5 #healthyThreshold: HEALTHY_THRESHOLD #unhealthyThreshold: UNHEALTHY_THRESHOLD logConfig: enabled: True config: type: HTTP httpHealthCheck: #portSpecification: USE_NAMED_PORT port: 15021 portName: status-port #host: HOST requestPath: /healthz/ready #response: RESPONSE #proxyHeader: PROXY_HEADER #requestPath: /healthz/ready #port: 15021 targetRef: group: "" kind: Service name: asm-ingressgateway EOFHealthCheckPolicy:を適用します。kubectl apply -f ${WORKDIR}/ingress-gateway-healthcheck.yamlCloud Shell で、
edge-fw-policyという名前のセキュリティ ポリシーを以下のように作成します。gcloud compute security-policies create edge-fw-policy \ --description "Block XSS attacks"事前構成された XSS フィルタを使用するセキュリティ ポリシールールを以下のように作成します。
gcloud compute security-policies rules create 1000 \
    --security-policy edge-fw-policy \
    --expression "evaluatePreconfiguredExpr('xss-stable')" \
    --action "deny-403" \
    --description "XSS attack filtering"
Ingress ゲートウェイ サービスにアタッチする
GCPBackendPolicy.yamlファイルを以下のように作成します。cat <<EOF > ${WORKDIR}/cloud-armor-backendpolicy.yaml apiVersion: networking.gke.io/v1 kind: GCPBackendPolicy metadata: name: cloud-armor-backendpolicy namespace: ingress-gateway spec: default: securityPolicy: edge-fw-policy targetRef: group: "" kind: Service name: asm-ingressgateway EOFGCPBackendPolicy.yamlファイルを以下のように適用します。kubectl apply -f ${WORKDIR}/cloud-armor-backendpolicy.yamlCloud Shell で、Google Cloud ロードバランサのグローバル静的 IP アドレスを作成します。
gcloud compute addresses create e2m-gclb-ip --globalこの静的 IP アドレスは GKE Gateway リソースによって使用され、外部ロードバランサが変更されても、IP アドレスを同じままにできます。
静的 IP アドレスを以下のように取得します。
export GCLB_IP=$(gcloud compute addresses describe e2m-gclb-ip \
--global --format "value(address)")
echo ${GCLB_IP}
アプリケーション ロードバランサの静的 IP アドレスとの安定した理解しやすいマッピングを作成するには、パブリック DNS レコードが必要です。必要な DNS プロバイダと自動化を使用できます。このデプロイでは、マネージド DNS ゾーンを作成する代わりに Endpoints を使用します。Endpoints は、パブリック IP アドレス用に無料の Google 管理 DNS レコードを提供します。
次のコマンドを実行して、
dns-spec.yamlという名前の YAML 仕様ファイルを作成します。cat <<EOF > ${WORKDIR}/dns-spec.yaml swagger: "2.0" info: description: "Cloud Endpoints DNS" title: "Cloud Endpoints DNS" version: "1.0.0" paths: {} host: "frontend.endpoints.${PROJECT}.cloud.goog" x-google-endpoints: - name: "frontend.endpoints.${PROJECT}.cloud.goog" target: "${GCLB_IP}" EOFYAML 仕様では、
frontend.endpoints.${PROJECT}.cloud.googの形式でパブリック DNS レコードが定義されます。${PROJECT}は一意のプロジェクト ID です。Google Cloud プロジェクトに
dns-spec.yamlファイルをデプロイします。gcloud endpoints services deploy ${WORKDIR}/dns-spec.yaml出力は次のようになります。
project [e2m-doc-01]...
Operation "operations/acat.p2-892585880385-fb4a01ad-821d-4e22-bfa1-a0df6e0bf589" finished successfully.

Service Configuration [2023-08-04r0] uploaded for service [frontend.endpoints.e2m-doc-01.cloud.goog]
IP アドレスと DNS の構成が完了したため、フロントエンドを保護するための公開証明書を生成できます。GKE Gateway と統合するには、Certificate Manager TLS 証明書を使用します。
Cloud Shell で、以下のように Certificate Manager API を有効にします。
gcloud services enable certificatemanager.googleapis.com --project=${PROJECT}以下のように TLS 証明書を作成します。
gcloud --project=${PROJECT} certificate-manager certificates create edge2mesh-cert \
    --domains="frontend.endpoints.${PROJECT}.cloud.goog"
以下のように証明書マップを作成します。
gcloud --project=${PROJECT} certificate-manager maps create edge2mesh-cert-map以下のように証明書マップエントリを使用して証明書を証明書マップにアタッチします。
gcloud --project=${PROJECT} certificate-manager maps entries create edge2mesh-cert-map-entry \ --map="edge2mesh-cert-map" \ --certificates="edge2mesh-cert" \ --hostname="frontend.endpoints.${PROJECT}.cloud.goog"Cloud Shell で次のコマンドを実行して、
Gatewayマニフェストをgke-gateway.yamlとして作成します。cat <<EOF > ${WORKDIR}/gke-gateway.yaml kind: Gateway apiVersion: gateway.networking.k8s.io/v1 metadata: name: external-http namespace: ingress-gateway annotations: networking.gke.io/certmap: edge2mesh-cert-map spec: gatewayClassName: gke-l7-global-external-managed # gke-l7-gxlb listeners: - name: http # list the port only so we can redirect any incoming http requests to https protocol: HTTP port: 80 - name: https protocol: HTTPS port: 443 addresses: - type: NamedAddress value: e2m-gclb-ip # reference the static IP created earlier EOF以下のように
Gatewayマニフェストを適用して、external-httpというGatewayを作成します。kubectl apply -f ${WORKDIR}/gke-gateway.yamlデフォルトの
HTTPRoute.yamlファイルを以下のように作成します。cat << EOF > ${WORKDIR}/default-httproute.yaml apiVersion: gateway.networking.k8s.io/v1 kind: HTTPRoute metadata: name: default-httproute namespace: ingress-gateway spec: parentRefs: - name: external-http namespace: ingress-gateway sectionName: https rules: - matches: - path: value: / backendRefs: - name: asm-ingressgateway port: 443 EOFデフォルトの
HTTPRouteを以下のように適用します。kubectl apply -f ${WORKDIR}/default-httproute.yamlHTTP から HTTP(S) へのリダイレクトを実行するために、以下のように追加の
HTTPRoute.yamlファイルを作成します。cat << EOF > ${WORKDIR}/default-httproute-redirect.yaml kind: HTTPRoute apiVersion: gateway.networking.k8s.io/v1 metadata: name: http-to-https-redirect-httproute namespace: ingress-gateway spec: parentRefs: - name: external-http namespace: ingress-gateway sectionName: http rules: - filters: - type: RequestRedirect requestRedirect: scheme: https statusCode: 301 EOF以下のようにリダイレクト
HTTPRouteを適用します。kubectl apply -f ${WORKDIR}/default-httproute-redirect.yaml調整には時間がかかります。
programmed=trueになるまで、次のコマンドを使用します。kubectl get gateway external-http -n ingress-gateway -wCloud Shell で、専用の
onlineboutique名前空間を作成します。kubectl create namespace onlineboutique以下のように
onlineboutique名前空間にラベルを追加します。kubectl label namespace onlineboutique istio-injection=enabledonlineboutiqueNamespace にistio-injection=enabledというラベルを付けると、アプリケーションのデプロイ時に Envoy サイドカー プロキシを自動挿入するよう Cloud Service Mesh が指示されます。Online Boutique のサンプルアプリの Kubernetes YAML ファイルをダウンロードします。
curl -LO \
https://raw.githubusercontent.com/GoogleCloudPlatform/microservices-demo/main/release/kubernetes-manifests.yaml
Online Boutique アプリをデプロイします。
kubectl apply -f kubernetes-manifests.yaml -n onlineboutique出力は次のようになります(GKE Autopilot によるデフォルトのリソース リクエストと上限の設定に関する警告を含む)。
Warning: autopilot-default-resources-mutator:Autopilot updated Deployment onlineboutique/emailservice: adjusted resources to meet requirements for containers [server] (see http://g.co/gke/autopilot-resources)
deployment.apps/emailservice created
service/emailservice created
Warning: autopilot-default-resources-mutator:Autopilot updated Deployment onlineboutique/checkoutservice: adjusted resources to meet requirements for containers [server] (see http://g.co/gke/autopilot-resources)
deployment.apps/checkoutservice created
service/checkoutservice created
Warning: autopilot-default-resources-mutator:Autopilot updated Deployment onlineboutique/recommendationservice: adjusted resources to meet requirements for containers [server] (see http://g.co/gke/autopilot-resources)
deployment.apps/recommendationservice created
service/recommendationservice created
...
すべてのデプロイが稼働していることを以下のように確認します。
kubectl get pods -n onlineboutique出力は次のようになります。
NAME                                     READY   STATUS    RESTARTS   AGE
adservice-64d8dbcf59-krrj9               2/2     Running   0          2m59s
cartservice-6b77b89c9b-9qptn             2/2     Running   0          2m59s
checkoutservice-7668b7fc99-5bnd9         2/2     Running   0          2m58s
...
GKE Autopilot クラスタがアプリケーションをサポートするために必要なコンピューティング インフラストラクチャをプロビジョニングするまで数分待ちます。
次のコマンドを実行して、
VirtualServiceマニフェストをfrontend-virtualservice.yamlとして作成します。cat <<EOF > frontend-virtualservice.yaml apiVersion: networking.istio.io/v1beta1 kind: VirtualService metadata: name: frontend-ingress namespace: onlineboutique spec: hosts: - "frontend.endpoints.${PROJECT}.cloud.goog" gateways: - ingress-gateway/asm-ingressgateway http: - route: - destination: host: frontend port: number: 80 EOFVirtualServiceは、アプリケーションの名前空間(onlineboutique)に作成されることに注意してください。通常、アプリケーション オーナーは、frontendアプリケーションにルーティングするトラフィックとその方法を決定して構成し、VirtualServiceがアプリオーナーによってデプロイされるようにします。クラスタに
frontend-virtualservice.yamlをデプロイします。kubectl apply -f frontend-virtualservice.yaml次のリンクにアクセスします。
echo "https://frontend.endpoints.${PROJECT}.cloud.goog"Online Boutique のフロントエンドが表示されます。
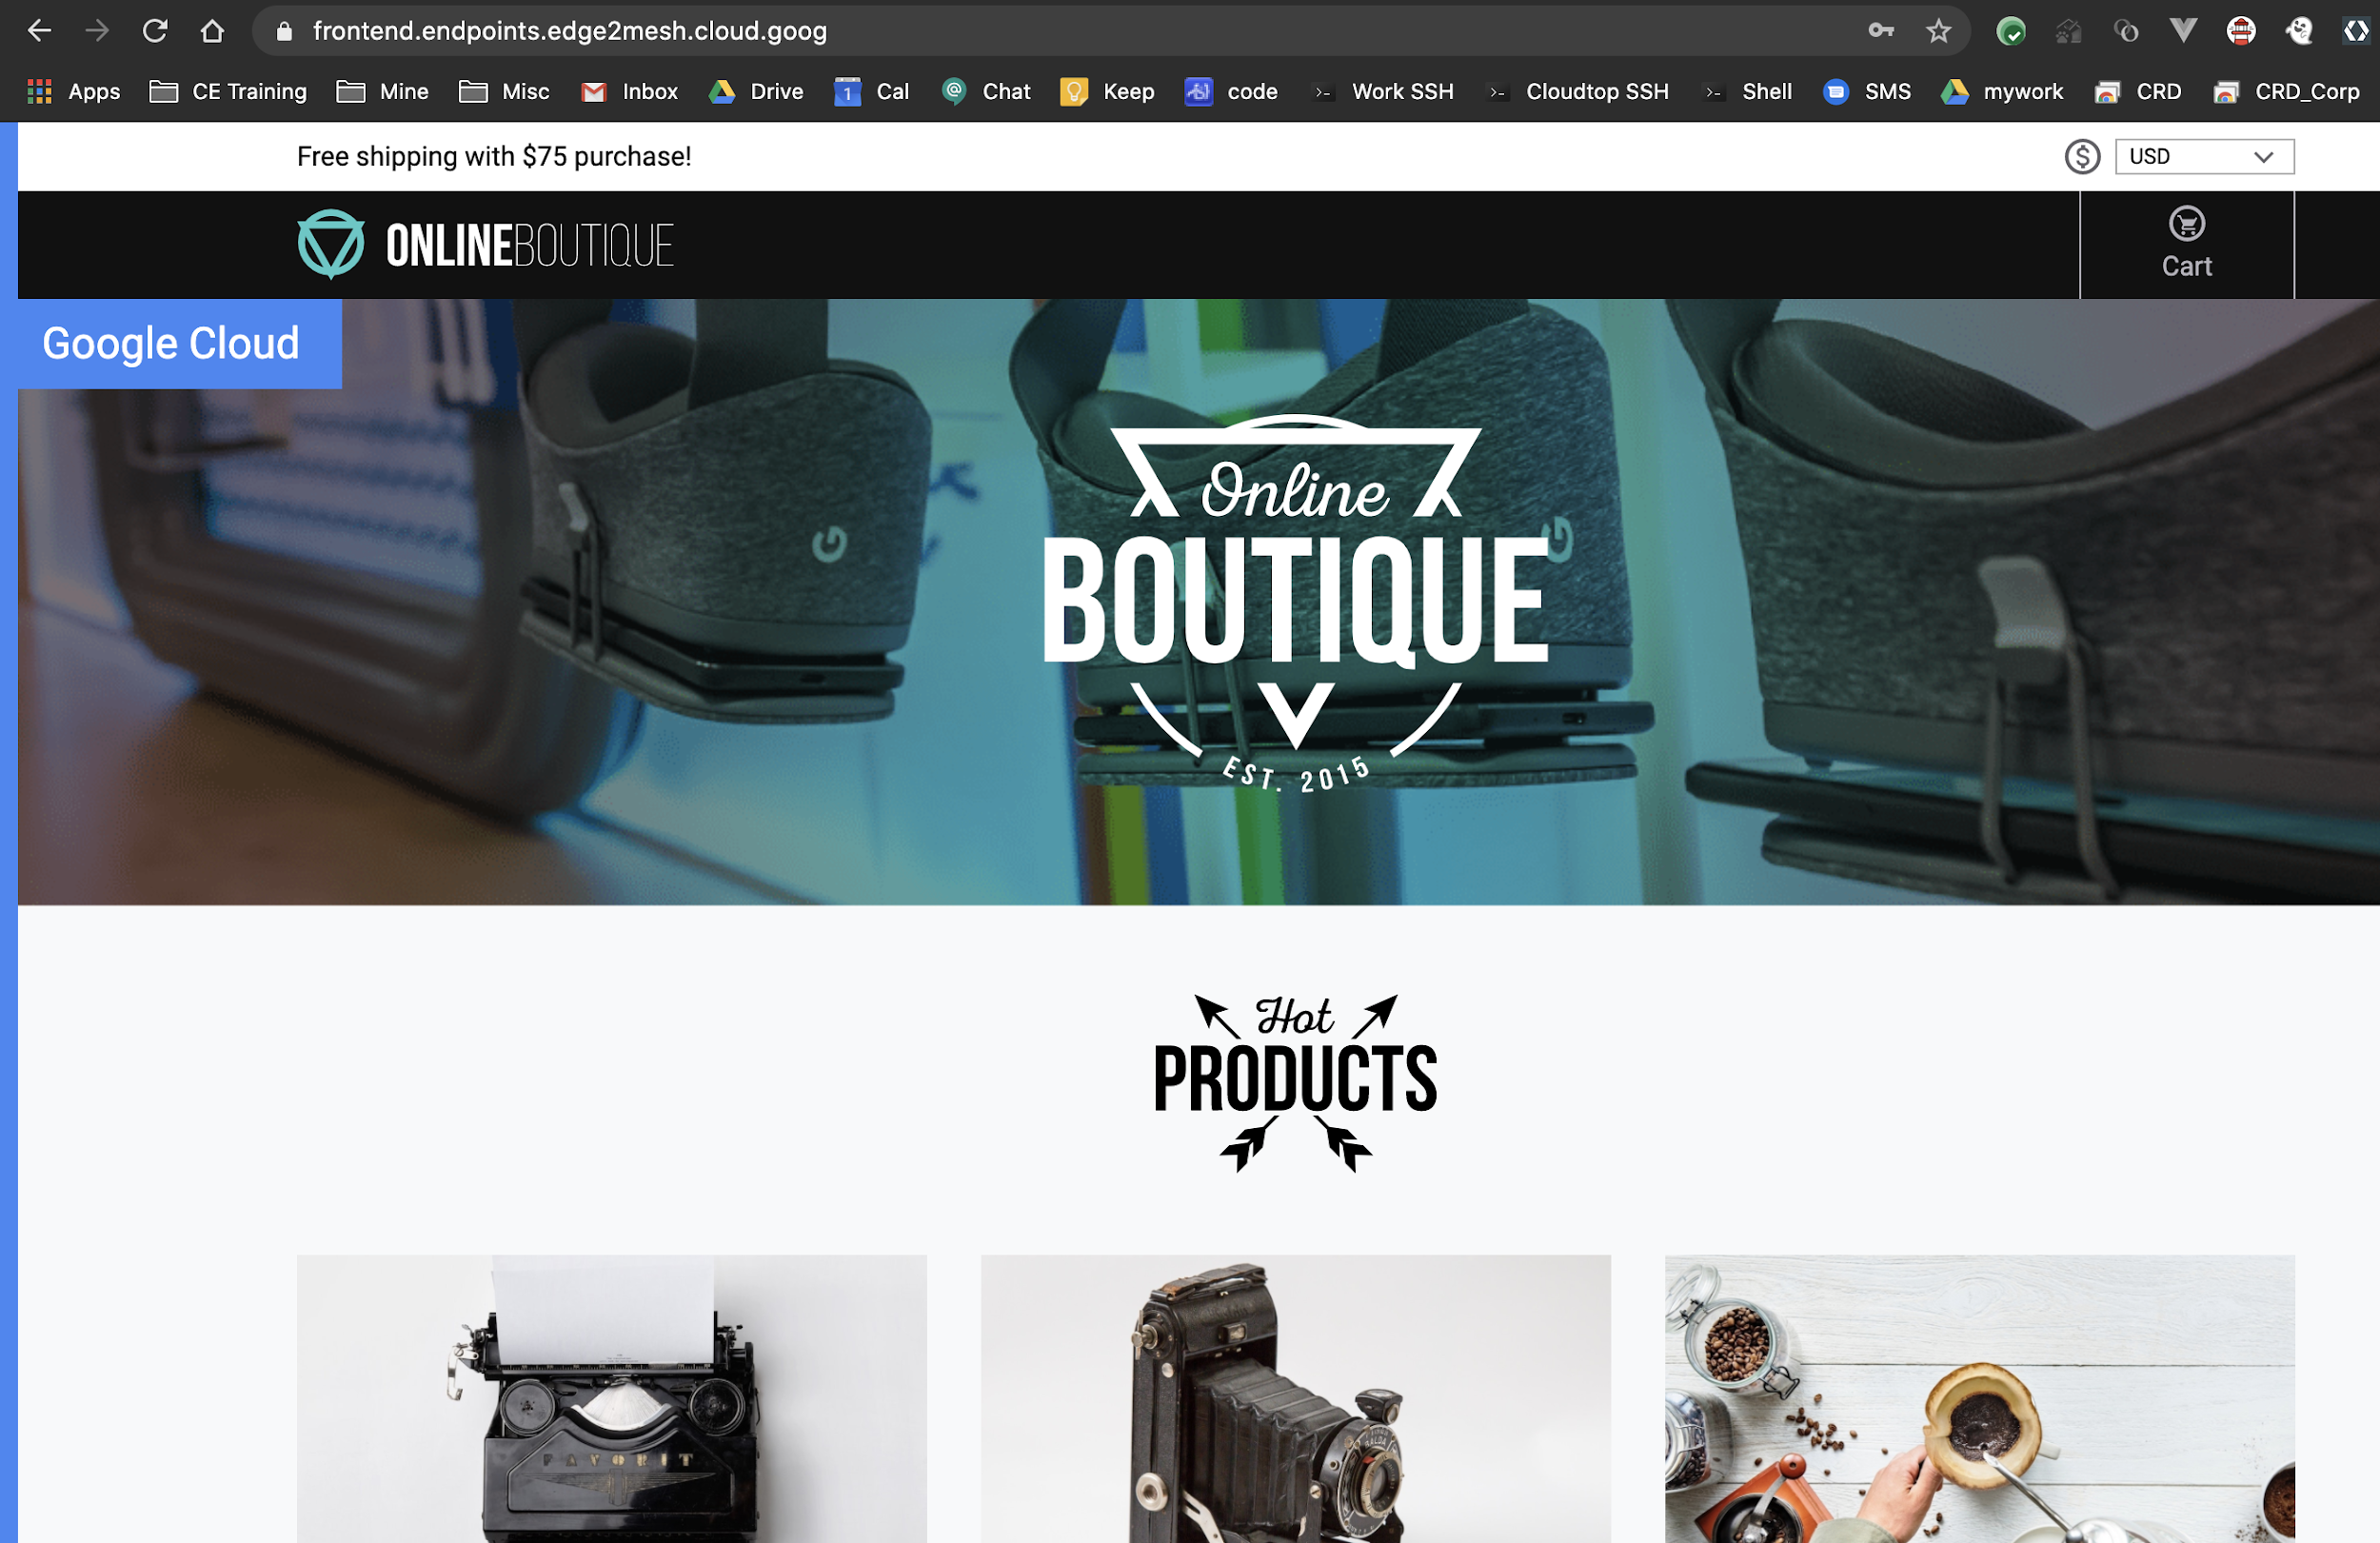
証明書の詳細を表示するには、ブラウザのアドレスバーの [サイト情報を表示]、[証明書(有効)] の順にクリックします。
証明書ビューアには、証明書の有効期限や証明書の発行者など、マネージド証明書の詳細が表示されます。
- In the Google Cloud console, go to the Manage resources page.
- In the project list, select the project that you want to delete, and then click Delete.
- In the dialog, type the project ID, and then click Shut down to delete the project.
Cloud Shell で、次のとおり
HTTPRouteリソースを削除します。kubectl delete -f ${WORKDIR}/default-httproute-redirect.yaml kubectl delete -f ${WORKDIR}/default-httproute.yamlGKE Gateway リソースを削除します。
kubectl delete -f ${WORKDIR}/gke-gateway.yamlTLS 証明書リソース(証明書マップエントリとその親証明書マップを含む)を削除します。
gcloud --project=${PROJECT} certificate-manager maps entries delete edge2mesh-cert-map-entry --map="edge2mesh-cert-map" --quiet
gcloud --project=${PROJECT} certificate-manager maps delete edge2mesh-cert-map --quiet
gcloud --project=${PROJECT} certificate-manager certificates delete edge2mesh-cert --quiet
Endpoints DNS エントリを削除します。
gcloud endpoints services delete "frontend.endpoints.${PROJECT}.cloud.goog"出力は次のようになります。
Are you sure? This will set the service configuration to be deleted, along
with all of the associated consumer information. Note: This does not
immediately delete the service configuration or data and can be undone using
the undelete command for 30 days. Only after 30 days will the service be
purged from the system.
続行を確認するメッセージが表示されたら、「Y」と入力します。
出力は次のようになります。
Waiting for async operation operations/services.frontend.endpoints.edge2mesh.cloud.goog-5 to complete...
Operation finished successfully. The following command can describe the Operation details:
 gcloud endpoints operations describe operations/services.frontend.endpoints.edge2mesh.cloud.goog-5
静的 IP アドレスを削除します。
gcloud compute addresses delete ingress-ip --global出力は次のようになります。
The following global addresses will be deleted:

 - [ingress-ip]
続行を確認するメッセージが表示されたら、「Y」と入力します。
出力は次のようになります。
Deleted
[https://www.googleapis.com/compute/v1/projects/edge2mesh/global/addresses/ingress-ip].
GKE クラスタを削除します。
gcloud container clusters delete $CLUSTER_NAME --zone $CLUSTER_LOCATION出力は次のようになります。
The following clusters will be deleted. - [edge-to-mesh] in [us-central1]続行を確認するメッセージが表示されたら、「Y」と入力します。
数分後、次のような出力を確認できます。
Deleting cluster edge-to-mesh...done. Deleted [https://container.googleapis.com/v1/projects/e2m-doc-01/zones/us-central1/clusters/edge-to-mesh].- サービス メッシュで使用できる GKE Ingress によって提供されるその他の機能について学習する。
- GKE で使用できるさまざまなタイプの Cloud Load Balancing について学習する。
- Cloud Service Mesh の特徴や提供される機能について学ぶ。
- マルチリージョン負荷分散用に複数の GKE クラスタに Ingress をデプロイする方法を確認する。
- Cloud アーキテクチャ センターで、リファレンス アーキテクチャ、図、ベスト プラクティスを確認する。
GKE クラスタを作成する
このデプロイで説明されている機能には、GKE クラスタ バージョン 1.16 以降が必要です。
サービス メッシュをインストールする
このセクションでは、Fleet API を使用してマネージド Cloud Service Mesh を構成します。
GKE Gateway をデプロイする
次の手順では、GKE Gateway Controller を介して外部アプリケーション ロードバランサをデプロイします。GKE Gateway リソースは、ロードバランサとバックエンドのヘルスチェックのプロビジョニングを自動化します。また、Certificate Manager を使用して TLS 証明書のプロビジョニングと管理を行い、Endpoints を使用してアプリケーションのパブリック DNS 名を自動的にプロビジョニングします。
サービス メッシュ Ingress ゲートウェイをインストールする
セキュリティのベスト プラクティスとして、Ingress ゲートウェイは、コントロール プレーンとは異なる名前空間にデプロイすることをおすすめします。
サービス メッシュ Ingress ゲートウェイのヘルスチェックを適用する
サービス メッシュ Ingress ゲートウェイを Google Cloud アプリケーション ロードバランサに統合する場合は、Ingress ゲートウェイ Pod に対してヘルスチェックを実行するようにアプリケーション ロードバランサを構成する必要があります。HealthCheckPolicy CRD には、ヘルスチェックを構成する API が用意されています。
セキュリティ ポリシーを定義する
Cloud Armor の DDoS 防御とカスタマイズ可能なセキュリティ ポリシーは、Ingress リソースを介してロードバランサに接続できます。次の手順では、事前構成されたルールを使用してクロスサイト スクリプティング(XSS)攻撃をブロックするセキュリティ ポリシーを作成します。このルールは、既知の攻撃の署名と一致するトラフィックをブロックしますが、他のすべてのトラフィックを許可します。ワークロードに応じて、環境に異なるルールが適用される場合があります。
IP アドレス指定と DNS を構成する
TLS 証明書をプロビジョニングする
このセクションでは、Certificate Manager を使用して TLS 証明書を作成し、証明書マップエントリを介して証明書マップに関連付けます。GKE ゲートウェイを介して構成されたアプリケーション ロードバランサは、この証明書を使用して、クライアントと Google Cloud間のセキュアな通信を行います。作成後、証明書マップエントリは GKE Gateway リソースによって参照されます。
GKE Gateway リソースと HTTPRoute リソースをデプロイする
このセクションでは、gke-l7-global-external-managed
gatewayClass を使用して Google Cloud アプリケーション ロードバランサをプロビジョニングする GKE Gateway リソースを構成します。また、アプリケーションにリクエストをルーティングし、HTTP から HTTP(S) へのリダイレクトを行う HTTPRoute リソースを構成します。
Online Boutique サンプルアプリをインストールする
これで、サービス メッシュでホストされるアプリケーションのフロントエンドとして機能するグローバル HTTPS ロードバランサが作成されました。
クリーンアップ
デプロイが終了したら、 Google Cloud で作成したリソースをクリーンアップして、今後料金が発生しないようにします。プロジェクトを完全に削除するか、クラスタ リソースを削除してからクラスタを削除できます。
プロジェクトの削除
個々のリソースの削除
このデプロイで使用した Google Cloud プロジェクトを残しておく場合は、個々のリソースを削除します。