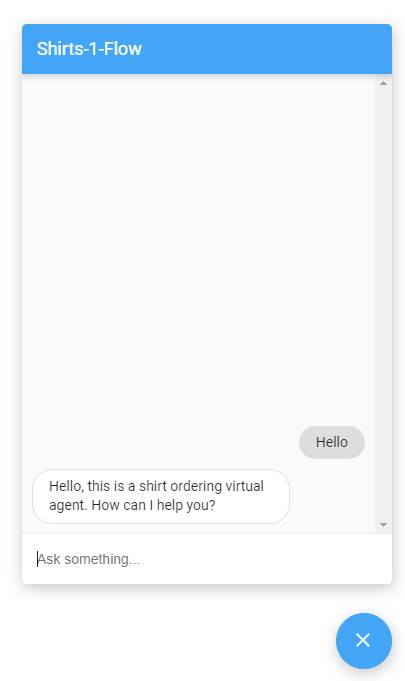
통합을 사용하면 최종 사용자 상호작용이 자동으로 처리됩니다. 에이전트를 빌드하고 웹훅을 선택적으로 구현하고 통합을 구성하기만 하면 됩니다.
이 가이드에서는 Dialogflow CX 메신저 통합을 사용하여 에이전트에 간단한 문자 채팅 사용자 인터페이스를 제공하는 방법을 설명합니다.
시작하기 전에
통합을 사용하지 않으려는 경우에는 빠른 시작을 건너뛸 수 있습니다.
이 가이드를 읽기 전에 다음을 수행해야 합니다.
- 흐름 기본사항 읽기
- 설정 단계 수행
- 플로우를 사용하여 에이전트 빌드 빠른 시작 가이드의 단계를 수행합니다. 아래 단계는 동일한 에이전트에서 계속 수행됩니다. 해당 에이전트가 더 이상 없다면 에이전트를 다운로드하여 복원할 수 있습니다.
설정
Dialogflow CX 메신저 에이전트에 무단 액세스를 설정하려면 다음 안내를 따르세요.
- Dialogflow CX 콘솔로 이동합니다.
- Google Cloud 프로젝트를 선택합니다.
- 에이전트를 선택합니다.
- 관리 탭을 선택합니다.
- 왼쪽 사이드바 메뉴에서 통합을 클릭합니다.
- Dialogflow CX 메신저에서 연결을 클릭합니다.
- 구성 대화상자가 열립니다.
- 이전에 이 에이전트에 대한 통합을 설정한 경우 삽입 가능한 HTML 코드가 표시됩니다. 인증 여부와 관계없이 대화상자 하단에서 사용 중지... 버튼을 클릭하여 다음 단계에서 설정을 다시 구성할 수 있습니다.
- 환경을 선택합니다.
- 인증되지 않은 API를 선택합니다.
- 스타일을 선택합니다.
- 원하는 경우 도메인 액세스를 제한합니다.
- 인증되지 않은 API 사용 설정을 클릭합니다.
- 대화상자에 웹사이트에 삽입할 수 있는 삽입 가능한 HTML 코드가 표시됩니다. 이 코드를 복사합니다.
- 완료를 클릭합니다.
삽입
위에서 복사한 삽입 코드를 웹사이트의 웹페이지에 붙여넣습니다.
<script> 및 <df-messenger> HTML 요소는 페이지의 <body> 요소에 있어야 합니다.
인증된 통합을 사용하는 경우 <df-messenger>의 oauth-client-id 속성을 Oauth 클라이언트 ID로 설정합니다. 도구 인증에 최종 사용자의 ID를 사용하려면 원하는 이름으로 access-token-name 속성을 설정하세요.
그런 다음 도구 인증에 값이 $session.params.ACCESS_TOKEN_NAME인 Bearer 토큰을 사용합니다.
업데이트가 필요한 다른 모든 속성을 업데이트합니다.
반응형 레이아웃을 허용하려면 <head> 요소에 다음을 추가합니다.
<meta name="viewport" content="width=device-width, initial-scale=1">
삽입된 경우 오른쪽 하단의 채팅 아이콘을 클릭하여 웹페이지를 통해 에이전트와 상호작용할 수 있습니다.

맞춤설정
이 사용자 인터페이스의 모양과 동작은 다양한 방법으로 맞춤설정할 수 있습니다. 자세한 내용은 Dialogflow CX 메신저 문서를 참조하세요.

