The Looker Marketplace is a central location for finding, deploying, and managing Looker Blocks, applications, custom visualizations, and actions.
You can browse content on the Looker Marketplace from the following locations:
- From the standalone Looker Marketplace instance at
marketplace.looker.com - From the Marketplace icon in the menu bar of your Looker instance
The Marketplace homepage shows popular Looker applications, models, and visualizations. This documentation page describes the different types of content that you can install from the Looker Marketplace.
The terminology of Looker Marketplace content differs between the two locations. See the following table for an overview of the different terms.
| marketplace.looker.com | Looker instance Marketplace | Description |
|---|---|---|
| Applications | Applications | Applications, also referred to as "extensions" throughout the documentation, are built with Looker components that are developed through the Looker extension framework. |
| Blocks | Models | Models, also referred to as "Blocks" throughout the documentation, are prebuilt LookML models, including dashboards and Explores, for a variety of popular data sources. |
| Plug-ins | Visualizations | Plug-ins are visualization types that you can install and add to Looker's built-in visualization library. |
No permissions are needed to browse content on the standalone Marketplace instance; however, you won't be able to install Marketplace content for use with your Looker instance. See the Using the Looker Marketplace documentation page for more information on the permissions that are required to install and use content from the Looker Marketplace.
Limitations of the Looker Marketplace
Looker (Google Cloud core) instances that use private connections or that use hybrid connections don't support the Looker Marketplace.
Customer-hosted Looker instances may require additional configuration to access Marketplace data:
- If your instance is on Looker 23.10 or later, the server that is running the Looker instance must be configured to access the public internet server that is running at the URL
https://static-a.cdn.looker.app/. - If your instance is on Looker 23.8 or earlier, the server that is running the Looker instance must be configured to access the public internet server that is running at the URL
https://marketplace-api.looker.com/. - The server that is running the Looker instance must also be configured to access the public internet server that is running at the URL
https://github.com/.
Additionally, customer-hosted deployments that are using clustered instances must set up a shared (network) file system to install applications or tools from the Looker Marketplace.
Marketplace content
From the Looker Marketplace, you can install and use the following types of content:
Blocks
Looker Blocks are prebuilt pieces of LookML that Looker customers can use as a starting point for quick and flexible data modeling. Blocks are designed to be plug-and-play, as long as you have the appropriate dataset in an existing Looker connection. You can install a block from the Marketplace, customize the LookML, and begin exploring.
Examples
Filter the Looker Marketplace Directory Type drop-down to Blocks to see available Blocks, such as:
- Google Analytics 360 block: Understand how your users are engaging with your product or webpage
- Salesforce Analytics block: Understand performance, prioritize opportunities, and close more deals
- BigQuery Information Schema Performance Monitoring block: Monitor and Explore your BigQuery usage and performance
Getting started with Looker Marketplace Blocks
To use a Looker Block, follow these steps:
- Install the Block from the Looker Marketplace into your Looker instance.
- Customize the Block as needed.
Visualizations
Plug-ins are visualization types that you can install and add to Looker's built-in visualization library.
Examples
Filter the Looker Marketplace Directory Type drop-down to Plug-ins to see available visualizations. For examples, see the following visualizations:
Getting started with Looker Marketplace visualizations
You can install a visualization from the Marketplace and immediately select the new visualization type when exploring, building a new dashboard, and editing a dashboard.
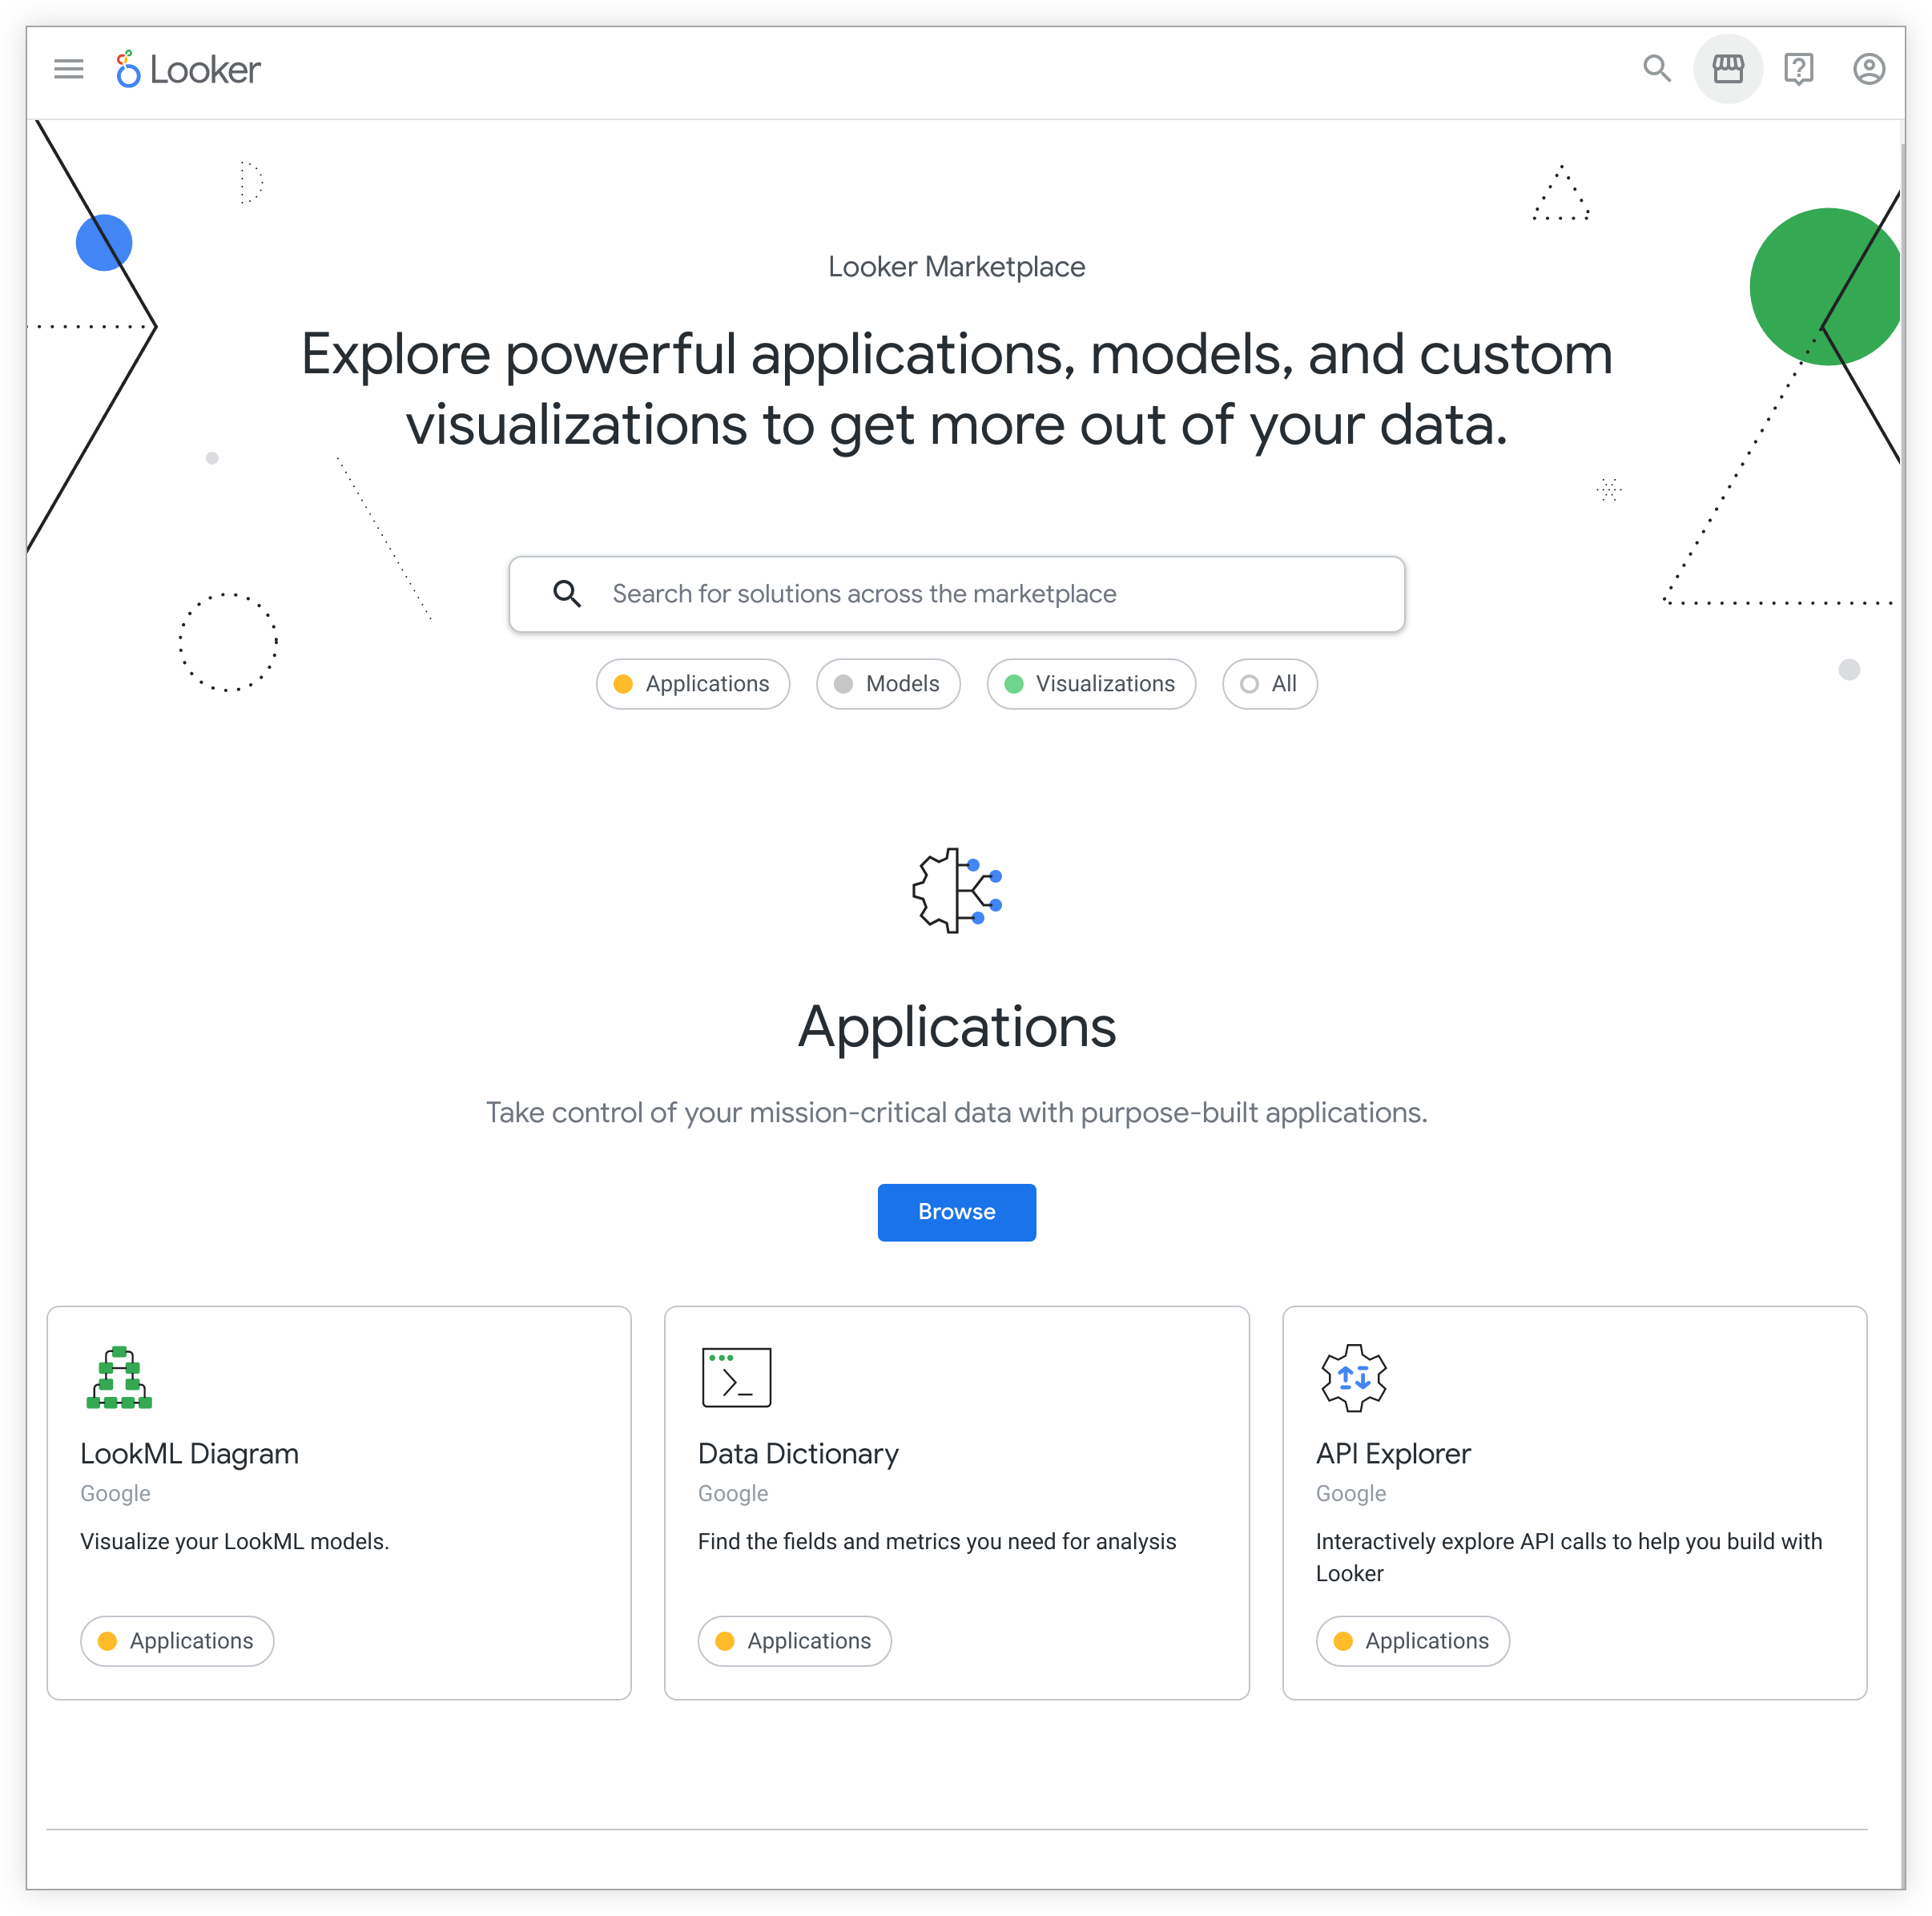
Applications
Applications, also referred to as "extensions" throughout the documentation, are built with Looker components that are developed through the Looker extension framework.
Examples
Filter the Looker Marketplace Directory Type drop-down to Applications to see available applications. For examples, see the following pages:
- API Explorer application
- Data Dictionary application
Getting started with Looker Marketplace applications
You can install an application from the Marketplace. and immediately use it in your Looker instance. You can also build your own extensions by using the Looker extension framework to use in your Looker instance.
Actions
Actions, also called "integrations", deliver Looker data to third-party services. Each instance's Looker Action Hub has built-in actions that Looker admins can enable on the Actions page in a Looker instance's Admin panel. See the List of integrated services for a list of the built-in actions.
You can also set up a custom action hub that serves custom actions. See the Building a custom action page for detailed instructions and guidelines on creating custom actions.
Once a Looker admin enables an action from either the Looker Action Hub or from a custom action hub, users can select the action when sending or scheduling data deliveries.
Examples
Your Looker instance has built-in actions that you can enable on the Actions page in your instance's Admin panel. You can also filter the Looker Marketplace Directory Type drop-down to Actions to see available actions. For examples, see the following pages:
- Airtable action
- Azure Storage action
Getting started with actions
Rather than by installing actions from the Marketplace, a Looker admin must enable each action from either the Looker Action Hub or from a custom action hub. Once the action is enabled, users can select the action when sending or scheduling data deliveries.