This documentation page explains how to use Private Service Connect to configure routing from clients to Looker (Google Cloud core), also called inbound traffic.
Private Service Connect lets consumers access managed services privately from inside their VPC network, over hybrid networking, or publicly when it's deployed with an external regional application load balancer. It allows managed service producers to host these services in their own separate VPC networks and offer a private or public connection to their consumers.
When you use Private Service Connect to access Looker (Google Cloud core), you are the service consumer, and Looker (Google Cloud core) is the service producer. Inbound access to Looker (Google Cloud core) requires that the consumer VPC be added as an allowed VPC for the Looker (Google Cloud core) Private Service Connect instance.
This documentation describes setting up and configuring a custom domain, and it provides guidance on accessing Looker (Google Cloud core) using a Private Service Connect backend for private or public connectivity with certificates.
The recommended deployment for accessing Looker (Google Cloud core) is through an application load balancer with a backend. This setup also allows for custom domain certificate authentication, adding an extra layer of security and control for user access.
Create a custom domain
The first step after the Looker (Google Cloud core) instance is created is to set up a custom domain and update the OAuth credentials for the instance. The next sections walk you through the process.
When you create a custom domain for private connections (Private Service Connect) instances, the custom domain must meet the following requirements:
- The custom domain must consist of at least three parts, including at least one subdomain. For example,
subdomain.domain.com. - The custom domain must not contain any of the following:
- looker.com
- google.com
- googleapis.com
- gcr.io
- pkg.dev
Set up a custom domain
After your Looker (Google Cloud core) instance has been created, you can set up a custom domain.
Before you begin
Before you can customize the domain of your Looker (Google Cloud core) instance, identify where your domain's DNS records are stored, so that you can update them.
Required roles
To get the permissions that
you need to create a custom domain for a Looker (Google Cloud core) instance,
ask your administrator to grant you the
Looker Admin (roles/looker.admin)
IAM role on the project the instance resides in.
For more information about granting roles, see Manage access to projects, folders, and organizations.
You might also be able to get the required permissions through custom roles or other predefined roles.
Create a custom domain
In the Google Cloud console, follow these steps to customize the domain of your Looker (Google Cloud core) instance:
- On the Instances page, click the name of the instance for which you would like to set up a custom domain.
- Click the CUSTOM DOMAIN tab.
Click ADD A CUSTOM DOMAIN.
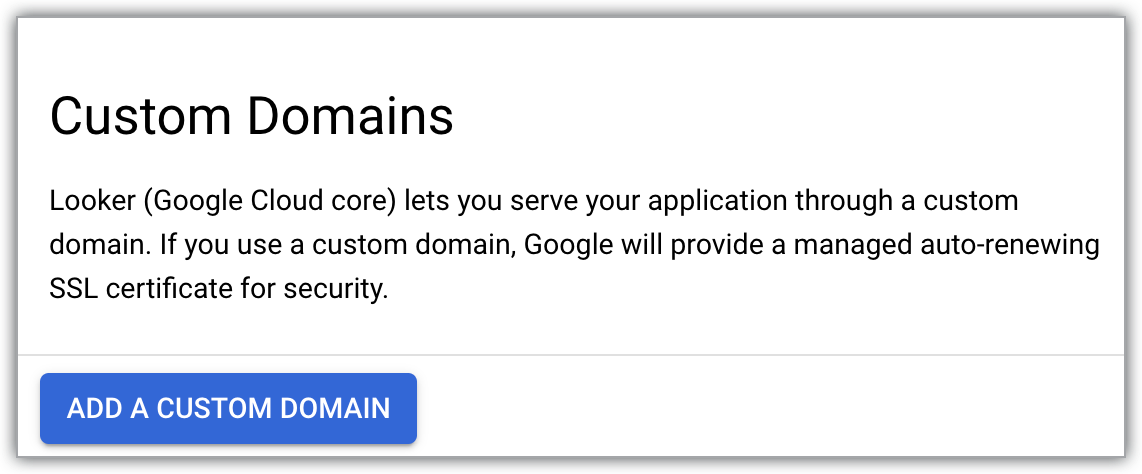
This opens the Add a new custom domain panel.
Using only letters, numbers, and dashes, enter the hostname of up to 64 characters for the web domain that you would like to use — for example:
looker.examplepetstore.com.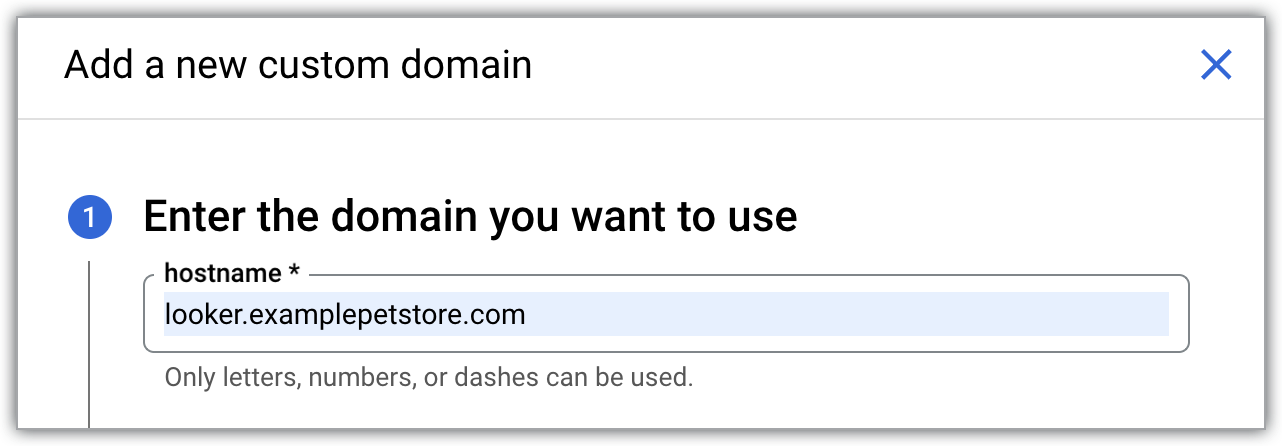
Click DONE on the Add a new custom domain panel to return to the CUSTOM DOMAIN tab.
Once your custom domain is set up, it is displayed in the Domain column on the CUSTOM DOMAIN tab of the Looker (Google Cloud core) instance details page in the Google Cloud console.
After your custom domain has been created, you can view information about it, or delete it.
Update the OAuth credentials
- Access your OAuth client by navigating in the Google Cloud console to APIs & Services > Credentials and selecting the OAuth client ID for the OAuth client that is used by your Looker (Google Cloud core) instance.
Click the Add URI button to update the Authorized JavaScript origins field in your OAuth client to include the same DNS name that your organization will use to access Looker (Google Cloud core). For example, if your custom domain is
looker.examplepetstore.com, you enterlooker.examplepetstore.comas the URI.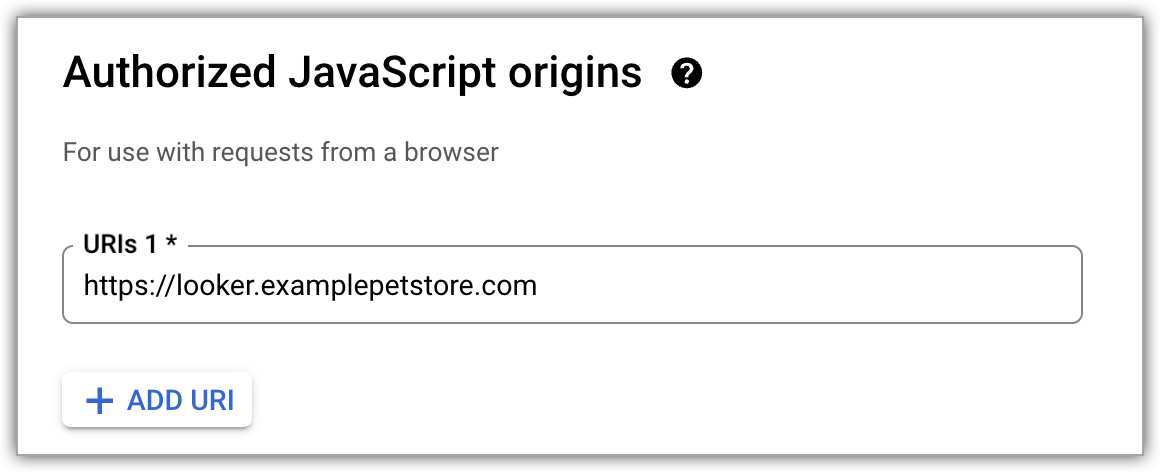
Update or add the custom domain to the list of Authorized redirect URIs for the OAuth credentials that you used when you created the Looker (Google Cloud core) instance. Add
/oauth2callbackto the end of the URI. For example, if your custom domain islooker.examplepetstore.com, you enterlooker.examplepetstore.com/oauth2callback.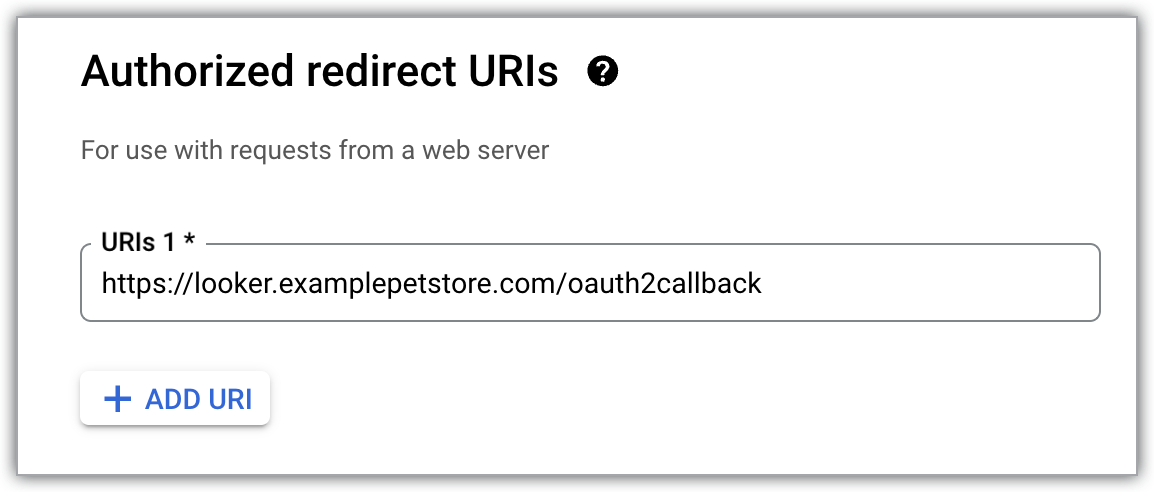
Public access to Looker (Google Cloud core)
After you have set up the custom domain, the next step is to create a self-signed certificate or Google-managed certificate with DNS authorization. Once your certificate is created, you can deploy an external regional application load balancer with a Private Service Connect backend as the backend service. Once the load balancer is deployed, you can update your public DNS with the customer domain and load balancer IP address as the A record.
Required roles
Role |
Description |
Compute Network Admin |
Grants full control over the VPC network that initiates a connection to a Looker (Google Cloud core) instance, including creating and managing an HTTPS target proxy. |
Compute Load Balancer Admin role |
Create Private Service Connect backends. |
Looker Admin |
Grants full control over Looker (Google Cloud core) resources, including creating an instance that is enabled for Private Service Connect and creating a custom domain. |
DNS Admin |
Grants full control over Cloud DNS resources, including DNS zones and records. |
Certificate Manager Owner |
Required to create and manage Certificate Manager resources. |
Network setup
The following network components are required:
Looker (Google Cloud core) deployed with Private Service Connect supports Private Service Connect network endpoint groups (NEGs), called backends, that are integrated with Google Cloud load balancers. See the Looker PSC Northbound Regional External L7 ALB codelab for instructions on how to publicly access a Looker (Google Cloud core) instance that is enabled for Private Service Connect by using a backend.
An example of a Private Service Connect backend network setup for public access is displayed in the following diagram:
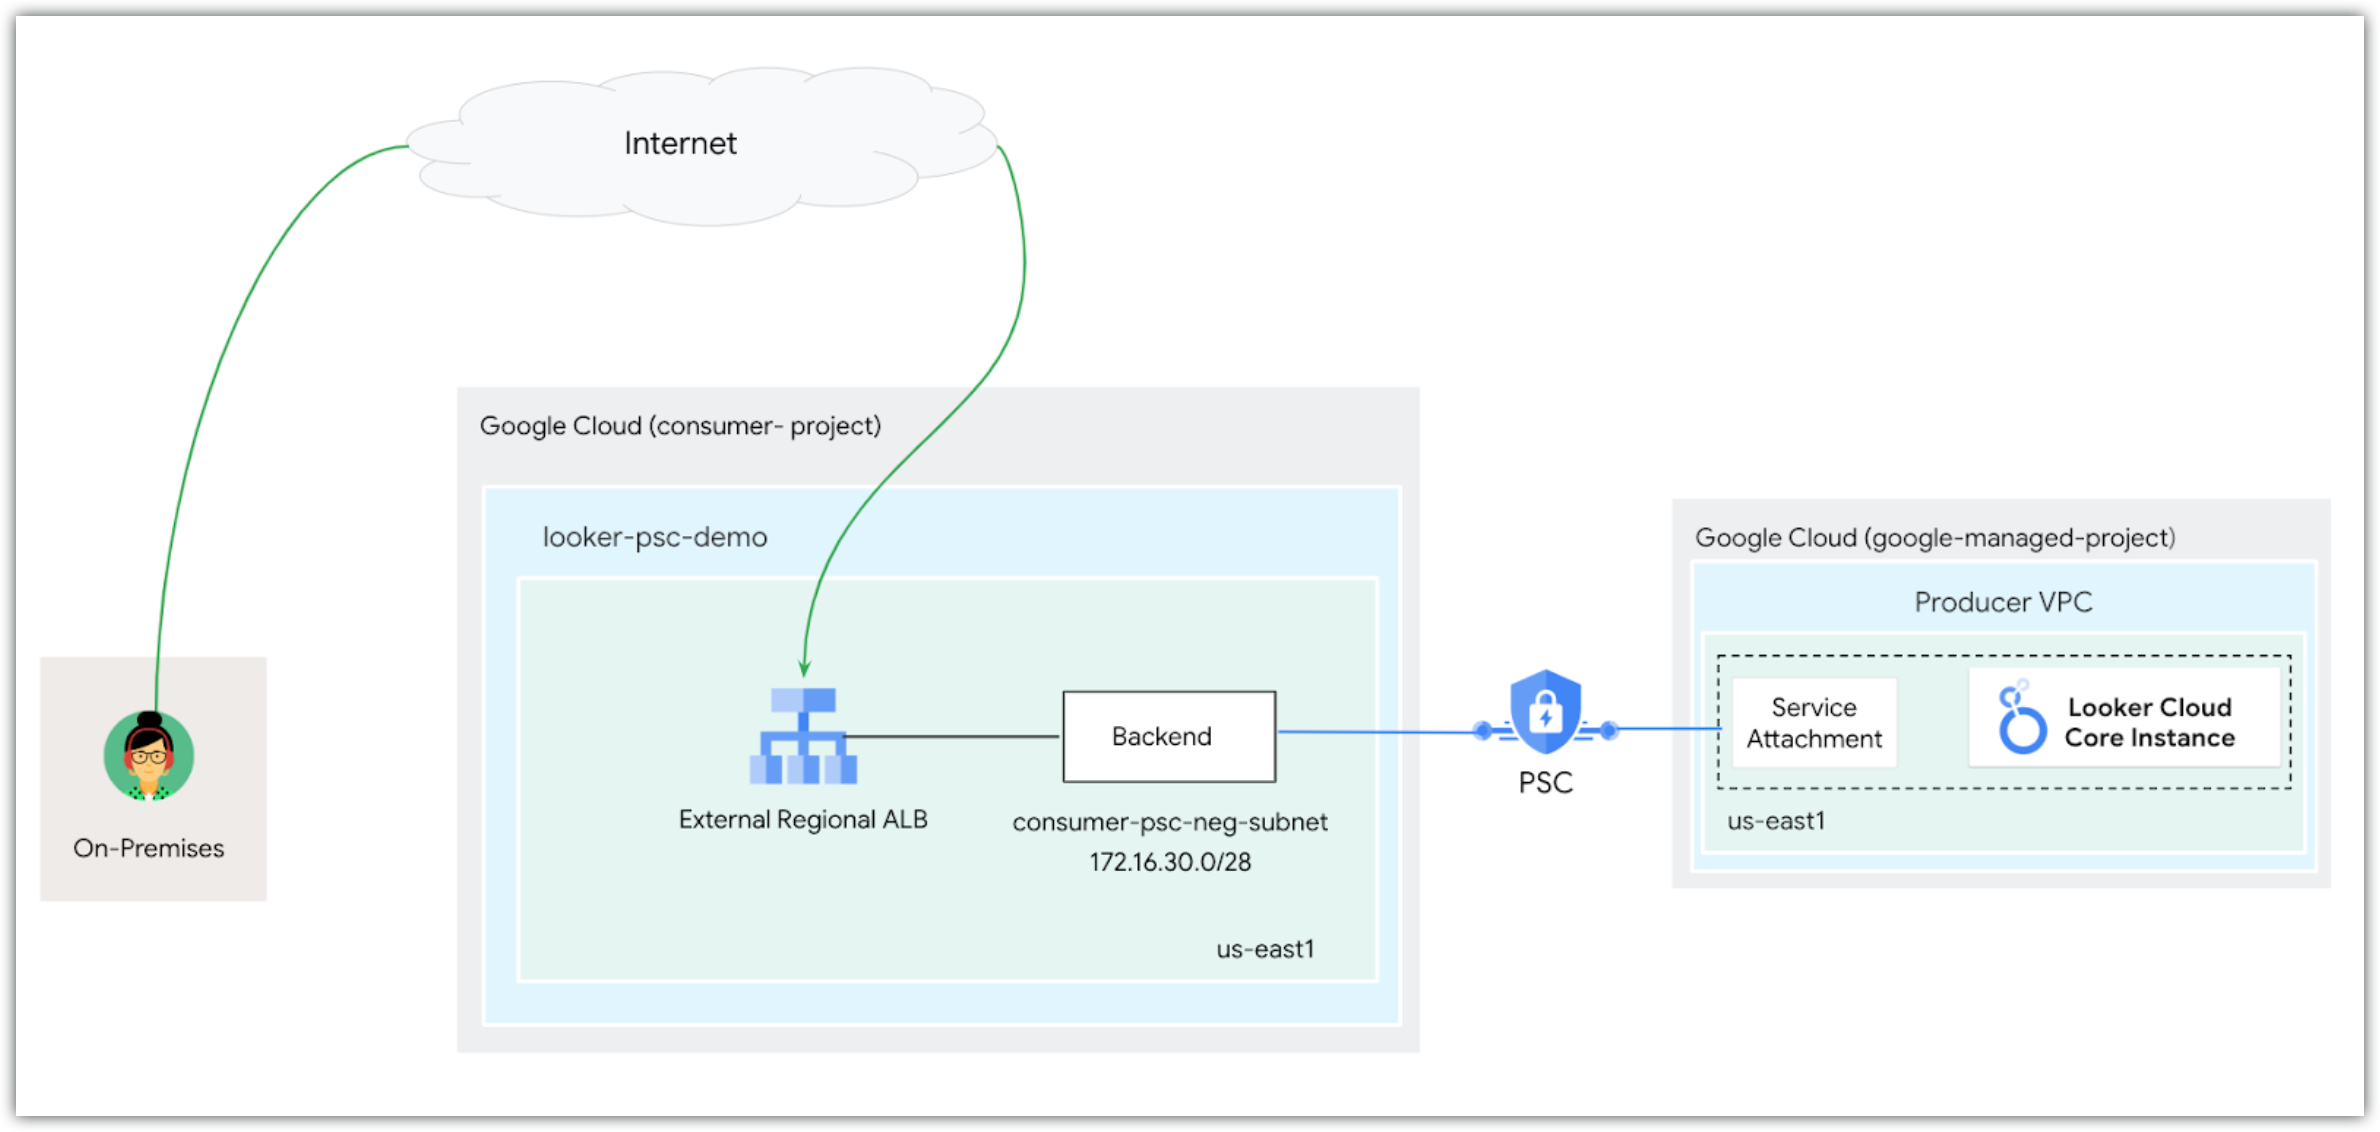
As shown in the diagram, public clients access Looker (Google Cloud core) by performing a DNS lookup by specifying the Looker (Google Cloud core) customer domain that returns the external regional application load balancer's IP address as the A record. Once traffic is received by the load balancer, the backend service (which consists of the Private Service Connect backend) connects to a service attachment in a Google-managed producer VPC hosting Looker (Google Cloud core). Make sure that the consumer VPC network is allowed ingress to your Looker (Google Cloud core) instance.
What's next
- Connect Looker (Google Cloud core) to your database
- Prepare a Looker (Google Cloud core) instance for users
- Manage users within Looker (Google Cloud core)
