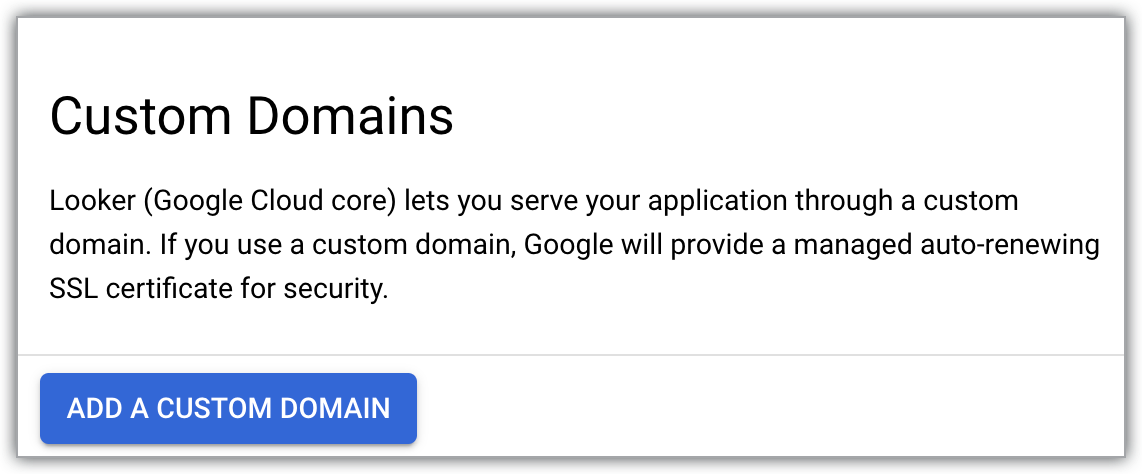
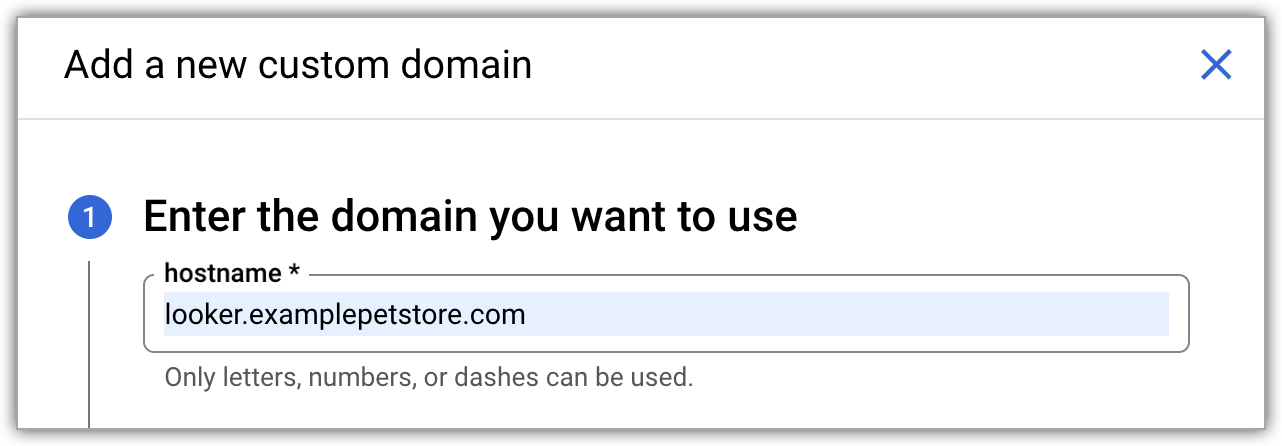
[[["易于理解","easyToUnderstand","thumb-up"],["解决了我的问题","solvedMyProblem","thumb-up"],["其他","otherUp","thumb-up"]],[["很难理解","hardToUnderstand","thumb-down"],["信息或示例代码不正确","incorrectInformationOrSampleCode","thumb-down"],["没有我需要的信息/示例","missingTheInformationSamplesINeed","thumb-down"],["翻译问题","translationIssue","thumb-down"],["其他","otherDown","thumb-down"]],["最后更新时间 (UTC):2025-08-25。"],[],[],null,["You can serve your instance through a custom web domain rather than through the default domain that Looker (Google Cloud core) provides.\n\nThis documentation page describes how to use the Google Cloud console to set up a custom domain for any type of Looker (Google Cloud core) instance.\n\nSet up a custom domain\n\nAfter your Looker (Google Cloud core) instance has been created, you can set up a custom domain.\n\nBefore you begin **Note:** Custom domains cannot be created using a looker.com domain.\n\nBefore you can customize the domain of your Looker (Google Cloud core) instance, identify where your domain's DNS records are stored, so that you can update them.\n\nRequired roles\n\n\nTo get the permissions that\nyou need to create a custom domain for a Looker (Google Cloud core) instance,\n\nask your administrator to grant you the\n\n\n[Looker Admin](/iam/docs/roles-permissions/looker#looker.admin) (`roles/looker.admin`)\nIAM role on the project the instance resides in.\n\n\nFor more information about granting roles, see [Manage access to projects, folders, and organizations](/iam/docs/granting-changing-revoking-access).\n\n\nYou might also be able to get\nthe required permissions through [custom\nroles](/iam/docs/creating-custom-roles) or other [predefined\nroles](/iam/docs/roles-overview#predefined).\n\nCreate a custom domain **Note:** You cannot modify a custom domain once it is created. If you want to make changes to the custom domain, you must delete the existing custom domain and create a new one.\n\nIn the Google Cloud console, follow these steps to customize the domain of your Looker (Google Cloud core) instance:\n\n1. On the **Instances** page, click the name of the instance for which you would like to set up a custom domain.\n2. Click the **CUSTOM DOMAIN** tab.\n3. Click **ADD A CUSTOM DOMAIN**.\n\n This opens the **Add a new custom domain** panel.\n4. Using only letters, numbers, and dashes, enter the hostname of up to 64 characters for the web domain that you would like to use --- for example: `looker.examplepetstore.com`.\n\n5. Click **DONE** on the **Add a new custom domain** panel to return to the **CUSTOM DOMAIN** tab.\n\n| **Note:** Updating the custom domain takes 10 to 15 minutes to complete.\n\nOnce your custom domain is set up, it is displayed in the **Domain** column on the **CUSTOM DOMAIN** tab of the Looker (Google Cloud core) [instance details page](/looker/docs/looker-core-custom-domain-settings) in the Google Cloud console.\n\nAfter your custom domain has been created, you can [view information](/looker/docs/looker-core-custom-domain-settings) about it, or [delete](/looker/docs/looker-core-custom-domain-delete) it.\n\nAccess the custom domain\n\nAfter a custom domain is set up in the Google Cloud console, you must configure your network to allow users to access the domain. To learn more about that configuration for your use case, review the following documentation pages.\n\nAccess a custom domain from the internet:\n\n- [Set up and access a custom domain for a public secure connections Looker (Google Cloud core) instance](/looker/docs/looker-core-custom-domain)\n- [Access a Private Service Connect instance from the internet](/looker/docs/looker-core-psc-access-public)\n\nAccess a custom domain through a private network:\n\n- [Access a Looker (Google Cloud core) instance using private services access](/looker/docs/looker-core-custom-domain-private-ip)\n- [Private inbound access to a Looker (Google Cloud core) instance using Private Service Connect](/looker/docs/looker-core-psc-access)"]]