Esta página descreve como adicionar a funcionalidade de pesquisa a um site usando o widget de pesquisa.
Antes de começar
Antes de adicionar um widget de pesquisa à sua página da Web, configure-o. Comece com Configurar resultados para o widget de pesquisa. Não é possível ajustar o estilo do widget de pesquisa na sua página da Web.
Procedimentos
O procedimento para adicionar o widget de pesquisa à sua página da Web varia de acordo com o tipo de autorização escolhido:
Token de autorização: o widget usa um token JWT ou OAuth fornecido pela base de código. Você precisa ter seu próprio servidor para gerar um token. O token de autenticação é usado para fazer uma chamada de API em nome do usuário ou da conta de serviço. Ao gerar o token de autenticação, use o escopo do OAuth
https://www.googleapis.com/auth/cloud-platform.Para interações de servidor para servidor com contas de serviço:consulte Como usar o OAuth 2.0 para aplicativos de servidor para servidor na documentação de autorização.
Para aplicativos da Web JavaScript:consulte OAuth 2.0 para aplicativos da Web do lado do cliente na documentação de autorização.
Acesso público: o widget não restringe quem pode obter resultados de uma consulta de pesquisa.
Adicionar um widget que usa um token de autorização
No console Google Cloud , acesse a página Aplicativos de IA.
Clique no nome do app que você quer editar.
Clique em Integration.
Clique na guia Widget.
Selecione Com base no JWT ou OAuth como o tipo de autorização do widget.
Especifique o nome de domínio da página do widget:
Insira o nome do domínio da página em que o widget vai aparecer.
Por exemplo, se você for copiar o widget para as páginas
example.com/ai.htmlecymbal.example.com/search.html, digiteexample.comcomo o domínio. Se você quiser que o widget funcione apenas em uma página do subdomínio, insiracymbal.example.com.Se você quiser testar o widget no host local, digite
localhost.Clique em Adicionar.
Repita a etapa 6 para cada domínio em que o widget vai aparecer.
Clique em Salvar.
Copie o snippet de código fornecido na seção Copie o código a seguir para seu aplicativo da Web.
Opcional: faça as seguintes mudanças para personalizar o comportamento do widget de pesquisa:
Para abrir os resultados da Web em novas guias, adicione o seguinte ao snippet de código copiado. Por padrão, os resultados de documentos não estruturados são abertos em novas guias, enquanto os resultados da Web são abertos na mesma página do widget.
anchorsTarget="_blank"Por exemplo:
<gen-search-widget configId="..." anchorsTarget="_blank"></gen-search-widget>Para personalizar o texto do marcador na barra de pesquisa, adicione o seguinte ao snippet de código copiado:
placeholder="CUSTOM_PLACEHOLDER"Por exemplo:
<gen-search-widget configId="..." placeholder="Start your search here"></gen-search-widget>Para sempre mostrar o widget sem um gatilho, adicione o seguinte ao snippet de código copiado:
alwaysOpenedPor exemplo:
<gen-search-widget alwaysOpened></gen-search-widget>
Na sua base de código, gere um token de autorização.
Para passar o token de autorização ao seu widget, use o segundo snippet de código, "
// Set authorization token", fornecido na seção Copie o código a seguir no seu aplicativo da Web e substitua o texto<JWT or OAuth token provided by you backend>pelo token de autorização.Defina um novo token periodicamente repetindo a etapa anterior antes que o token atual expire.
Adicionar um widget com acesso público
No console Google Cloud , acesse a página Aplicativos de IA.
Clique no nome do app que você quer editar.
Para acesso público, verifique se o app de pesquisa não está associado a nenhum repositório de dados em controle de acesso.
Clique em Integration.
Clique na guia Widget.
Selecione Acesso público como o tipo de autorização do widget.
Especifique o nome de domínio da página do widget:
Insira o nome do domínio da página em que o widget vai aparecer.
Por exemplo, se você for copiar o widget para as páginas
example.com/ai.htmlecymbal.example.com/search.html, digiteexample.comcomo o domínio. Se você quiser que o widget funcione apenas em páginas no subdomínio, digitecymbal.example.com.Se você quiser testar o widget no host local, digite
localhost.Clique em Adicionar.
Repita a etapa 6 para cada domínio em que o widget vai aparecer.
Clique em Salvar.
Copie o snippet de código fornecido na seção Copie o código a seguir para seu aplicativo da Web.
Opcional: faça as seguintes mudanças para personalizar o comportamento do widget de pesquisa:
Para abrir os resultados da Web em novas guias, adicione o seguinte ao snippet de código copiado. Por padrão, os resultados de documentos não estruturados são abertos em novas guias, enquanto os resultados da Web são abertos na mesma página do widget.
anchorsTarget="_blank"Por exemplo:
<gen-search-widget configId="..." anchorsTarget="_blank"></gen-search-widget>Para personalizar o texto do marcador na barra de pesquisa, adicione o seguinte ao snippet de código copiado:
placeholder="CUSTOM_PLACEHOLDER"Por exemplo:
<gen-search-widget configId="..." placeholder="Start your search here"></gen-search-widget>Para sempre mostrar o widget sem um gatilho, adicione o seguinte ao snippet de código copiado:
<gen-search-widget alwaysOpened></gen-search-widget>
Cole o snippet de código na sua página da Web.
Exemplo de um widget público incorporado
Para conferir um widget de pesquisa incorporado em uma página da Web pública, consulte Teste a Vertex AI para Pesquisa.
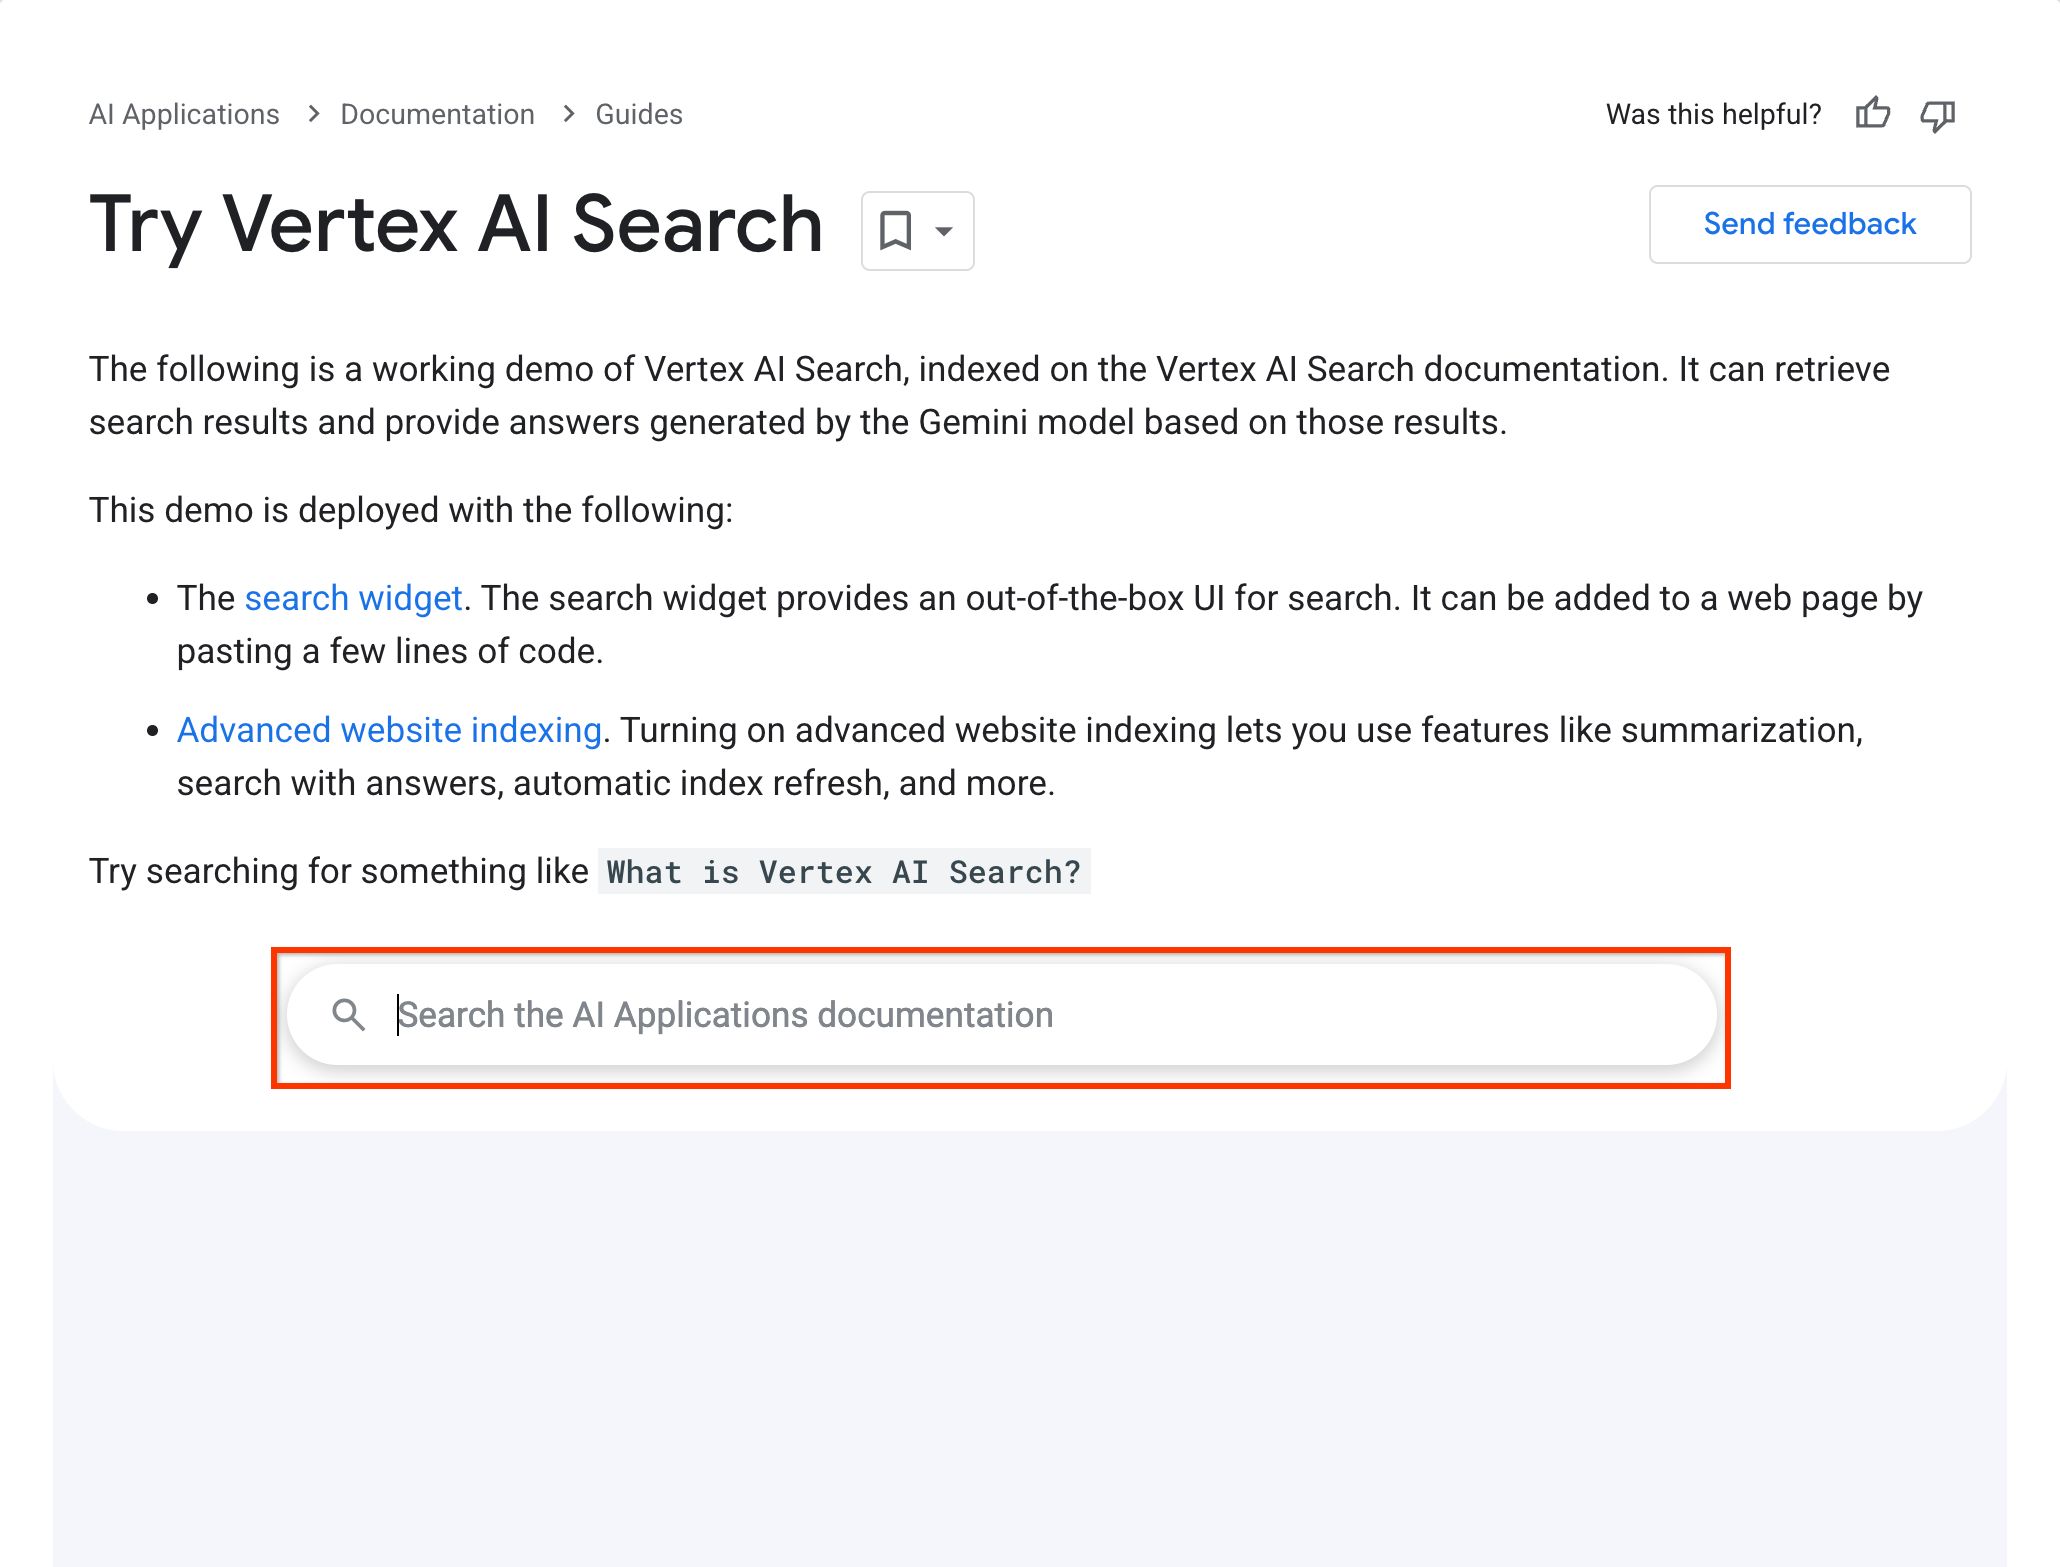
Esse widget de pesquisa funciona com a seguinte configuração:
  <gen-search-widget
    configId="123456"
    anchorsTarget="_blank"
    placeholder="Search the AI Applications documentation"
    alwaysOpened>
  </gen-search-widget>