Die Vision API kann eine (direkte) Online-Annotation für mehrere Seiten oder Frames aus PDF-, TIFF- oder GIF-Dateien bereitstellen, die in Cloud Storage gespeichert sind.
Sie können für jede Datei eine Online-Feature-Erkennung und eine Annotation mit fünf Frames (GIF; „image/gif“) oder Seiten (PDF; „application/pdf“ oder TIFF; „image/tiff“) anfordern.
Die Beispielannotationen auf dieser Seite sind für DOCUMENT_TEXT_DETECTION. Die Online-Annotation für kleine Batches ist jedoch für alle Vision-Features verfügbar.
Seite 1
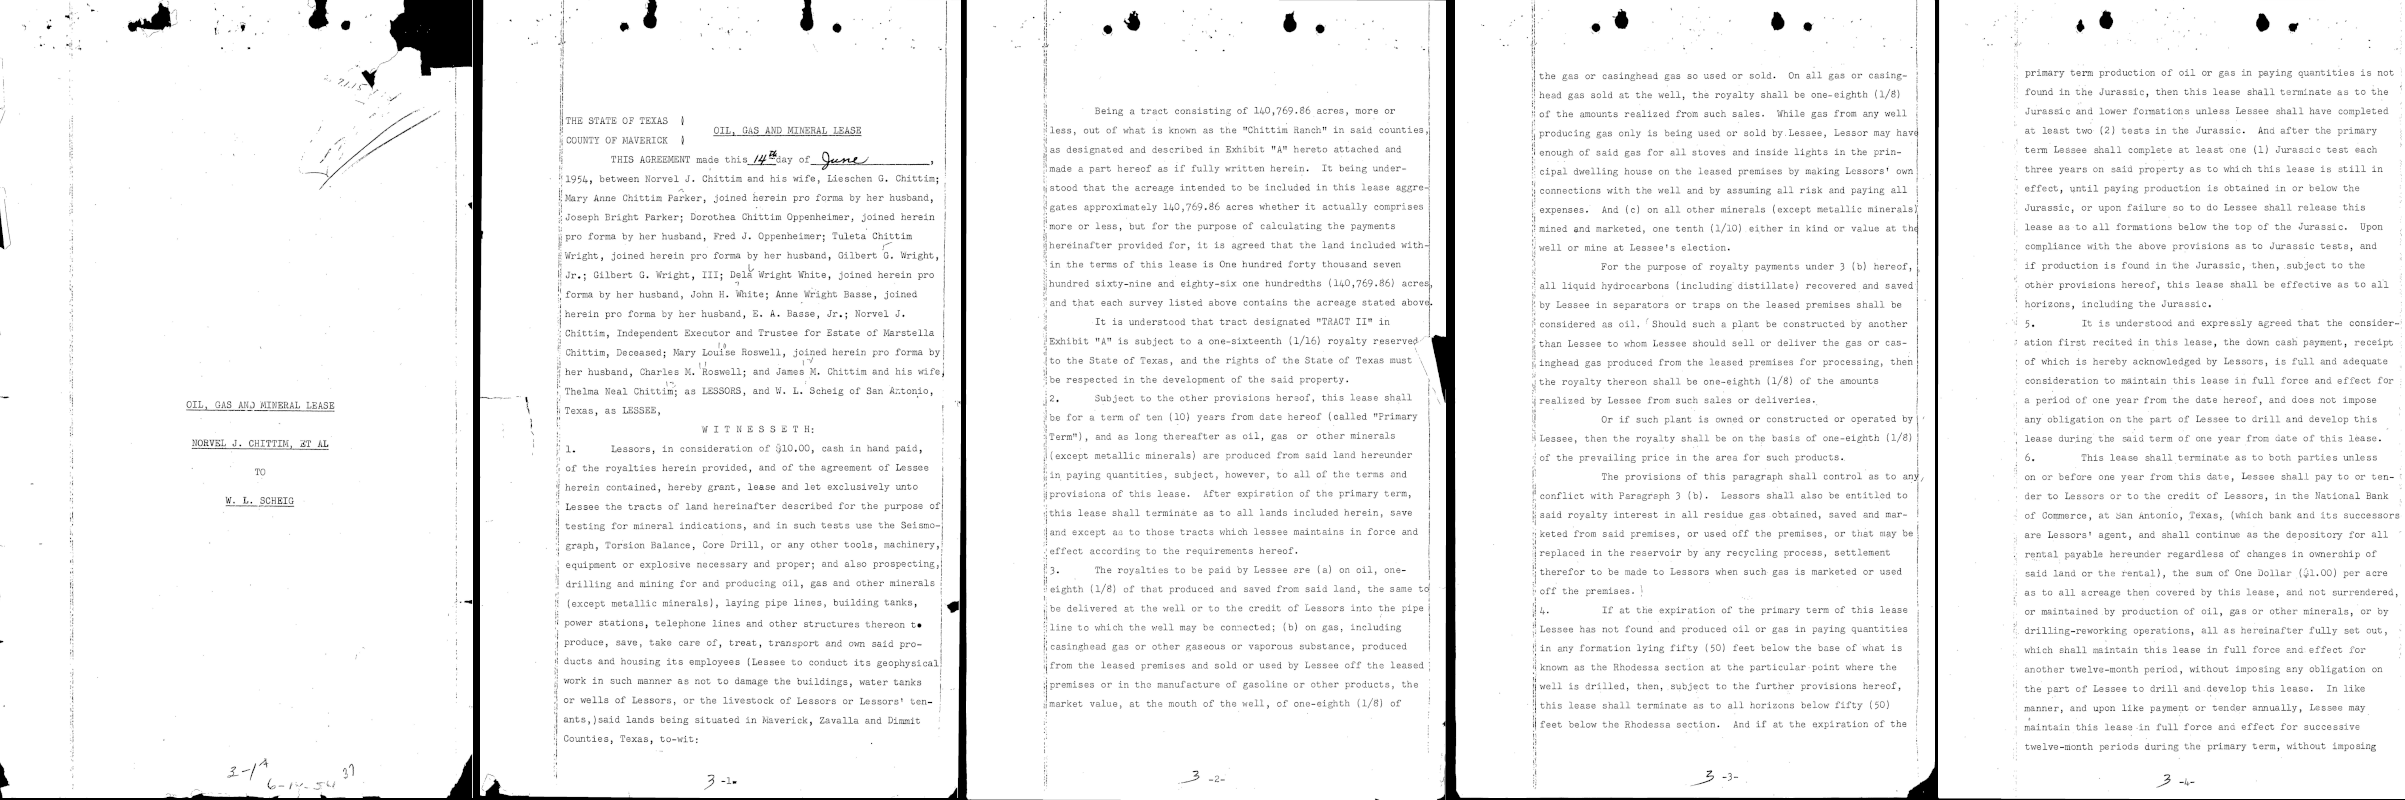
... "text": "á\n7.1.15\nOIL, GAS AND MINERAL LEASE \nNORVEL J. CHITTIM, ET AL\n.\n. \nTO\nW. L. SCHEIG\n" }, "context": {"pageNumber": 1} ... |
Seite 2
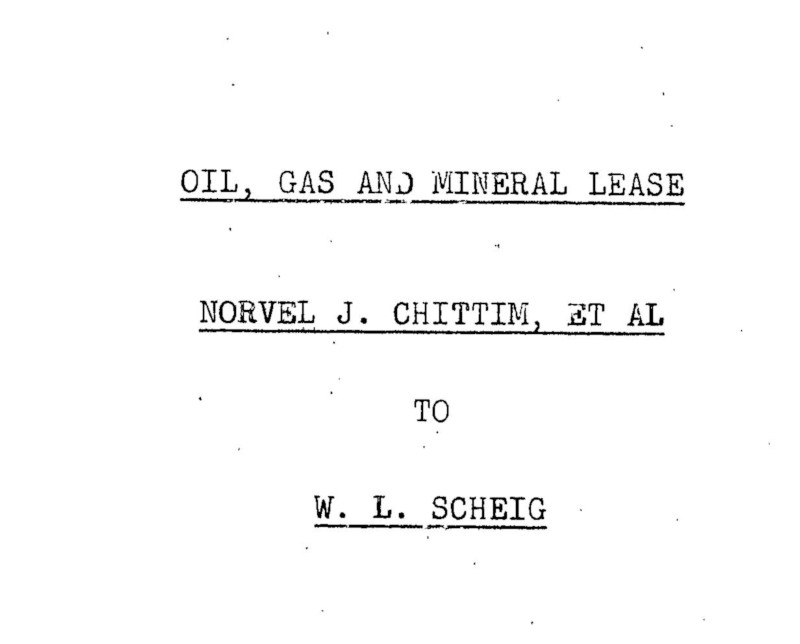
... "text": "...\n.\n*\n.\n.\n.\nA\nNY\nALA...\n7 \n| THE STATE OF TEXAS \nOIL, GAS AND MINERAL LEASE \nCOUNTY OF MAVERICK ] \nTHIS AGREEMENT made this 14 day of_June \n1954, between Norvel J. Chittim and his wife, Lieschen G. Chittim; \nMary Anne Chittim Parker, joined herein pro forma by her husband, \nJoseph Bright Parker; Dorothea Chittim Oppenheimer, joined herein \npro forma by her husband, Fred J. Oppenheimer; Tuleta Chittim \nWright, joined herein pro forma by her husband, Gilbert G. Wright, \nJr.; Gilbert G. Wright, III; Dela Wright White, joined herein pro \nforma by her husband, John H. White; Anne Wright Basse, joined \nherein pro forma by her husband, E. A. Basse, Jr.; Norvel J. \nChittim, Independent Executor and Trustee for Estate of Marstella \nChittim, Deceased; Mary Louise Roswell, joined herein pro forma by \nher husband, Charles M. 'Roswell; and James M. Chittim and his wife, \nThelma Neal Chittim; as LESSORS, and W. L. Scheig of San Antonio, \nTexas, as LESSEE, |
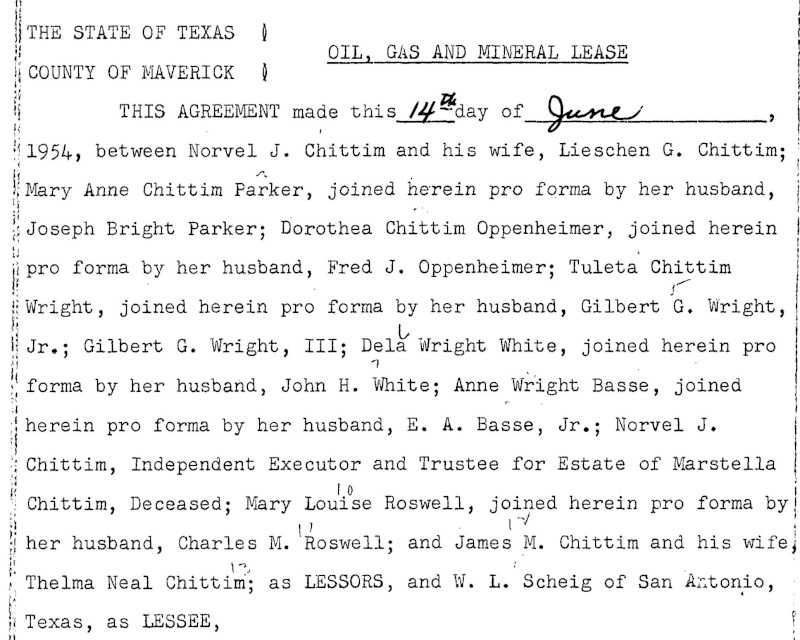
\nW I T N E s s E T H: \n1. Lessors, in consideration of $10.00, cash in hand paid, \nof the royalties herein provided, and of the agreement of Lessee \nherein contained, hereby grant, lease and let exclusively unto \nLessee the tracts of land hereinafter described for the purpose of \ntesting for mineral indications, and in such tests use the Seismo- \ngraph, Torsion Balance, Core Drill, or any other tools, machinery, \nequipment or explosive necessary and proper; and also prospecting, \ndrilling and mining for and producing oil, gas and other minerals \n(except metallic minerals), laying pipe lines, building tanks, \npower stations, telephone lines and other structures thereon to \nproduce, save, take care of, treat, transport and own said pro- \nducts and housing its employees (Lessee to conduct its geophysical \nwork in such manner as not to damage the buildings, water tanks \nor wells of Lessors, or the livestock of Lessors or Lessors' ten- ! \nants, )said lands being situated in Maverick, Zavalla and Dimmit \nCounties, Texas, to-wit:\n3-1.\n" }, "context": {"pageNumber": 2} ... |
Seite 3
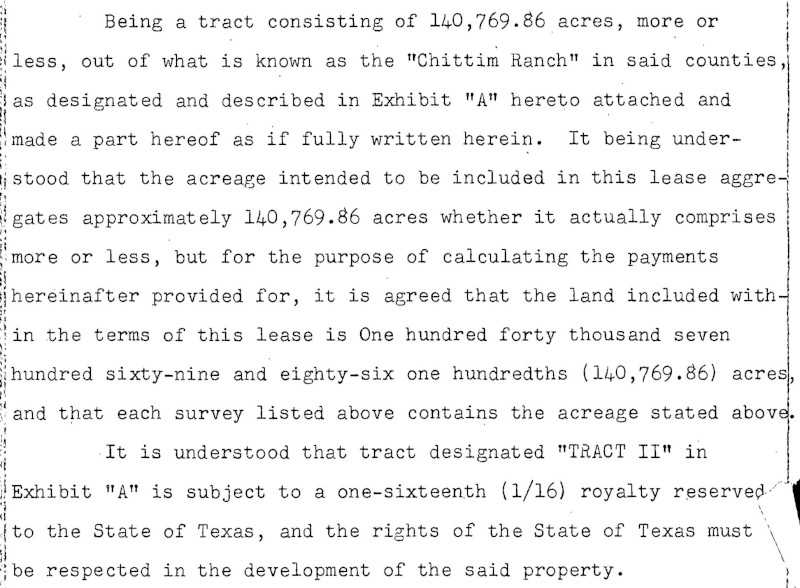
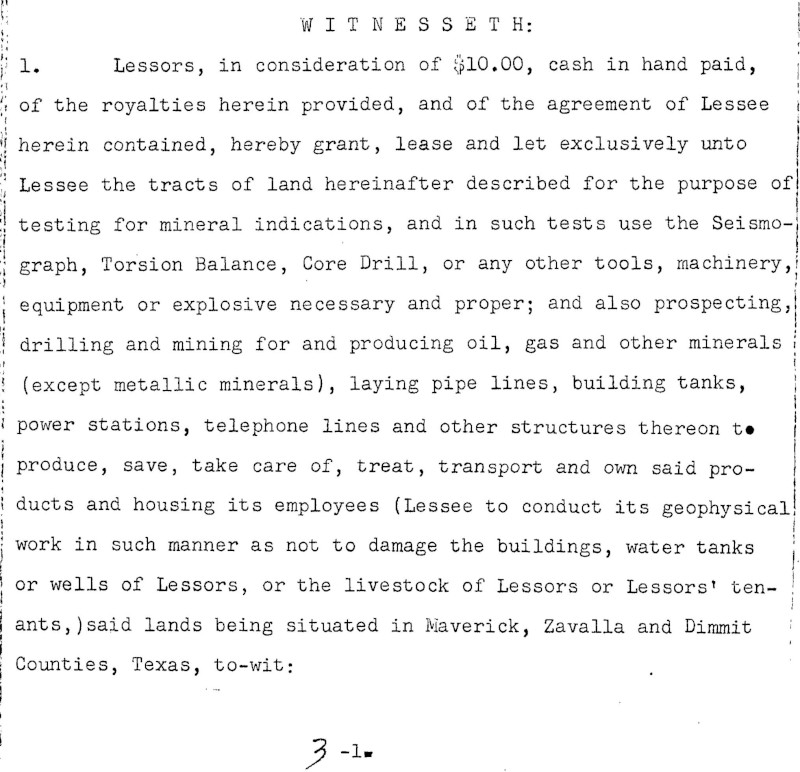
... "text": "Being a tract consisting of 140,769.86 acres, more or \nless, out of what is known as the \"Chittim Ranch\" in said counties, \nas designated and described in Exhibit \"A\" hereto attached and \nmade a part hereof as if fully written herein. It being under- \nstood that the acreage intended to be included in this lease aggre- \ngates approximately 140,769.86 acres whether it actually comprises \nmore or less, but for the purpose of calculating the payments \nhereinafter provided for, it is agreed that the land included with- \nin the terms of this lease is One hundred forty thousand seven \nhundred sixty-nine and eighty-six one hundredths (140,769.86) acres, \nand that each survey listed above contains the acreage stated above. \nIt is understood that tract designated \"TRACT II\" in \nExhibit \"A\" is subject to a one-sixteenth (1/16) royalty reserved. \nto the State of Texas, and the rights of the State of Texas must \nbe respected in the development of the said property. |
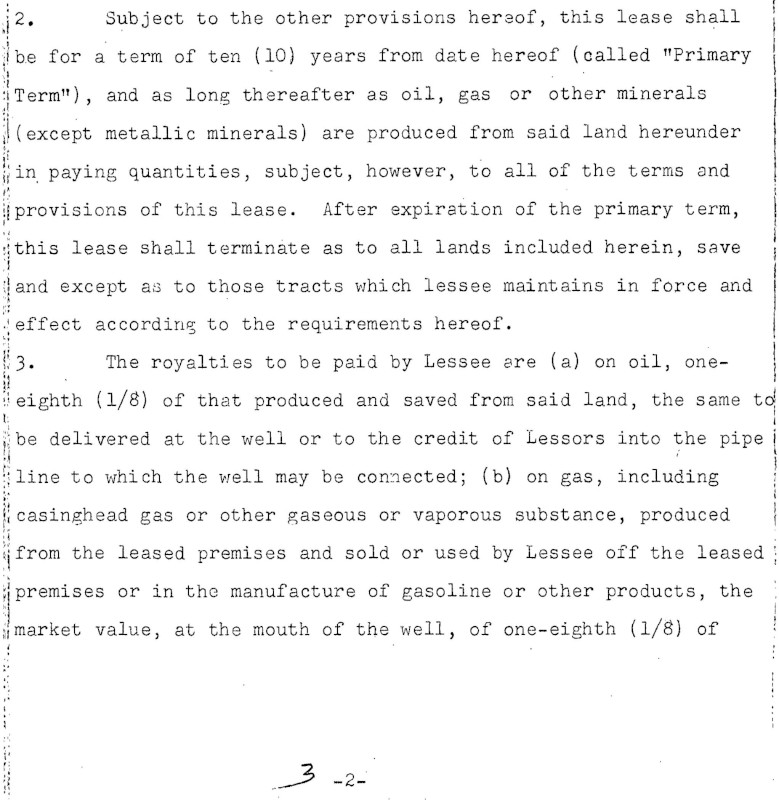
\n2. Subject to the other provisions hereof, this lease shall \nbe for a term of ten (10) years from date hereof (called \"Primary \nTerm\"), and as long thereafter as oil, gas or other minerals \n(except metallic minerals) are produced from said land hereunder \nin paying quantities, subject, however, to all of the terms and \nprovisions of this lease. After expiration of the primary term, \nthis lease shall terminate as to all lands included herein, save \nand except as to those tracts which lessee maintains in force and \neffect according to the requirements hereof. \n3. The royalties to be paid by Lessee are (a) on oil, one- \neighth (1/8) of that produced and saved from said land, the same to \nbe delivered at the well or to the credit of Lessors into the pipe i \nline to which the well may be connected; (b) on gas, including \ni casinghead gas or other gaseous or vaporous substance, produced \nfrom the leased premises and sold or used by Lessee off the leased \npremises or in the manufacture of gasoline or other products, the \nmarket value, at the mouth of the well, of one-eighth (1/8) of \n.\n3-2-\n?\n" }, "context": {"pageNumber": 3} ... |
Seite 4
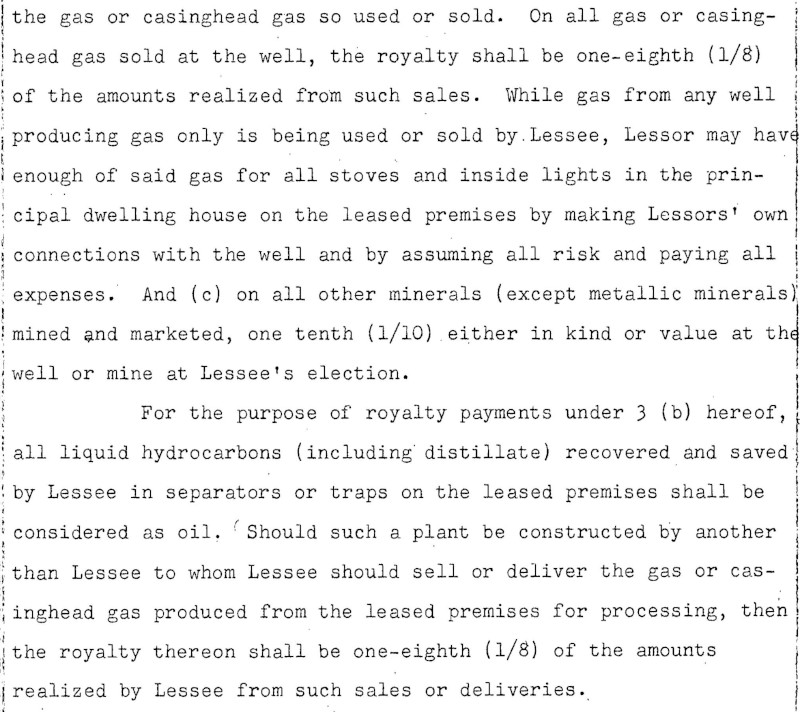
... "text": "•\n:\n.\nthe gas or casinghead gas so used or sold. On all gas or casing- \nhead gas sold at the well, the royalty shall be one-eighth (1/8) \nof the amounts realized from such sales. While gas from any well \nproducing gas only is being used or sold by. Lessee, Lessor may have \nenough of said gas for all stoves and inside lights in the prin- \ncipal dwelling house on the leased premises by making Lessors' own \nconnections with the well and by assuming all risk and paying all \nexpenses. And (c) on all other minerals (except metallic minerals) \nmined and marketed, one tenth (1/10). either in kind or value at the \nwell or mine at Lessee's election. \nFor the purpose of royalty payments under 3 (b) hereof, \nall liquid hydrocarbons (including distillate) recovered and saved n| by Lessee in separators or traps on the leased premises shall be \nconsidered as oil. Should such a plant be constructed by another \nthan Lessee to whom Lessee should sell or deliver the gas or cas- \ninghead gas produced from the leased premises for processing, then \nthe royalty thereon shall be one-eighth (1/8) of the amounts \nrealized by Lessee from such sales or deliveries. |
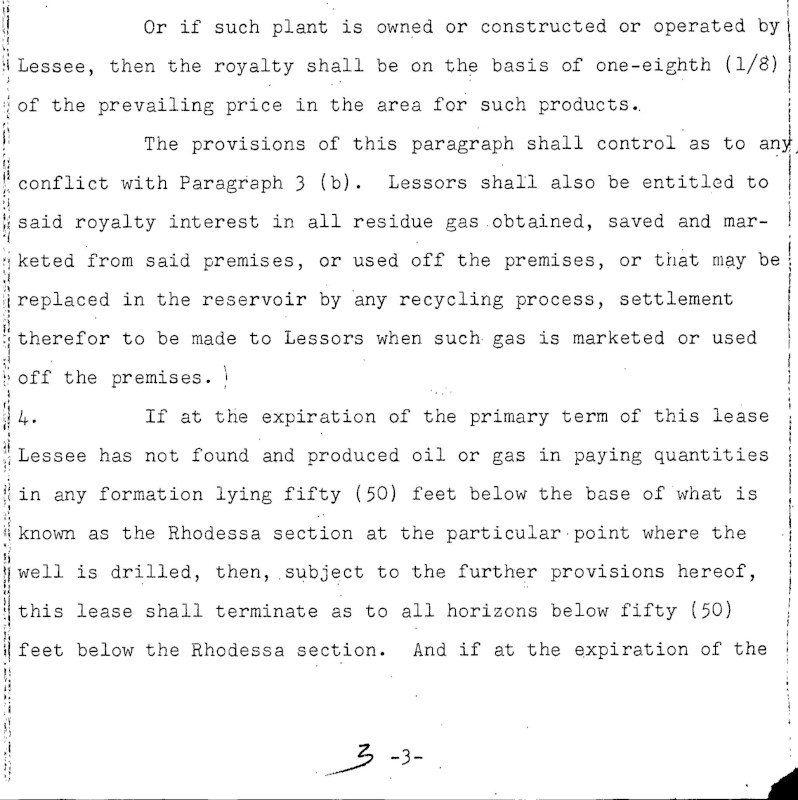
\nOr if such plant is owned or constructed or operated by \nLessee, then the royalty shall be on the basis of one-eighth (1/8) | \nof the prevailing price in the area for such products.. \nThe provisions of this paragraph shall control as to any \nconflict with Paragraph 3 (b). Lessors shall also be entitled to \nsaid royalty interest in all residue gas .obtained, saved and mar- \nketed from said premises, or used off the premises, or that may be \nreplaced in the reservoir by 'any recycling process, settlement \ntherefor to be made to Lessors when such gas is marketed or used \noff the premises. ! \nIf at the expiration of the primary term of this lease \nLessee has not found and produced oil or gas in paying quantities \nin any formation lying fifty (50) feet below the base of what is \nknown as the Rhodessa section at the particular point where the \nwell is drilled, then, subject to the further provisions hereof, \nthis lease shall terminate as to all horizons below fifty (50) \nI feet below the Rhodessa section. And if at the expiration of the \n3 -3-\n" }, "context": {"pageNumber": 4} ... |
Seite 5
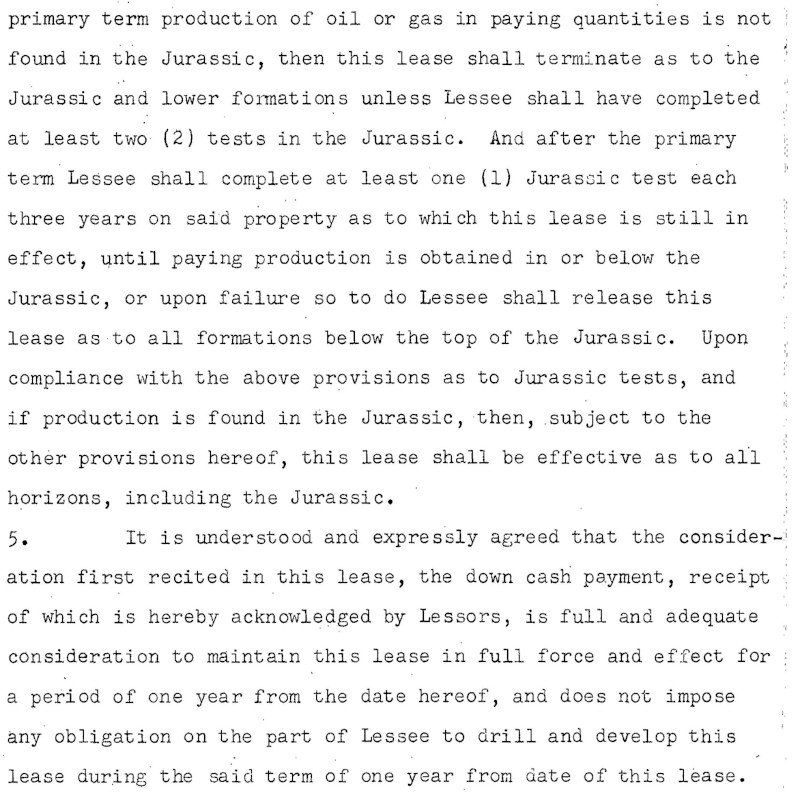
... "text": ".\n.\n:\nI\n.\n.\n.:250:-....\n.\n...\n.\n....\n....\n..\n..\n. .. \n.\n..\n.\n...\n...\n.-\n.\n.\n..\n..\n17\n.\n:\n-\n-\n-\n.\n..\n. \nprimary term production of oil or gas in paying quantities is not \nfound in the Jurassic, then this lease shall terminate as to the \nJurassic and lower formations unless Lessee shall have completed \nat least two (2) tests in the Jurassic. And after the primary \nterm Lessee shall complete at least one (1) Jurassic test each \nthree years on said property as to which this lease is still in \neffect, until paying production is obtained in or below the \nJurassic, or upon failure so to do Lessee shall release this \nlease as to all formations below the top of the Jurassic. Upon \ncompliance with the above provisions as to Jurassic tests, and \nif production is found in the Jurassic, then, subject to the \nother provisions hereof, this lease shall be effective as to all \nhorizons, including the Jurassic.. \n5. It is understood and expressly agreed that the consider- \niation first recited in this lease, the down cash payment, receipt \nof which is hereby acknowledged by Lessors, is full and adequate \nconsideration to maintain this lease in full force and effect for \na period of one year from the date hereof, and does not impose \nany obligation on the part of Lessee to drill and develop this \nlease during the said term of one year from date of this lease. |
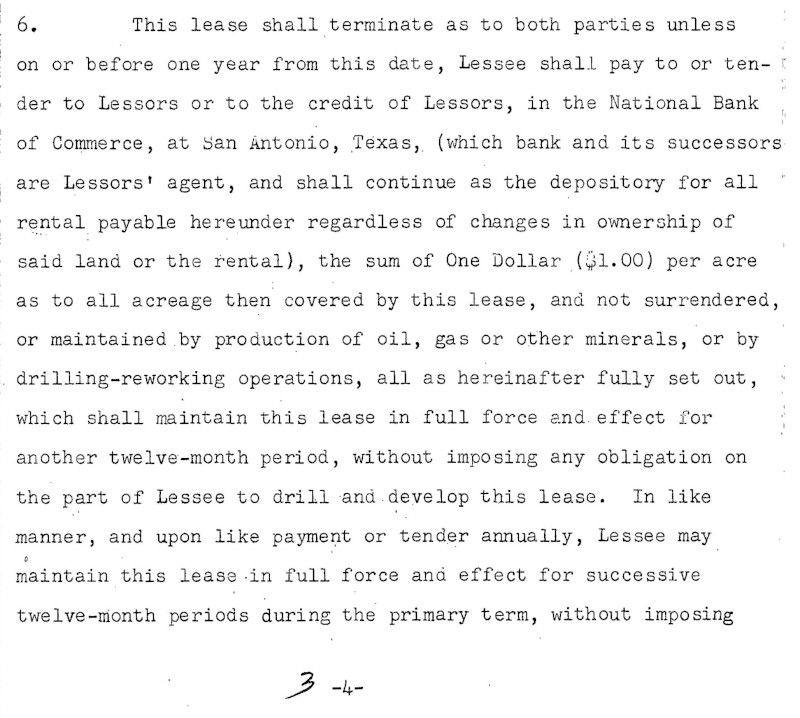
\n6. This lease shall terminate as to both parties unless \non or before one year from this date, Lessee shall pay to or ten- ! \nder to Lessors or to the credit of Lessors, in the National Bank \nof Commerce, at San Antonio, Texas, (which bank and its successors \nare Lessors' agent, and shall continue as the depository for all \" \nrental payable hereunder regardless of changes in ownership of \nsaid land or the rental), the sum of One Dollar ($1.00) per acre \nas to all acreage then covered by this lease, and not surrendered, \nor maintained by production of oil, gas or other minerals, or by \ndrilling-reworking operations, all as hereinafter fully set out, : \nwhich shall maintain this lease in full force and effect for \nanother twelve-month period, without imposing any obligation on \nthe part of Lessee to drill and develop this lease. In like \nmanner, and upon like payment or tender annually, Lessee may \nmaintain this lease .in full force and effect for successive \ntwelve-month periods during the primary term, without imposing \n.\n--.\n.\n.\n.\n-\n::\n--- \n-\n3\n.\n..-\n-\n-\n:.\n.\n::\n. \n3-4-\n" }, "context": {"pageNumber": 5} ... |
Beschränkungen
Es können höchstens 5 Seiten mit Anmerkungen versehen werden. Nutzer können die 5 Seiten angeben, die mit Anmerkungen versehen werden sollen.
Authentifizierung
Projekt und Authentifizierung in Google Cloud einrichten
Wenn Sie noch kein Google Cloud Projekt erstellt haben, tun Sie dies jetzt. Maximieren Sie diesen Abschnitt, um die Anleitung einzublenden.
-
In the Google Cloud console, on the project selector page, select or create a Google Cloud project.
Roles required to select or create a project
- Select a project: Selecting a project doesn't require a specific IAM role—you can select any project that you've been granted a role on.
-
Create a project: To create a project, you need the Project Creator
(
roles/resourcemanager.projectCreator), which contains theresourcemanager.projects.createpermission. Learn how to grant roles.
-
Verify that billing is enabled for your Google Cloud project.
-
Enable the Vision API.
Roles required to enable APIs
To enable APIs, you need the Service Usage Admin IAM role (
roles/serviceusage.serviceUsageAdmin), which contains theserviceusage.services.enablepermission. Learn how to grant roles. -
Install the Google Cloud CLI.
-
Konfigurieren Sie die gcloud CLI für die Verwendung Ihrer föderierten Identität.
Weitere Informationen finden Sie unter Mit Ihrer föderierten Identität in der gcloud CLI anmelden.
-
Führen Sie folgenden Befehl aus, um die gcloud CLI zu initialisieren:
gcloud initDerzeit unterstützte Featuretypen
Featuretyp CROP_HINTSErmittelt Vorschläge für Eckpunkte für einen Bildausschnitt. DOCUMENT_TEXT_DETECTIONFührt in Bildern mit hohem Textanteil eine OCR durch, zum Beispiel Dokumente (PDF/TIFF) und Bilder mit Handschrift. TEXT_DETECTIONkann für Bilder mit wenig Text verwendet werden. Hat Vorrang, wennDOCUMENT_TEXT_DETECTIONundTEXT_DETECTIONvorhanden sind.FACE_DETECTIONErkennt Gesichter im Bild. IMAGE_PROPERTIESBerechnet eine Reihe von Bildeigenschaften, zum Beispiel die dominanten Farben des Bildes. LABEL_DETECTIONFügt Labels ausgehend vom Bildinhalt hinzu. LANDMARK_DETECTIONErkennt geografische Sehenswürdigkeiten im Bild. LOGO_DETECTIONErkennt Firmenlogos im Bild. OBJECT_LOCALIZATIONErkennt und extrahiert mehrere Objekte in einem Bild. SAFE_SEARCH_DETECTIONFührt SafeSearch aus, um potenziell unsichere oder unerwünschte Inhalte zu erkennen. TEXT_DETECTIONFührt eine OCR für Text im Bild durch. Die Texterkennung ist für Bereiche mit wenig Text innerhalb eines größeren Bildes optimiert. Verwenden Sie DOCUMENT_TEXT_DETECTION, wenn das Bild ein Dokument ist (PDF/TIFF), viel Text oder Handschrift enthält.WEB_DETECTIONMit der Google Bildersuche lassen sich thematische Entitäten wie Nachrichten, Veranstaltungen oder Prominente im Bild erkennen und nach ähnlichen Bildern im Web suchen. Beispielcode
Sie können entweder eine Annotationsanfrage mit einer lokal gespeicherten Datei senden oder eine Datei verwenden, die in Cloud Storage gespeichert ist.
Lokal gespeicherte Datei verwenden
Verwenden Sie die folgenden Codebeispiele, um eine Feature-Annotation für eine lokal gespeicherte Datei abzurufen.
REST
Senden Sie eine POST-Anfrage und geben Sie den entsprechenden Anfragetext an, um eine Online-Erkennung für einen kleinen Batch von Dateien im PDF-/TIFF-/GIF-Format durchzuführen:
Ersetzen Sie folgende Werte in den Anfragedaten:
- BASE64_ENCODED_FILE: Die Base64-Darstellung (ASCII-String) der Binärprogrammdateidaten. Dieser String sollte in etwa so aussehen:
JVBERi0xLjUNCiW1tbW1...ydHhyZWYNCjk5NzM2OQ0KJSVFT0Y=
- PROJECT_ID: Ihre Google Cloud -Projekt-ID
Feldspezifische Hinweise:
inputConfig.mimeType– eine der folgenden Optionen: "application/pdf", "image/tiff" oder "image/gif".pages– gibt die spezifischen Seiten der Datei zur Durchführung der Feature-Erkennung an.
HTTP-Methode und URL:
POST https://vision.googleapis.com/v1/files:annotate
JSON-Text der Anfrage:
{
  "requests": [
    {
      "inputConfig": {
        "content": "BASE64_ENCODED_FILE",
        "mimeType": "application/pdf"
      },
      "features": [
        {
          "type": "DOCUMENT_TEXT_DETECTION"
        }
      ],
      "pages": [
        1,2,3,4,5
      ]
    }
  ]
}
Wenn Sie die Anfrage senden möchten, wählen Sie eine der folgenden Optionen aus:
Antwort:curl
Speichern Sie den Anfragetext in einer Datei mit dem Namen
request.jsonund führen Sie den folgenden Befehl aus:curl -X POST \
-H "Authorization: Bearer $(gcloud auth print-access-token)" \
-H "x-goog-user-project: PROJECT_ID" \
-H "Content-Type: application/json; charset=utf-8" \
-d @request.json \
"https://vision.googleapis.com/v1/files:annotate"PowerShell
Speichern Sie den Anfragetext in einer Datei mit dem Namen
request.jsonund führen Sie den folgenden Befehl aus:$cred = gcloud auth print-access-token
$headers = @{ "Authorization" = "Bearer $cred"; "x-goog-user-project" = "PROJECT_ID" }
Invoke-WebRequest `
-Method POST `
-Headers $headers `
-ContentType: "application/json; charset=utf-8" `
-InFile request.json `
-Uri "https://vision.googleapis.com/v1/files:annotate" | Select-Object -Expand ContentEine erfolgreiche
annotate-Anfrage gibt sofort eine JSON-Antwort zurück.Bei diesem Feature (
DOCUMENT_TEXT_DETECTION) ähnelt die JSON-Antwort der einer Anfrage zur Dokumenttexterkennung eines Bildes. Die Antwort enthält Begrenzungsrahmen für Blöcke, die nach Absätzen, Wörtern und einzelnen Symbolen aufgeschlüsselt sind. Der vollständige Text wird ebenfalls erkannt. Die Antwort enthält außerdem eincontext-Feld, das den Speicherort der angegebenen PDF- oder TIFF-Datei und die Seitenzahl des Ergebnisses in der Datei angibt.Die hier gezeigte JSON-Antwort bezieht sich nur auf eine einzelne Seite (Seite 2) und wurde aus Gründen der Verständlichkeit gekürzt.
Java
Bevor Sie dieses Beispiel anwenden, folgen Sie der Anleitung für die Einrichtung von Java in der Vision API-Kurzanleitung zur Verwendung von Clientbibliotheken. Weitere Informationen finden Sie in der Java-Referenzdokumentation zur Vision API.
Node.js
Bevor Sie dieses Beispiel ausprobieren, folgen Sie der Einrichtungsanleitung für Node.js in der Vision-Kurzanleitung zur Verwendung von Clientbibliotheken. Weitere Informationen finden Sie in der Node.js-Referenzdokumentation zur Vision API.
Richten Sie zur Authentifizierung bei Vision die Standardanmeldedaten für Anwendungen (ADC) ein. Weitere Informationen finden Sie unter ADC für eine lokale Entwicklungsumgebung einrichten.
Python
Bevor Sie dieses Beispiel ausprobieren, folgen Sie der Einrichtungsanleitung für Python in der Vision-Kurzanleitung zur Verwendung von Clientbibliotheken. Weitere Informationen finden Sie in der Python-Referenzdokumentation zur Vision API.
Richten Sie zur Authentifizierung bei Vision die Standardanmeldedaten für Anwendungen (ADC) ein. Weitere Informationen finden Sie unter ADC für eine lokale Entwicklungsumgebung einrichten.
Datei in Cloud Storage verwenden
Verwenden Sie die folgenden Codebeispiele, um eine Feature-Annotation für eine Datei in Cloud Storage abzurufen.
REST
Senden Sie eine
POST-Anfrage und geben Sie den entsprechenden Anfragetext an, um eine Online-Erkennung für einen kleinen Batch von Dateien im PDF-/TIFF-/GIF-Format durchzuführen:Ersetzen Sie folgende Werte in den Anfragedaten:
- CLOUD_STORAGE_FILE_URI: der Pfad zu einer gültigen Datei (PDF/TIFF) in einem Cloud Storage-Bucket. Sie müssen zumindest Leseberechtigungen für die Datei haben.
Beispiel:
gs://cloud-samples-data/vision/document_understanding/custom_0773375000.pdf
- PROJECT_ID: Projekt-ID in Google Cloud .
Feldspezifische Hinweise:
inputConfig.mimeType– eine der folgenden Optionen: "application/pdf", "image/tiff" oder "image/gif".pages– gibt die spezifischen Seiten der Datei zur Durchführung der Feature-Erkennung an.
HTTP-Methode und URL:
POST https://vision.googleapis.com/v1/files:annotate
JSON-Text der Anfrage:
{
  "requests": [
    {
      "inputConfig": {
        "gcsSource": {
          "uri": "CLOUD_STORAGE_FILE_URI"
        },
        "mimeType": "application/pdf"
      },
      "features": [
        {
          "type": "DOCUMENT_TEXT_DETECTION"
        }
      ],
      "pages": [
        1,2,3,4,5
      ]
    }
  ]
}
Wenn Sie die Anfrage senden möchten, wählen Sie eine der folgenden Optionen aus:
Antwort:curl
Speichern Sie den Anfragetext in einer Datei mit dem Namen
request.jsonund führen Sie den folgenden Befehl aus:curl -X POST \
-H "Authorization: Bearer $(gcloud auth print-access-token)" \
-H "x-goog-user-project: PROJECT_ID" \
-H "Content-Type: application/json; charset=utf-8" \
-d @request.json \
"https://vision.googleapis.com/v1/files:annotate"PowerShell
Speichern Sie den Anfragetext in einer Datei mit dem Namen
request.jsonund führen Sie den folgenden Befehl aus:$cred = gcloud auth print-access-token
$headers = @{ "Authorization" = "Bearer $cred"; "x-goog-user-project" = "PROJECT_ID" }
Invoke-WebRequest `
-Method POST `
-Headers $headers `
-ContentType: "application/json; charset=utf-8" `
-InFile request.json `
-Uri "https://vision.googleapis.com/v1/files:annotate" | Select-Object -Expand ContentEine erfolgreiche
annotate-Anfrage gibt sofort eine JSON-Antwort zurück.Bei diesem Feature (
DOCUMENT_TEXT_DETECTION) ähnelt die JSON-Antwort der einer Anfrage zur Dokumenttexterkennung eines Bildes. Die Antwort enthält Begrenzungsrahmen für Blöcke, die nach Absätzen, Wörtern und einzelnen Symbolen aufgeschlüsselt sind. Der vollständige Text wird ebenfalls erkannt. Die Antwort enthält außerdem eincontext-Feld, das den Speicherort der angegebenen PDF- oder TIFF-Datei und die Seitenzahl des Ergebnisses in der Datei angibt.Die hier gezeigte JSON-Antwort bezieht sich nur auf eine einzelne Seite (Seite 2) und wurde aus Gründen der Verständlichkeit gekürzt.
Java
Bevor Sie dieses Beispiel anwenden, folgen Sie der Anleitung für die Einrichtung von Java in der Vision API-Kurzanleitung zur Verwendung von Clientbibliotheken. Weitere Informationen finden Sie in der Java-Referenzdokumentation zur Vision API.
Node.js
Bevor Sie dieses Beispiel ausprobieren, folgen Sie der Einrichtungsanleitung für Node.js in der Vision-Kurzanleitung zur Verwendung von Clientbibliotheken. Weitere Informationen finden Sie in der Node.js-Referenzdokumentation zur Vision API.
Richten Sie zur Authentifizierung bei Vision die Standardanmeldedaten für Anwendungen (ADC) ein. Weitere Informationen finden Sie unter ADC für eine lokale Entwicklungsumgebung einrichten.
Python
Bevor Sie dieses Beispiel ausprobieren, folgen Sie der Einrichtungsanleitung für Python in der Vision-Kurzanleitung zur Verwendung von Clientbibliotheken. Weitere Informationen finden Sie in der Python-Referenzdokumentation zur Vision API.
Richten Sie zur Authentifizierung bei Vision die Standardanmeldedaten für Anwendungen (ADC) ein. Weitere Informationen finden Sie unter ADC für eine lokale Entwicklungsumgebung einrichten.
Jetzt testen
Probieren Sie die Online-Feature-Erkennung für einen kleinen Batch jetzt aus.
Sie können die bereits angegebene PDF-Datei verwenden oder stattdessen eine eigene Datei angeben.
gs://cloud-samples-data/vision/document_understanding/custom_0773375000.pdf Für diese Anfrage wurden drei Feature-Typen angegeben:
DOCUMENT_TEXT_DETECTIONLABEL_DETECTIONCROP_HINTS
Durch Ändern des entsprechenden Objekts in der Anfrage (
{"type": "FEATURE_NAME"}) können Sie andere Feature-Typen hinzufügen oder entfernen.Wählen Sie zum Senden der Anfrage Ausführen aus.
Anfragetext:
{ "requests": [ { "inputConfig": { "gcsSource": { "uri": "gs://cloud-samples-data/vision/document_understanding/custom_0773375000.pdf" }, "mimeType": "application/pdf" }, "features": [ { "type": "DOCUMENT_TEXT_DETECTION" }, { "type": "LABEL_DETECTION" }, { "type": "CROP_HINTS" } ], "pages": [ 1, 2, 3, 4, 5 ] } ] } - BASE64_ENCODED_FILE: Die Base64-Darstellung (ASCII-String) der Binärprogrammdateidaten. Dieser String sollte in etwa so aussehen: