This page describes how to connect Microsoft Outlook to Agentspace using data federation.
Use the following procedure to search your Microsoft Outlook account using federated search.Before you begin
Perform the following steps before connecting to your Microsoft Outlook data store using federated search.
Register Agentspace as an OAuth 2.0 application in Microsoft Entra ID. Copy the following credentials:
- Client ID
- Client secret
- Tenant ID
Configure the following Microsoft Graph application permissions with the consent of a Microsoft Outlook administrator:
Permission
Type
Description
Mail.Read
Delegated
Read user mail
Calendars.Read
Delegated
Read user calendars
Contacts.Read
Delegated
Read user contacts
Add the following URLs as web callback URLs:
https://vertexaisearch.cloud.google.com/console/oauth/default_oauth.htmlhttps://vertexaisearch.cloud.google.com/oauth-redirect
Create a federated search connector with Outlook
Use the following steps for Google Cloud console to perform federated search through Microsoft Outlook from Agentspace.
In the Google Cloud console, go to the Agentspace page.
In the navigation menu, click Data Stores.
Click Create Data Store.
On the Select a data source page, select Outlook Federated to connect your third-party data source.
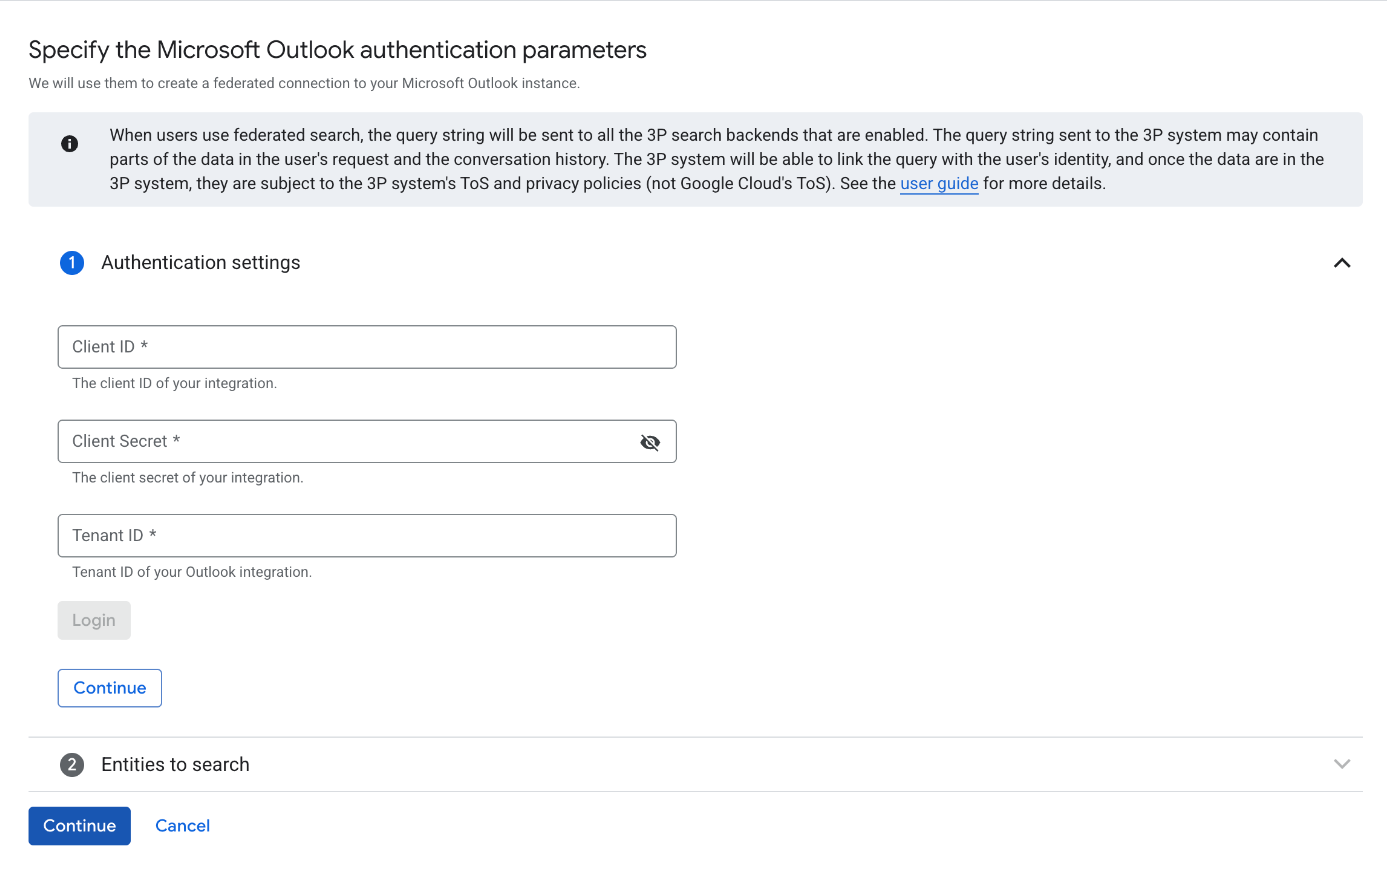
Under Authentication settings:
Enter the Client ID, Client secret, and Tenant ID.
Click Login.
Click Continue.
Login using the copied OAuth 2.0 credentials
Select the entities you want to include.
Select from Mail, Calendar, and Contact.
Click Continue.
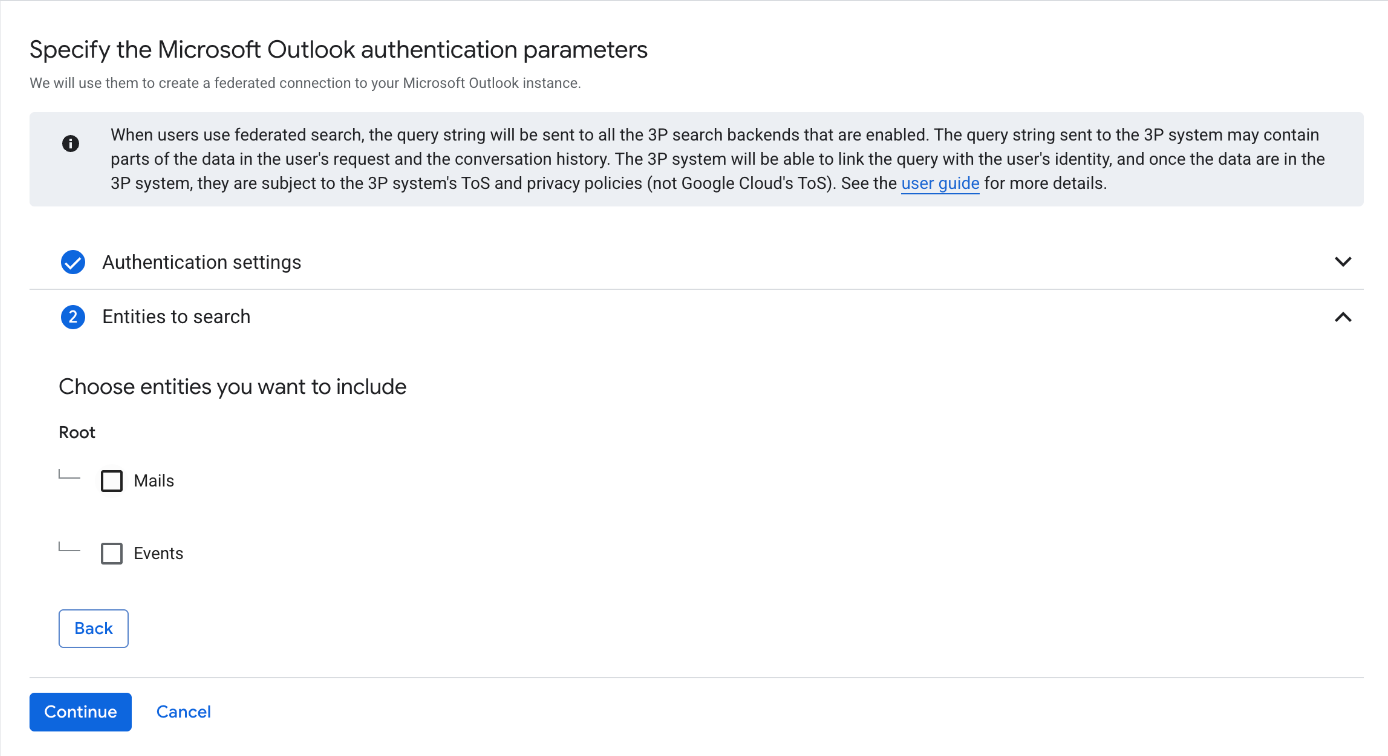
Select the Microsoft Outlook entities you want to include
Select a region for your data source.
Enter a name for your data source.
Click Create. Agentspace creates your data store and displays it on the Data Stores page.
After the data store is created, go to the Data Stores page and click your data store name to see the status. When the Connector state changes from Creating to Active, the federated search connector is ready to be used.
User authorization
After creating a federated search data store, the Agentspace source management panel lists it as one of your data sources. If you haven't previously authorized Agentspace, you can't select the data source. Instead, an Authorize button appears.
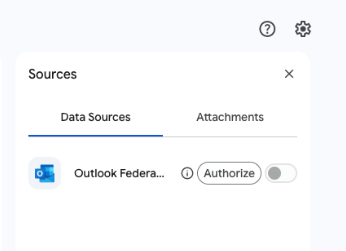
To initiate the authorization flow:
Click Authorize. You are redirected to the Outlook authorization server.
Sign in to your account.
Click Grant access. After granting access, you are redirected back to Agentspace to complete the authorization flow. Agentspace obtains the access token and uses it to access the Microsoft Outlook search.
Query execution
After you authorize Microsoft Outlook, when you enter a search query:
Agentspace sends your search query to the Microsoft Graph API.
Agentspace blends the results with those from other sources and displays them.
Data handling
When using third-party federated search, your query string is sent to the third-party search backend. These third parties may associate queries with your identity. If multiple federated search data sources are enabled, the query might be sent to all of them.
Once the data reaches the third-party system, it is governed by that system's terms of service and privacy policies.