Erste Schritte beim Erstellen einer Workstation mit Cloud Workstations
Eine Workstation ist eine vorkonfigurierte Entwicklungsumgebung, die von Administratoren oder Plattformteams in einer Workstation-Konfiguration definiert wird. Die Workstation-Konfiguration enthält das Container-Image, das von der Workstation verwendet wird. Ihre Administratoren wählen aus, ob eines der vorkonfigurierten Basis-Images von Cloud Workstations verwendet werden soll oder ob ein Verweis auf ein benutzerdefiniertes Container-Image angegeben werden soll.
Eine detaillierte Anleitung dazu finden Sie direkt in der Google Cloud Console. Klicken Sie dazu einfach auf Anleitung:
Hinweise
Bevor Sie Cloud Workstations verwenden, müssen Sie die erforderlichen Berechtigungen haben und die erforderlichen Einrichtungsschritte ausführen. Sie können diesen Abschnitt überspringen, wenn Sie diese Einrichtung bereits abgeschlossen haben.
- Sign in to your Google Cloud account. If you're new to Google Cloud, create an account to evaluate how our products perform in real-world scenarios. New customers also get $300 in free credits to run, test, and deploy workloads.
-
In the Google Cloud console, on the project selector page, select or create a Google Cloud project.
Roles required to select or create a project
- Select a project: Selecting a project doesn't require a specific IAM role—you can select any project that you've been granted a role on.
-
Create a project: To create a project, you need the Project Creator
(
roles/resourcemanager.projectCreator), which contains theresourcemanager.projects.createpermission. Learn how to grant roles.
-
Verify that billing is enabled for your Google Cloud project.
-
Enable the Cloud Workstations API.
Roles required to enable APIs
To enable APIs, you need the Service Usage Admin IAM role (
roles/serviceusage.serviceUsageAdmin), which contains theserviceusage.services.enablepermission. Learn how to grant roles. -
Optional: Wenn Sie in der Google Cloud Console keine Arbeitsstationskonfigurationen haben, bitten Sie Ihren Administrator, eine Arbeitsstationskonfiguration für Sie zu erstellen, oder sorgen Sie dafür, dass Sie eine Cloud Workstations Admin-IAM-Rolle für das Projekt haben, damit Sie diese Ressourcen selbst erstellen können. So prüfen Sie Ihre IAM-Rollen: Rufen Sie in der Google Cloud Console die Seite „IAM“ auf:
Rufen Sie in der Google Cloud Console die Seite Cloud Workstations > Workstations auf.
Klicken Sie auf add_boxErstellen.
Der Link Erstellen ist möglicherweise deaktiviert, wenn im Projekt keine Workstationkonfigurationen vorhanden sind oder Sie keine Berechtigungen zum Aufrufen dieser Workstations haben. Bitten Sie den Cloud Workstations-Administrator Ihrer Organisation, eine Workstationkonfiguration für Sie zu erstellen.
Übernehmen Sie den standardmäßigen Workstation-Namen.
Sie können auch einen eigenen Ressourcennamen für Ihre Workstation eingeben, z. B.
test-workstation. Halten Sie sich an die Namenskonventionen für Compute Engine-Ressourcen und wählen Sie einen Namen aus, der innerhalb des Workstation-Clusters eindeutig ist.Klicken Sie auf den arrow_drop_downErweiterungspfeil im Feld Konfiguration und wählen Sie die Workstationkonfiguration aus, um Ihre Workstation zu definieren.
Klicken Sie auf
Erstellen , um die Workstation zu erstellen.- Klicken Sie auf Arbeitsplätze.
- Suchen Sie in der Liste der verfügbaren Workstations nach der von Ihnen erstellten Workstation, setzen Sie ein Häkchen daneben und klicken Sie dann auf Starten. Dadurch wird Ihre Workstation gestartet und mit der Konfiguration der übergeordneten Workstation abgeglichen.
- Wenn Sie aufgefordert werden, die Workstation zu starten, klicken Sie zur Bestätigung auf Starten. Der Status ändert sich zu Wird gestartet und das Statussymbol refresh dreht sich, während der Startvorgang läuft. Es kann einige Minuten dauern, bis die Workstation gestartet ist.
- Wenn Ihre Workstation bereit ist, ändert sich der Status in Wird ausgeführt und das Statussymbol ändert sich in ein check_circle Häkchen.
Klicken Sie auf Starten. Die Workstation stellt standardmäßig eine Verbindung zu Port
80her.Optional: Sie können auch neben Starten auf den arrow_drop_downAufklapppfeilarrow_drop_down klicken und aus der Liste der Startoptionen auswählen:
- Mit Port 80 verbinden (Standard)
- Verbindung zur Webanwendung über Port herstellen
- Portweiterleitung
- Über SSH verbinden
- Mit JetBrains Gateway starten (wenn Sie eine JetBrains-IDE verwenden)
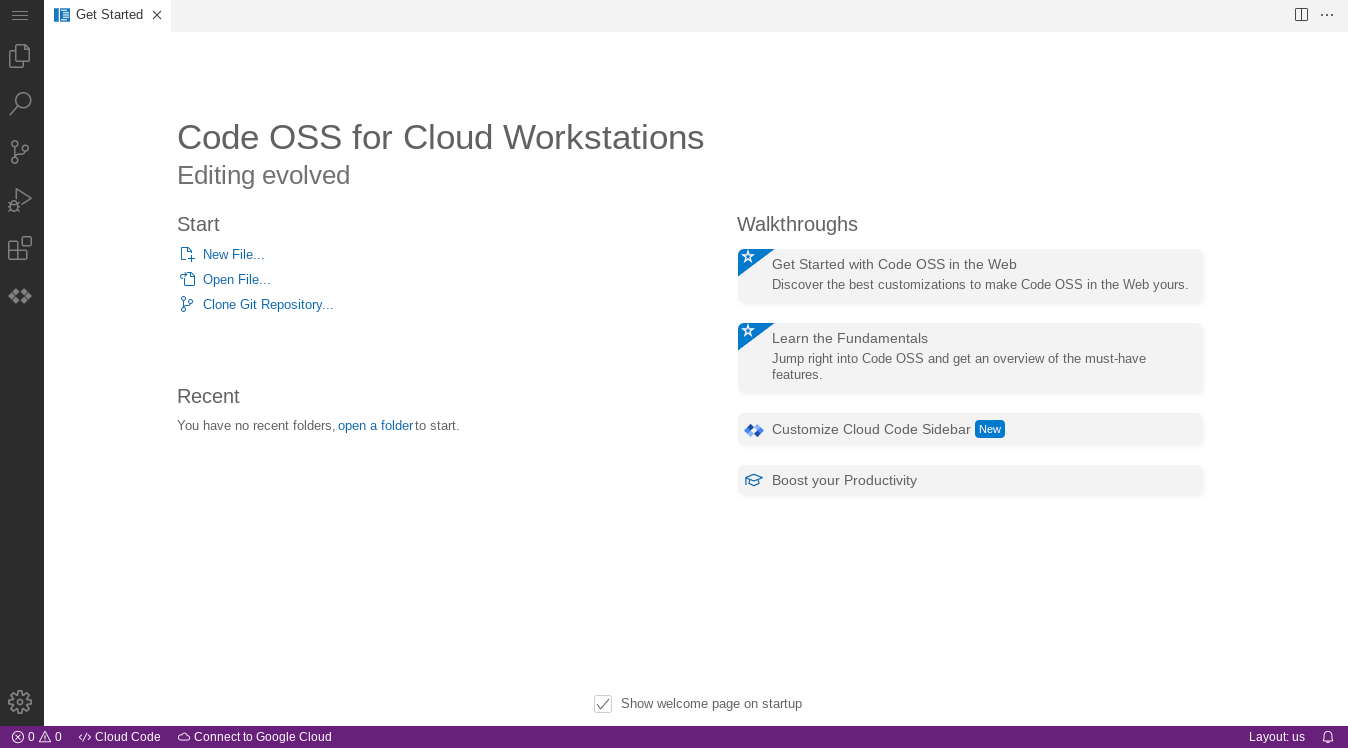
Das folgende Beispiel zeigt die Startseite für den Basiseditor von Cloud Workstations. Ihre Seite kann je nach Definition Ihrer Arbeitsplatzkonfiguration unterschiedlich aussehen:
Weitere Informationen zum Herstellen einer Verbindung über SSH finden Sie unter SSH-Unterstützung.
Weitere Informationen zum Herstellen einer Verbindung zu Web-Apps, die auf Ihrer Workstation ausgeführt werden, finden Sie unter Auf HTTP-Server zugreifen, die auf einer Workstation ausgeführt werden.
- Wechseln Sie in der Google Cloud Console zu Cloud Workstations > Workstations.
- Klicken Sie das Kästchen neben der Arbeitsstation an, die Sie löschen möchten.
- Klicken Sie auf das Menü more_vertMehr und wählen Sie Löschen aus, um die ausgewählte Arbeitsstation zu löschen.
Verwenden Sie den Cloud Workstations-Basiseditor.
Weitere Informationen zum Konfigurieren zusätzlicher Optionen in der Workstation-Konfiguration.
Passen Sie Ihre Workstation-Konfiguration über die API an.
Erstellen Sie benutzerdefinierte Container-Images, die die von Cloud Workstations bereitgestellten vorkonfigurierten Basis-Images erweitern.
Workstation erstellen
So erstellen Sie eine Workstation:Workstation starten
Nachdem Sie die Workstation erstellt haben, können Sie sie starten und dann aktivieren, um mit der Entwicklung zu beginnen.Bereinigen
So löschen Sie eine Workstation aus der Google Cloud -Konsole:
Wenn in Ihrer Workstation-Konfiguration nichtflüchtige Speicher verwendet werden und die Reaktivierungsrichtlinie so festgelegt ist, dass nichtflüchtige Speicher nach dem Löschen der Workstation beibehalten werden, bitten Sie Ihren Cloud Workstations-Administrator, den nichtflüchtigen Speicher manuell für Sie zu löschen. Weitere Informationen zum Löschen von Workstation-Konfigurationen, Workstation-Clustern und Google Cloud Projekten finden Sie unter Ressourcen löschen.