This document shows how administrators can add devices to their organization's inventory to track details, such as device type and who it's assigned to.
As an administrator, you can add devices in the Google Admin console to keep an inventory of the devices in your organization.
Before you begin
Ensure that the devices you want to add to your organization's inventory are running one of the following operating systems:
- ChromeOS
- Apple® Mac® OS X® El Capitan (10.11) or later
- Microsoft® Windows® 10 and 11
- Linux® Debian® and Ubuntu®
Log in to the Google Admin console by using your Google Workspace administrator account.
Add devices to your inventory
To register devices as company-owned, you can import the serial numbers of devices in the Admin console.
From the Admin console Home page, go to Devices.
In the navigation menu, click Mobile & endpoints > Company owned inventory.
To add the required devices, click .

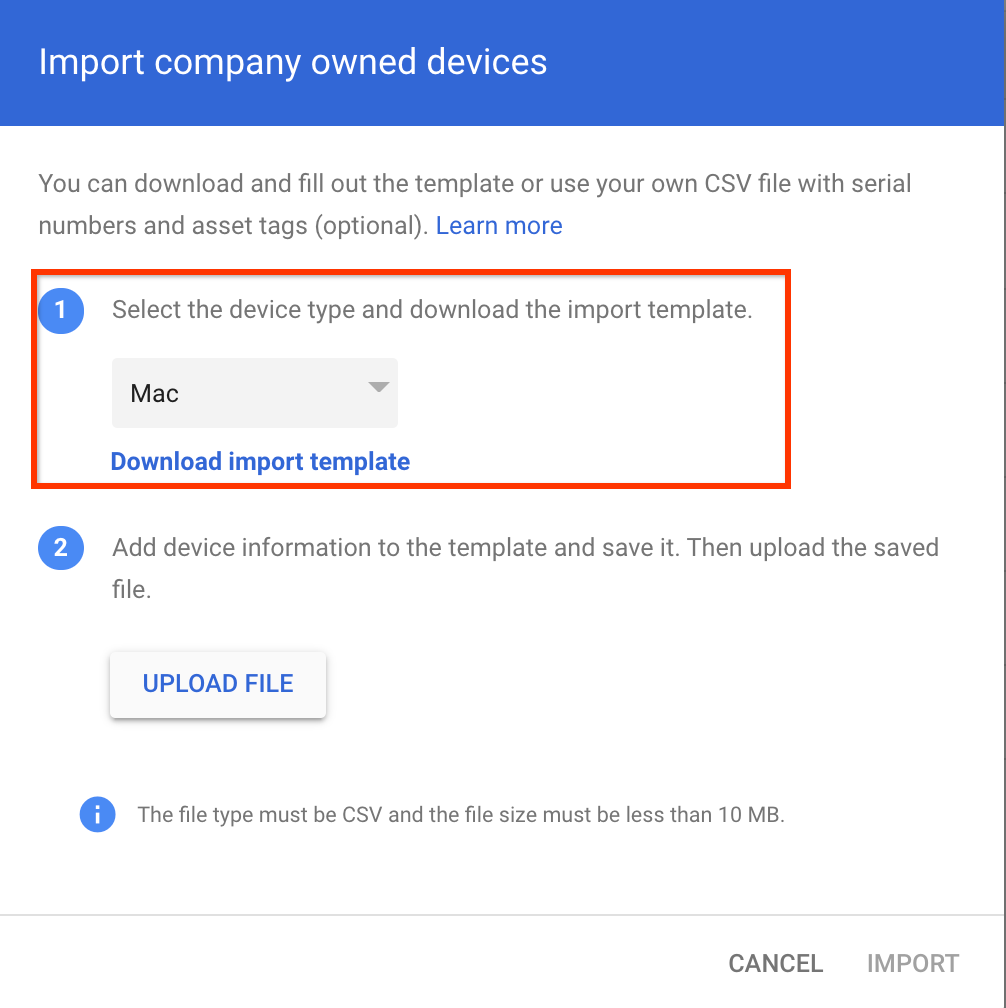
In the Import company owned devices dialog, select the type of device you want to import and click Download import template.

The import template downloads to your computer.
Open the import template and do the following:
Enter the serial number of the device. The string you enter must match the serial number of the device. If it doesn't, you can upload the device to the Admin console, but you can't assign it to a user.
Optional: To track the device, enter an asset tag.
If you didn't include asset tags, do one of the following steps:
- In the file header, remove
,Asset Tag. - Include a comma after each serial number. Each piece of data in a row must now be separated with a comma. Individual rows must be separated by a new line.
- In the file header, remove
Save the file.
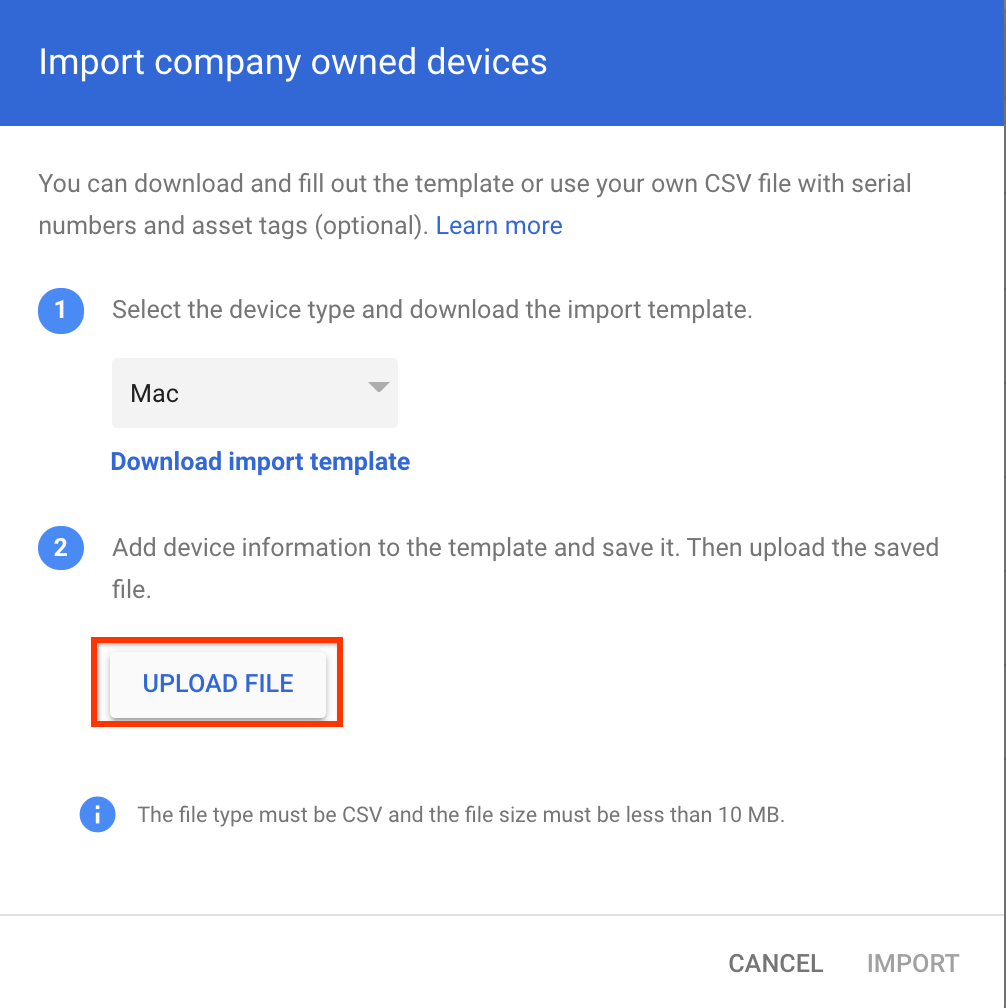
In the Import company owned devices dialog, click Upload file.

Select the import file that you saved and click Import.
After the import process is completed, you receive an email that indicates the number of devices that were successfully imported.
