This document explains how to set up automatic request submissions for quota increase for your project in Capacity Planner. To learn more about Capacity Planner, see Capacity Planner overview.
Capacity Planner lets you enable the quota adjuster in your project. This setting allows Google Cloud to automatically submit quota increase requests on your behalf when your quota nears a limit.
You can enable the quota adjuster to do the following:
Proactively respond to planned or unplanned increases in usage.
Help prevent outages when reaching a quota.
Reduce the need to submit manual quota increase requests.
To disable the quota adjuster in your project, see instead Disable the quota adjuster.
Limitations
Before you enable the quota adjuster in your project, consider the following limitations:
You can enable the quota adjuster in your project only if your project has sufficient usage data.
You can enable the quota adjuster only for specific resources. For a complete list of supported resources, see Availability.
Before you begin
- If you can't access Capacity Planner in the Google Cloud console, then your organization might not be eligible to access and use Capacity Planner. To request access, contact your Technical Account Manager (TAM) or the Sales team.
Required roles
To get the permissions that you need to manage the quota adjuster in Capacity Planner, ask your administrator to grant you the following IAM roles on your project:
-
To access and view Capacity Planner:
Capacity Planner Viewer (
roles/capacityplanner.viewer) -
To access and manage the quota adjuster in your project:
Quota Administrator (
roles/servicemanagement.quotaAdmin)
For more information about granting roles, see Manage access to projects, folders, and organizations.
These predefined roles contain the permissions required to manage the quota adjuster in Capacity Planner. To see the exact permissions that are required, expand the Required permissions section:
Required permissions
The following permissions are required to manage the quota adjuster in Capacity Planner:
-
To view the forecasted usage of your Compute Engine resources:
capacityplanner.forecasts.liston the project -
To view the usage of your Compute Engine resources:
capacityplanner.usageHistories.liston the project -
To summarize the usage of your Compute Engine resources:
capacityplanner.usageHistories.summarizeon the project -
To view the quota adjuster settings:
cloudquotas.quotas.geton the project -
To enable or disable the quota adjuster:
cloudquotas.quotas.updateon the project -
To access your project's quota usage:
monitoring.timeseries.liston the project -
To view your project's quota:
-
serviceusage.quotas.geton the project -
serviceusage.services.geton the project
-
You might also be able to get these permissions with custom roles or other predefined roles.
Enable the quota adjuster
To enable the quota adjuster in your project, do the following:
In the Google Cloud console, go to the Capacity Planner page.
Optional: To change project, in the project picker at the top of the page, select another project.
In the navigation menu, click the Virtual machine tab.
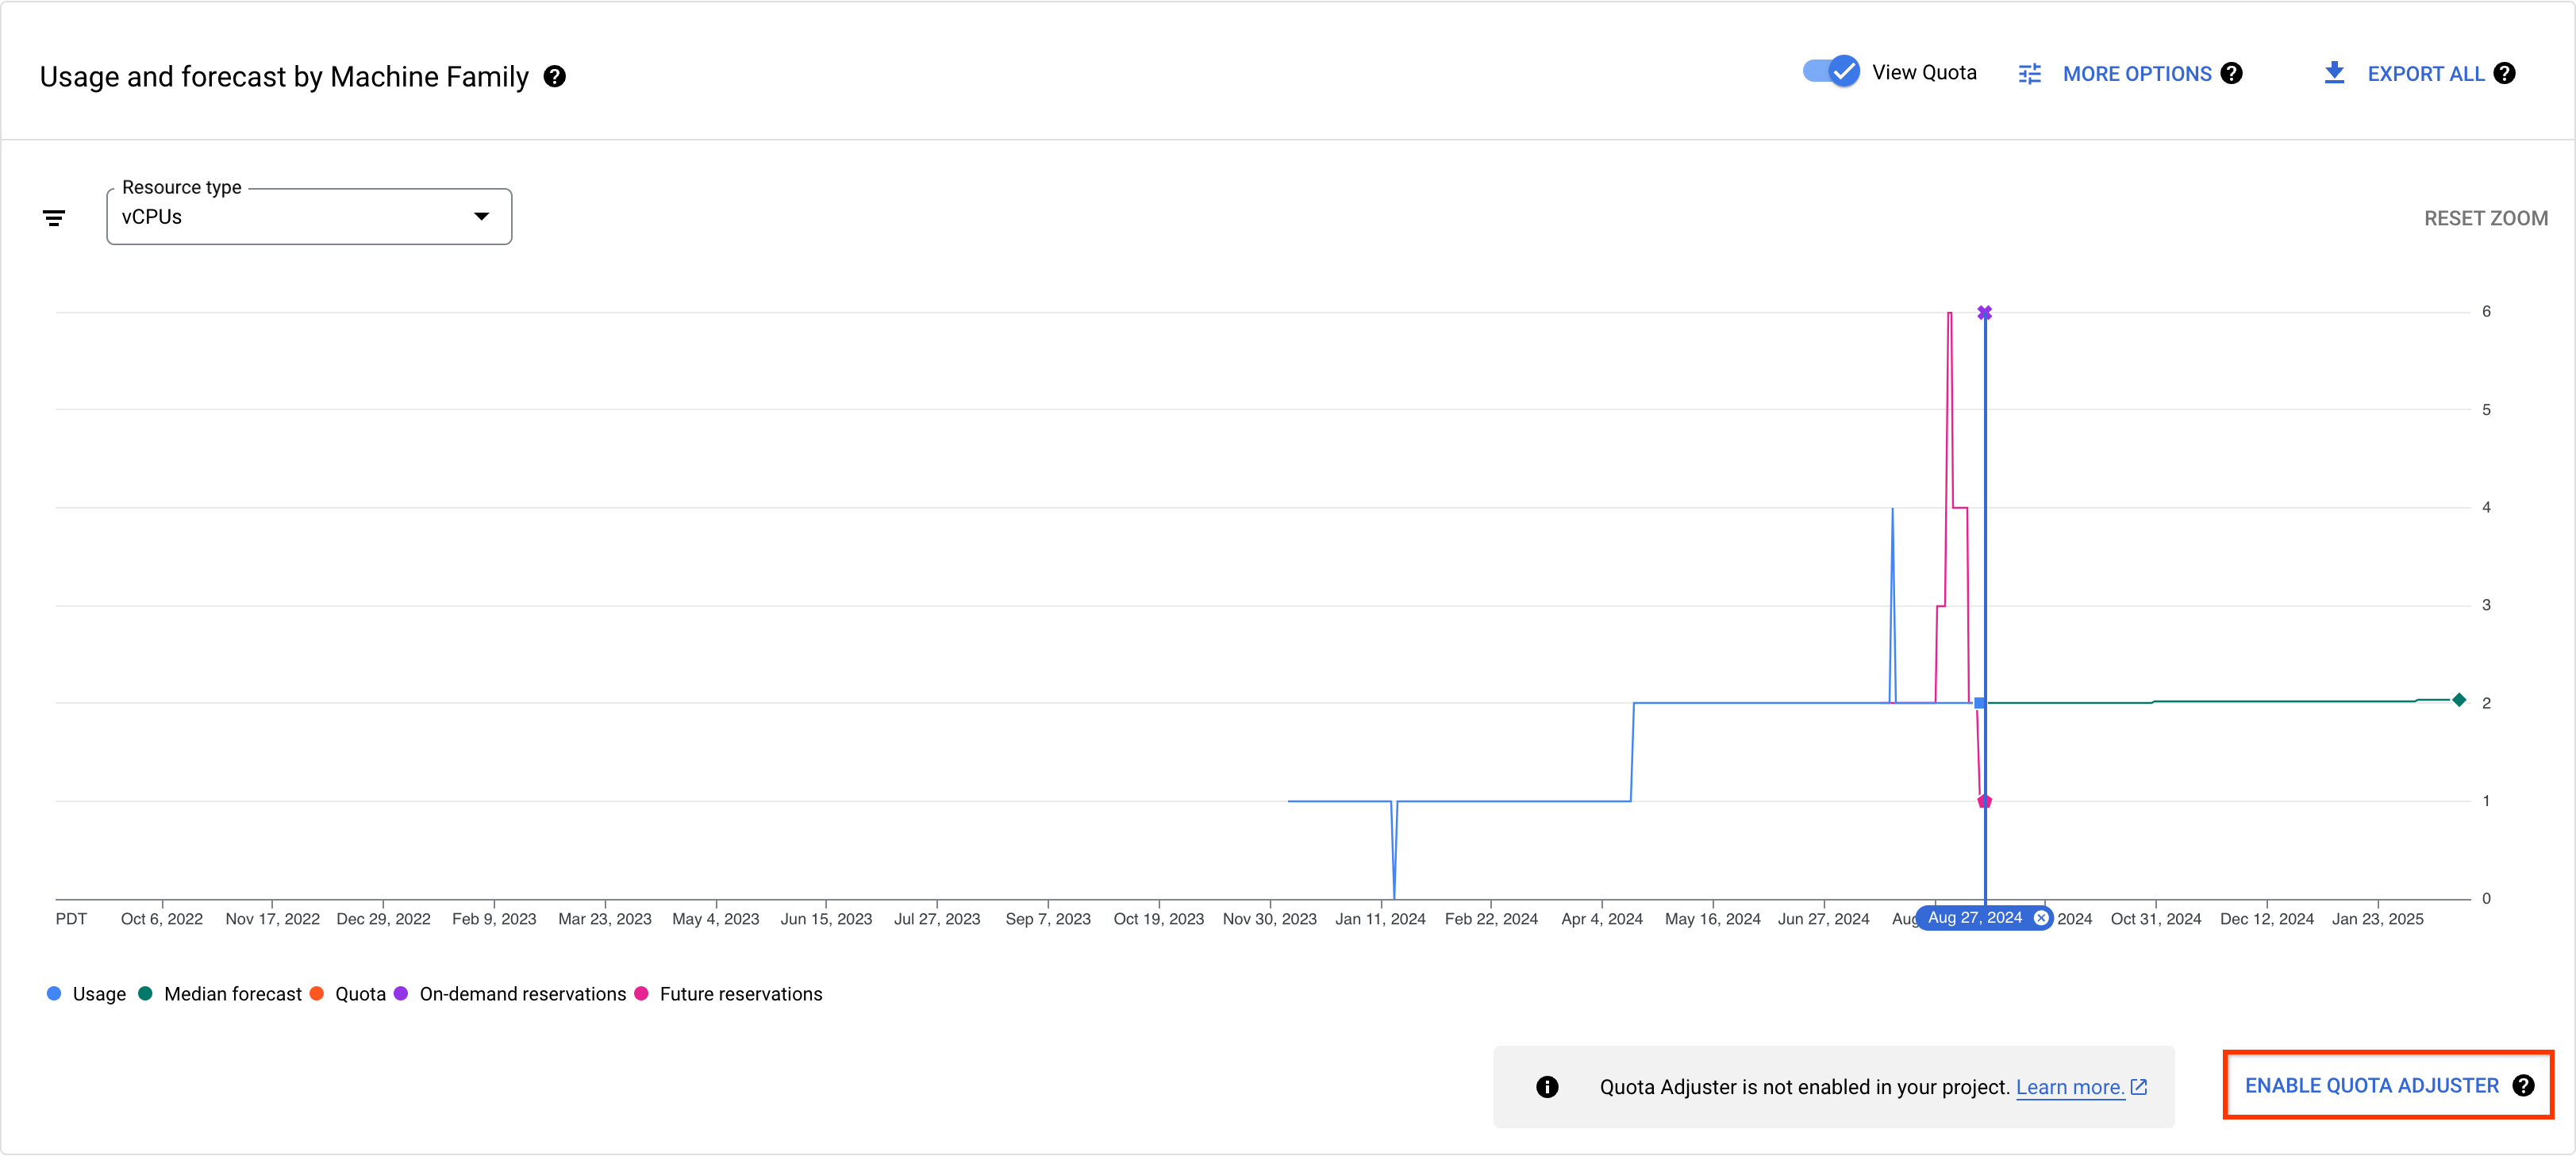
In the Usage and forecast by machine family graph, click Enable quota adjuster. The Quotas page appears and the Configurations tab is selected.

To enable the quota adjuster, click Enable.
After you enable the quota adjuster, you can create alert policies to monitor it.
