Deploying App Engine Standard Applications from Eclipse
Stay organized with collections
Save and categorize content based on your preferences.
This page takes you through the steps of creating a new App Engine app
in the Google Cloud console, authenticating with Google, and deploying your project
to App Engine.
Before you begin
You need a Google Cloud project with an App Engine application to
deploy to. If you don't already have one, use the Google Cloud console to set up
your Google Cloud project:
Sign in to a Google account that is used to deploy your project
to App Engine.
Run the following command
gcloud auth application-default login
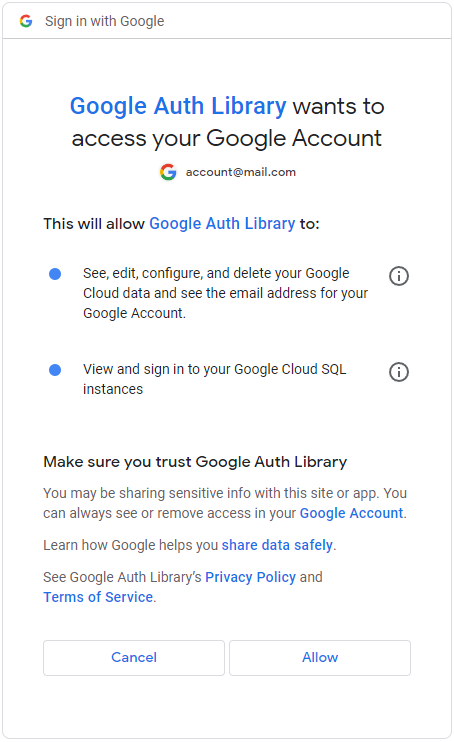
Your system browser opens outside of the CLI and asks for the permissions
it needs to manage your App Engine applications:
Click Allow and close the window. Eclipse is now signed into your
account.
Ensure that the appengine-web.xml
file is in the WEB-INF folder of your web application.
Ensure that the project has the App Engine Project facet. If you
created it using the wizard, it should already have this facet. Otherwise:
Right click the project in the Package Explorer to bring up the context
menu.
Select Configure > Convert to App Engine Project.
Deploy the Project to App Engine
To deploy the project to App Engine standard environment:
Right click the project in the Package Explorer to open the context menu.
Select Deploy to App Engine Standard.
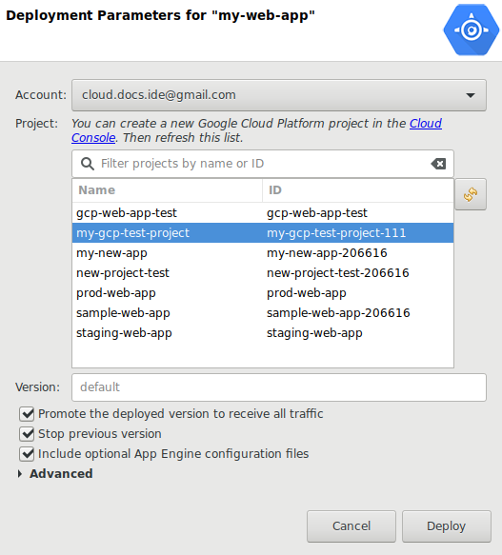
A dialog pops up.
Select the account you want to deploy with, or add a new account.
The list of projects the account has access to loads. Select the one you want
to deploy to.
Click OK.
A background job launches that deploys the project to App Engine. The
output of the job is visible in the Eclipse Console view.
By default, App Engine stops the previous version of your application
and immediately promotes your new code to receive all traffic. If you'd rather
manually promote it later using gcloud or the Google Cloud console,
uncheck Promote the deployed version to receive all traffic. If you don't
want to stop the previous version, uncheck Stop previous version.
What's next
Explore the plugin code or report issues on
GitHub,
or ask a question on
Stack Overflow.
[[["Easy to understand","easyToUnderstand","thumb-up"],["Solved my problem","solvedMyProblem","thumb-up"],["Other","otherUp","thumb-up"]],[["Hard to understand","hardToUnderstand","thumb-down"],["Incorrect information or sample code","incorrectInformationOrSampleCode","thumb-down"],["Missing the information/samples I need","missingTheInformationSamplesINeed","thumb-down"],["Other","otherDown","thumb-down"]],["Last updated 2025-04-17 UTC."],[[["This guide explains how to deploy a project to the App Engine standard environment using Cloud Tools for Eclipse, but it's important to note that compatibility is limited to the App Engine Java 8 runtime, which will reach end of support on January 31, 2024, requiring a migration to a newer Java version after that."],["Before deploying, you'll need a Google Cloud project with an App Engine application, and you must sign in to your Google account via the `gcloud auth application-default login` command, allowing necessary permissions through your system browser."],["Ensure your project contains the `appengine-web.xml` file within the `WEB-INF` folder and has the \"App Engine Project\" facet, which can be added manually through the Eclipse project configuration if it was not created via the wizard."],["Deploying involves right-clicking your project in Eclipse, selecting \"Deploy to App Engine Standard,\" choosing your account and project, then configuring traffic settings, and finally, a background job will deploy the project."],["You can customize the deployment behavior by unchecking options to automatically promote the new version or stop the previous version, allowing manual traffic management through `gcloud` or the Google Cloud console."]]],[]]