Finalize copied data
Finalizing prepares the appliance for shipping to Google by removing the decryption key, rendering the data inaccessible until it reaches Google. When the decryption key is removed, you cannot copy additional data to the appliance without deleting all previously copied data.
To finalize the copied data, follow these steps:
Run the
ta finalizecommand. Enter theta_customerpassword when prompted and note the passcode returned in the output.ta finalize
The following sample response resembles the output that is returned:
Finalizing prepares the appliance for shipping by removing the decryption
key, making the data inaccessible until it reaches Google. Appliance local
storage will be removed during this process. Once finalized, there is no way
to access your data or add more data without deleting everything on the drive.

Are you ready to finalize the appliance and ship it back to Google? (y/n) y

Please enter user "ta_customer" password to finalize appliance:
Unmounted data partition and disabled automount.
Finalize step is complete.

This passcode must be used to get a return shipping label: NNNN
Enter the passcode returned by the 'ta finalize' command in the form
included in the email titled Google Transfer Appliance Return Instructions
sent by the Transfer Appliance Team.
If you forget your passcode, run 'ta status' to display it again.
Enter the passcode returned by the
ta finalizecommand in the form included in the email titled Google Transfer Appliance Return Instructions sent by the Transfer Appliance Team.To view the passcode again, run
ta status.The Transfer Appliance Team responds with the shipping label for the Transfer Appliance for the given passcode.
Once you receive the shipping label, turn off the appliance and disconnect all cables to it.
Optional: Erase data on the appliance
Remote wipe erases the data on your appliance. After wiping, you cannot reconfigure the appliance to capture data and it must be shipped back to Google.
Wipe your appliance
The process for remote wipe is similar to wiping the appliance in the data center and is in accordance with Google's data destruction guidelines.
To wipe your appliance, follow the instructions below:
Run
cd /tmp.Run the
ta wipecommand. Based on appliance type, theta wipecommand takes between 1 and 7 hours to complete.If the
ta wipecommand is not available, make sure your appliance is updated to the latest software version. To update your appliance, run theta updatecommand. After the appliance has been updated, run theta wipecommand.TA40 and TA300 appliances only: Reboot the appliance and run the
ta wipecommand again.
The script generates a certificate verifying that the appliance was wiped
successfully and saves it to /opt/certificate.json.
Package and return the appliance
After transferring and finalizing your data to Transfer Appliance, prepare the appliance for shipping. This includes printing and applying a shipping label, gathering the appliance's cables, packing the appliance, and contacting your shipper to return the appliance.
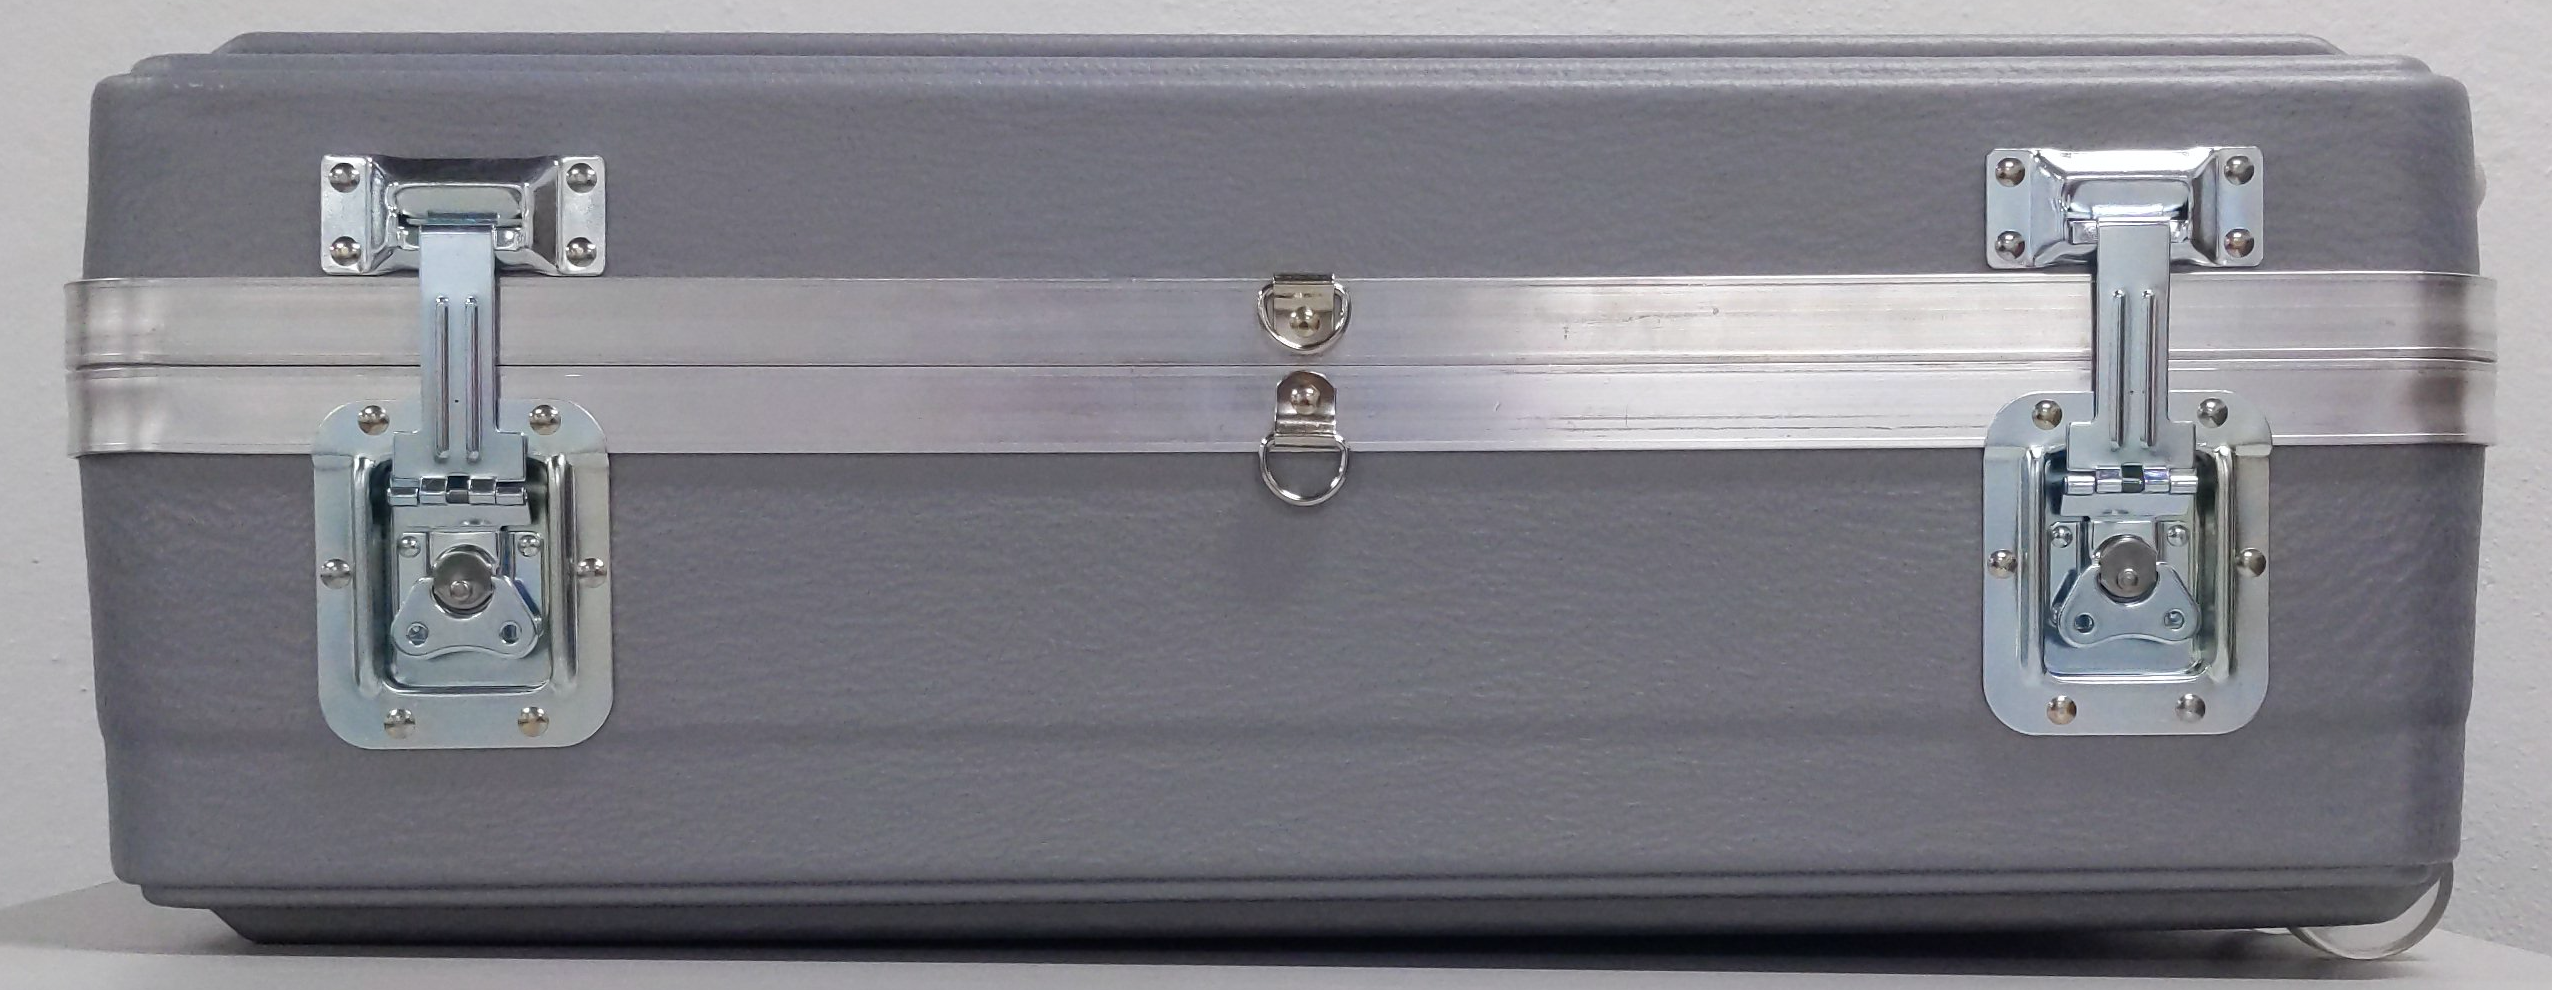
Use the same shipping case that Transfer Appliance arrived in.
To return the appliance, do the following:
Rackable TA40 and TA300
Print the shipping label that was sent to you by Transfer Appliance Team as part of finalizing your copied data.
Place the following in the shipping case's cable compartment:
Item Description 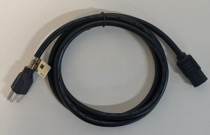
NEMA 5-15p to C13 power cable 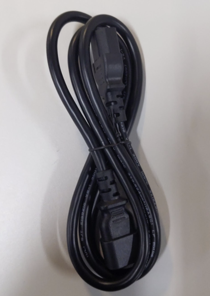
C14 to C13 power cable, for connections to the power distribution unit (PDU) 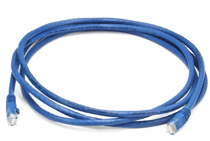
Category 6 (Cat6) network cable 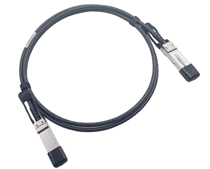
TA40 and TA300 V1: QSFP+ Twinax copper network cable TA300 V2: QSFP28 Twinax copper network cable 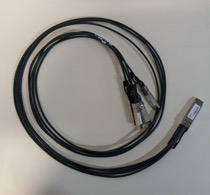
TA40 and TA300 V1: QSFP+ to 4xSFP+ network cable TA300 V2: not required 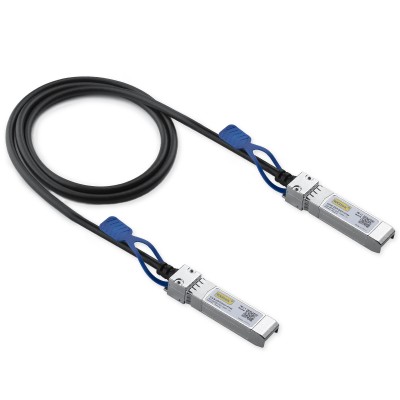
TA40 and TA300 V1: not required TA300 V2: SFP28 to SFP28 network cable 
TA40 and TA300 V1: not required TA300 V2: QSFP28 to SFP28 adapter 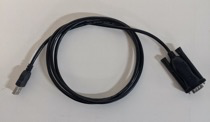
USB-to-serial adapter cable – use only if instructed by Transfer Appliance Team 
Pin-to-socket serial adapter Place the Transfer Appliance in the shipping case.
Close the lid to the shipping case and secure the latches.
Secure the shipping case with a wire tamper-evident tag by following these steps:
Insert the wire tamper-evident tag through the shipping case's D-rings.
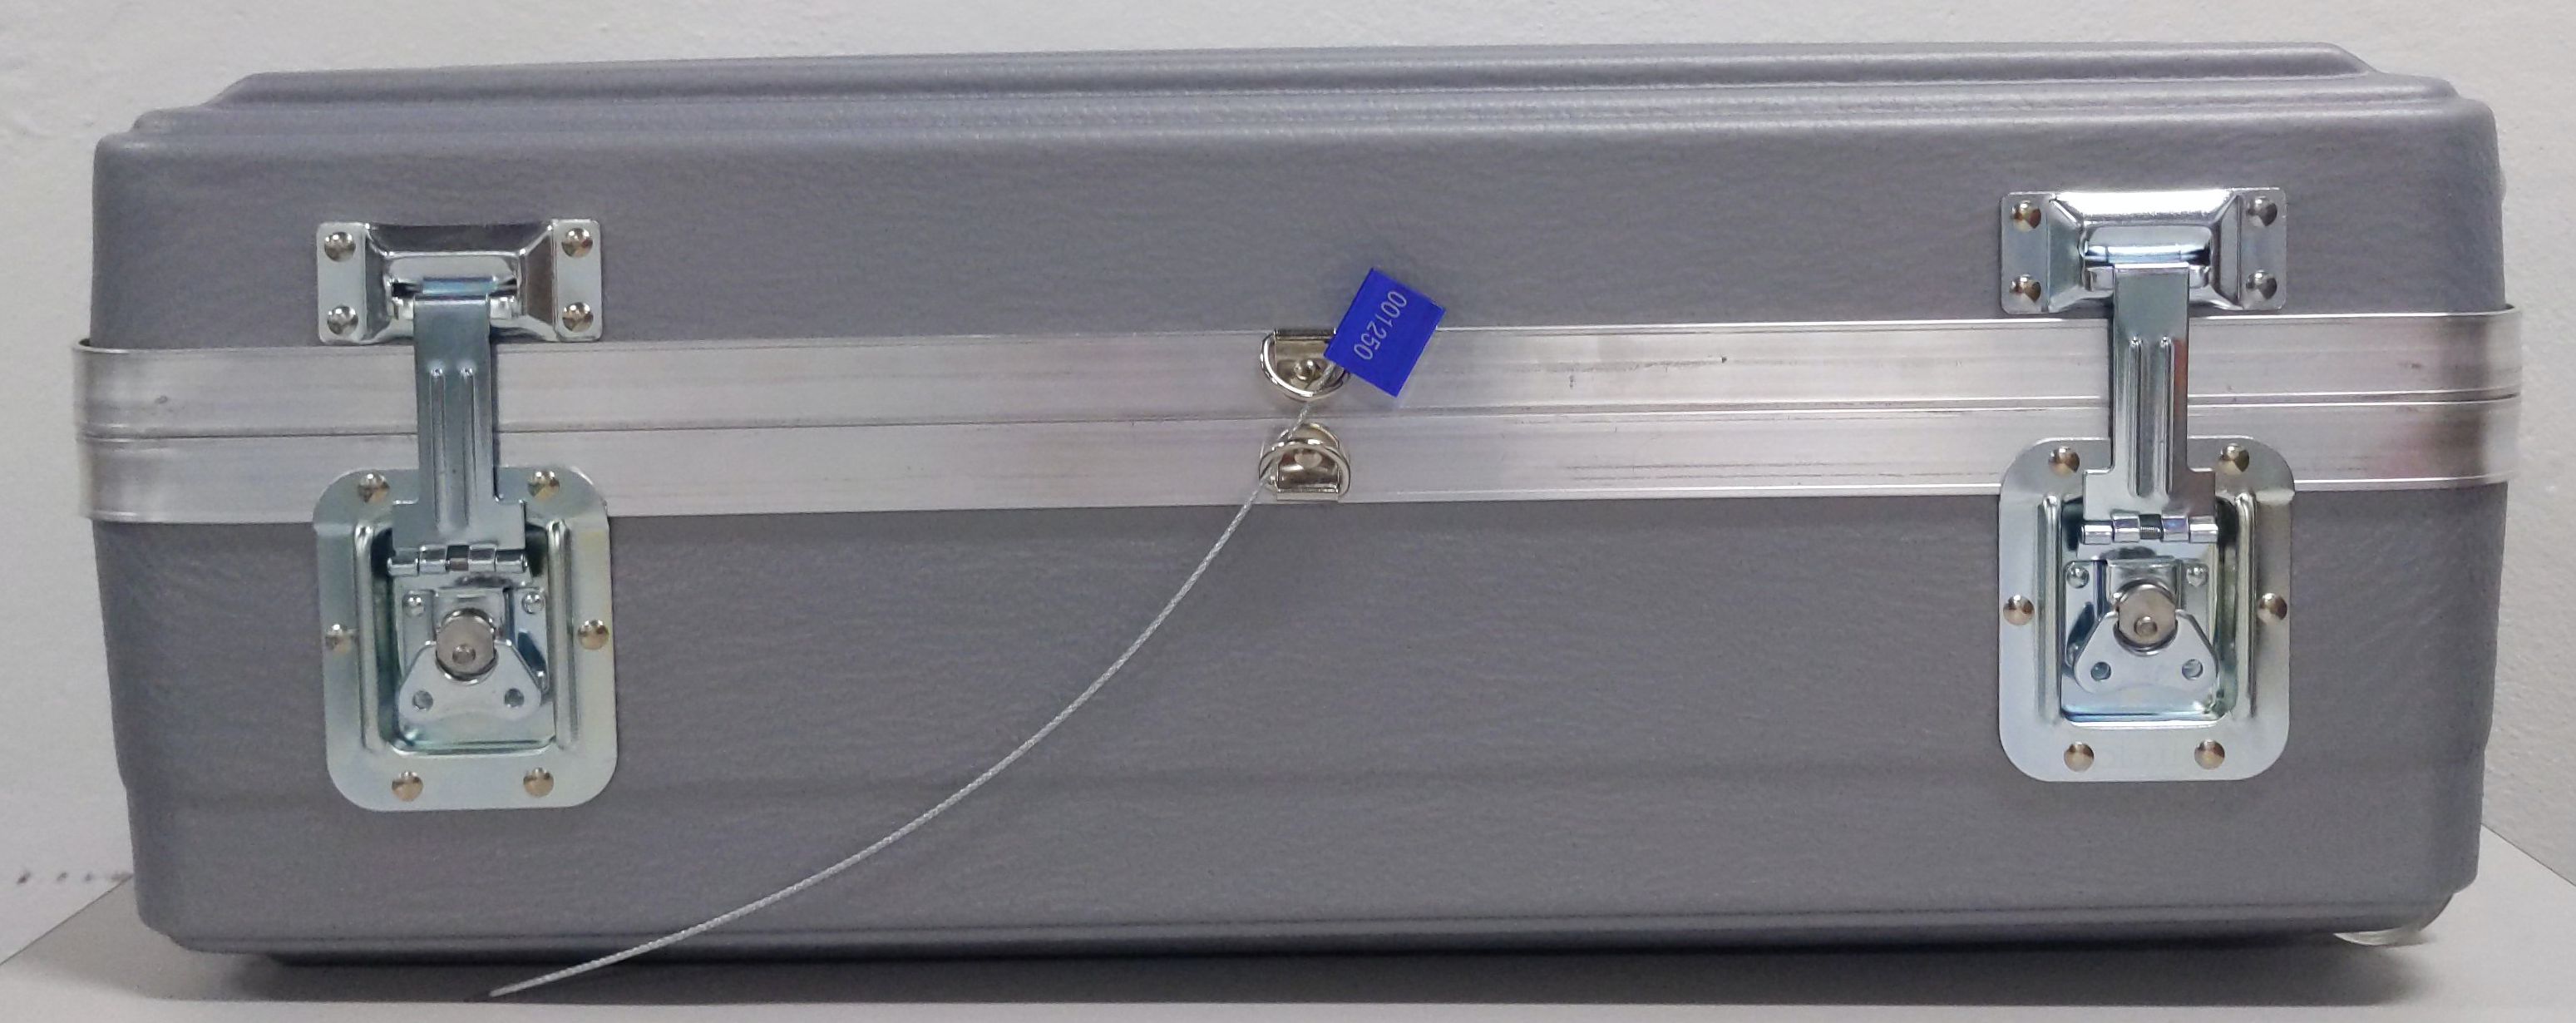
Insert the end of the wire into the lock.
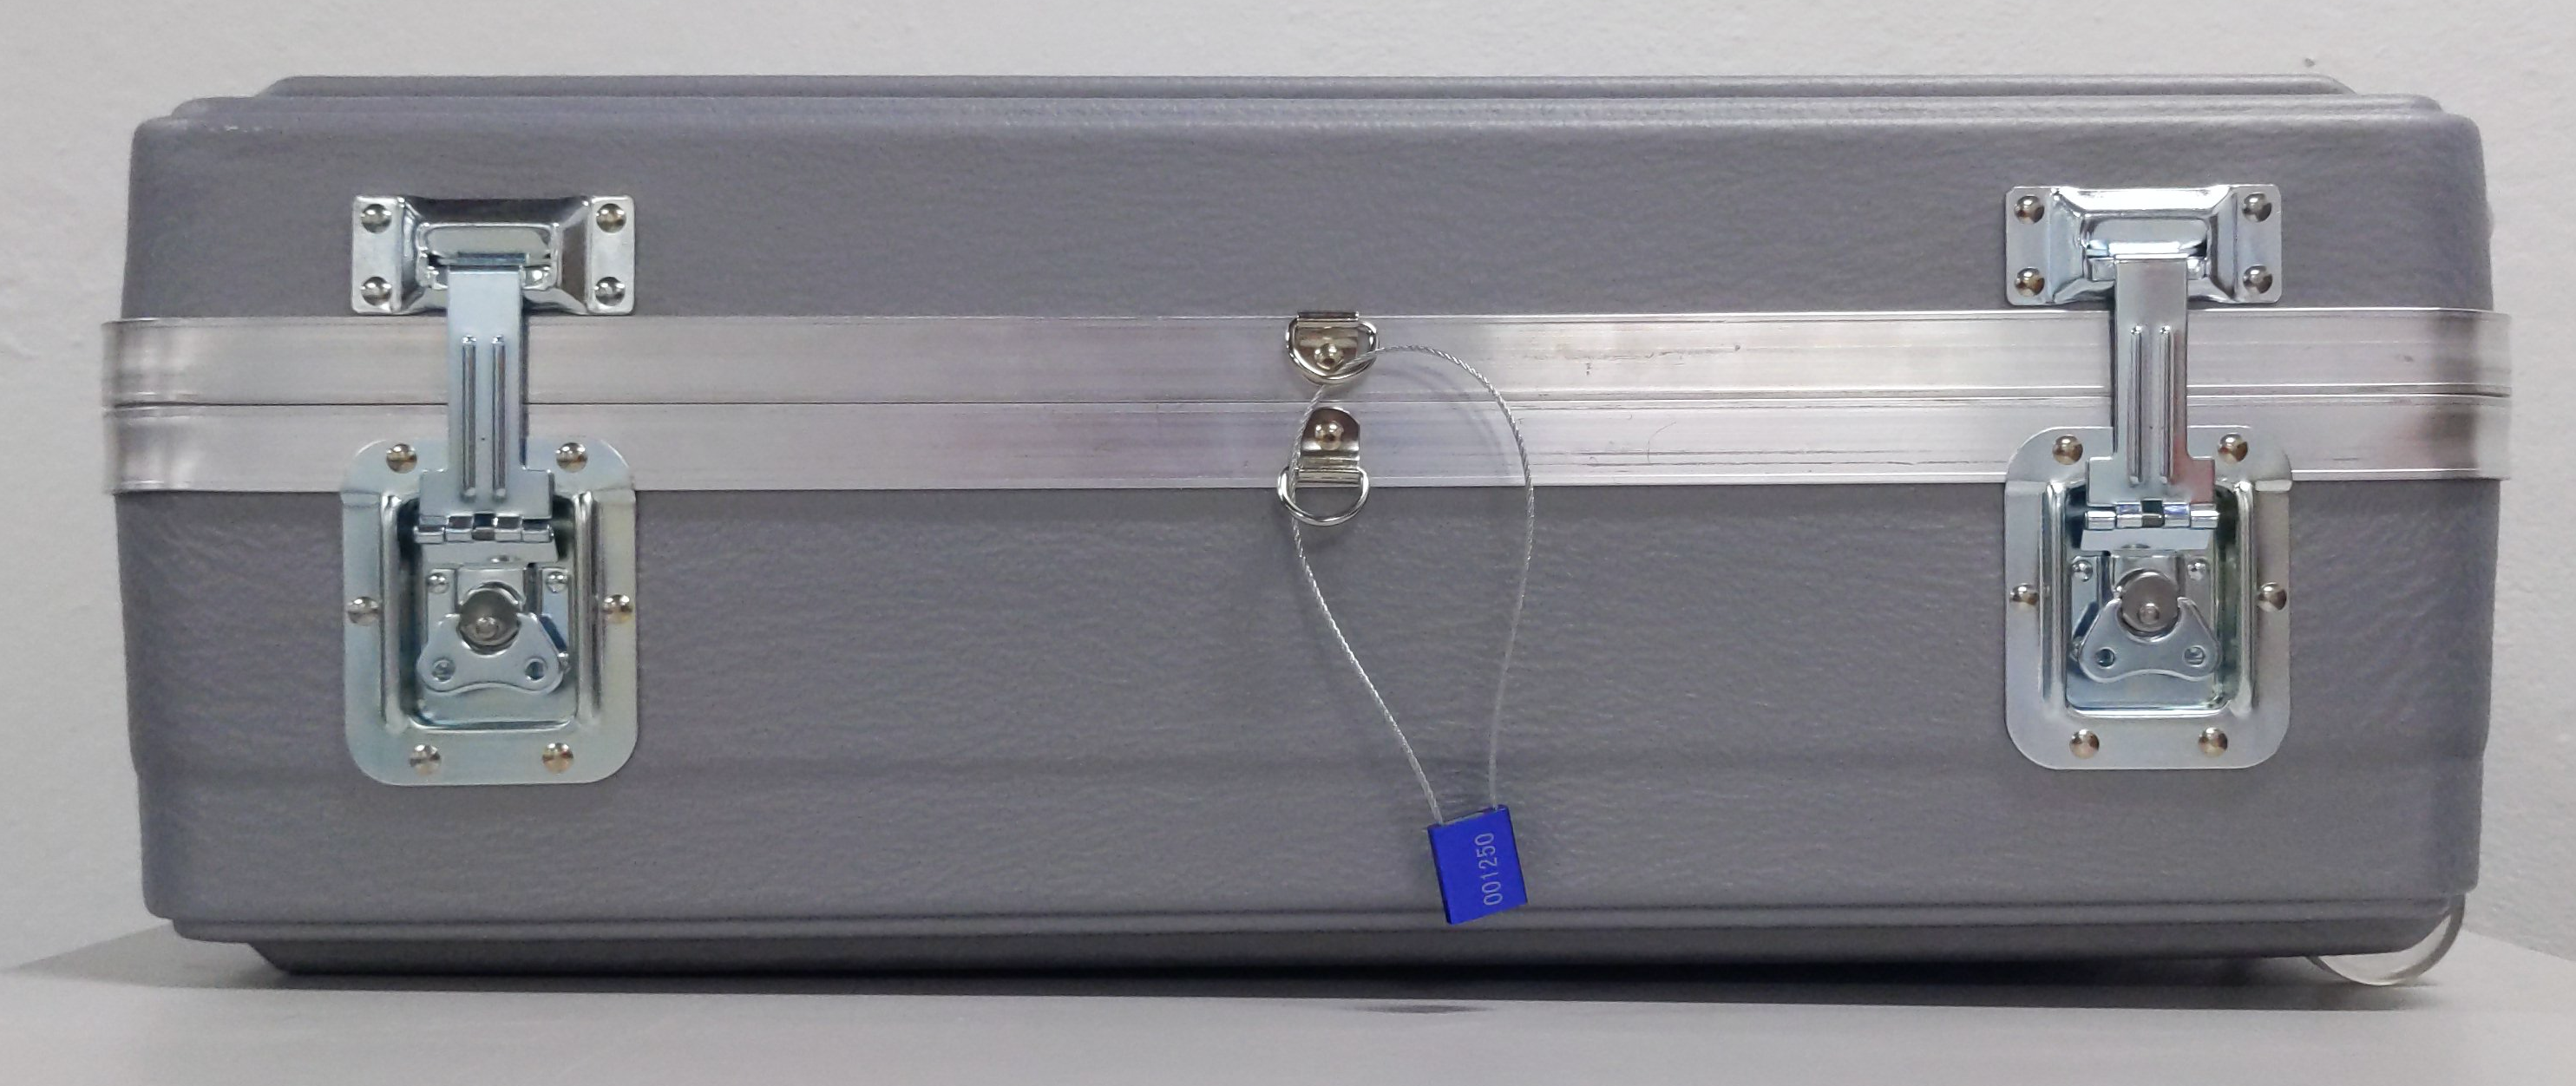
Draw the tamper-evident tag through the tag lock, until the D-rings are secured.

Affix a shipping-label pouch to the case using a tie-on tag.
Insert the shipping return label in the pouch. Ensure that the return address and barcodes are visible.
If necessary, contact your shipper to schedule a pick-up.
Freestanding TA40 and TA300
Print the shipping label that was sent to you by Transfer Appliance Team as part of finalizing your copied data.
Place the following in the shipping case's cable compartment:
Item Description NEMA 5-15p to C13 power cable C14 to C13 power cable, for connections to the power distribution unit (PDU) Category 6 (Cat6) network cable QSFP+ Twinax copper network cable QSFP+ to 4xSFP+ network cable USB-to-serial adapter cable – use only if instructed by Transfer Appliance Team Pin-to-socket serial adapter Close the shipping case's lid and secure the latches.
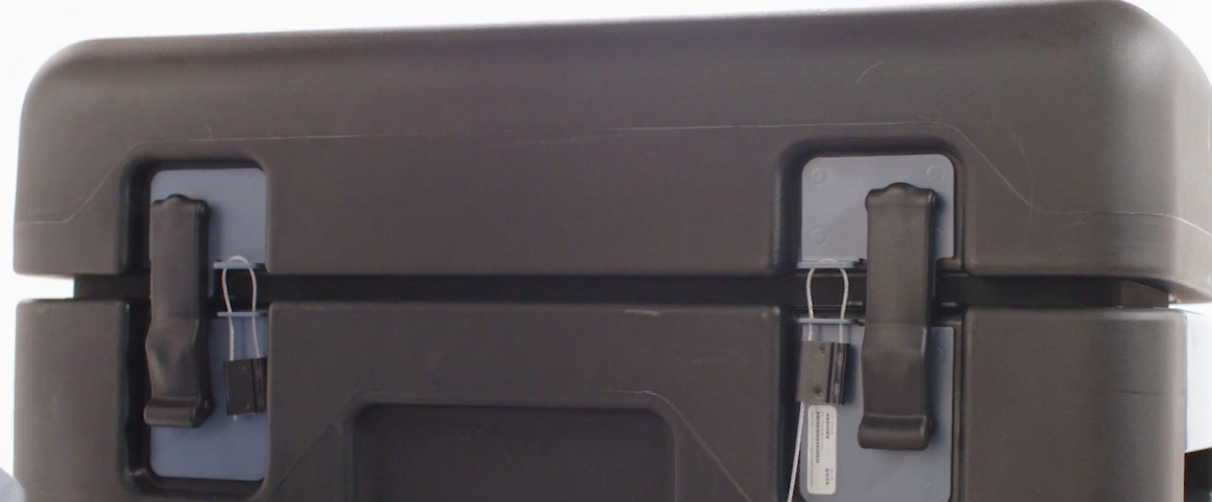
Secure the shipping case with a wire tamper-evident tag:
Affix a shipping-label pouch to the case using a tie-on tag.
Insert the shipping return label in the pouch. Ensure that the return address and barcodes are visible.
If necessary, contact your shipper to schedule a pick-up.